Thanks to all who have been a part of supporting elementaryedtech.org. As I transition from the district office to starting my own maker/edtech consulting firm, I’ll be posting from now on at EmpowerMINT.
While I’ve just started reading SuperBetter by Jane McGonigal, it’s got me thinking about Gamification in schools in a new way (which I believe Jane has spoken about before, but is a new thought for myself).
What if instead of gamifying the classroom toward the learning objectives we have for students, if we gamify the classroom to help students reach the goals they have for their own learning?
More thoughts and reflections on #SuperBetter to come, I hope!
Technically, I’ve been off for the month of July. In that month off I’ve presented at the 2014 ISTE (International Society for Technology in Education) Conference, the 13th Annual CALSA (California Association of Latino Superintendents and Administrators) Summer Institute, and the 2014 EdTechTeam California Summit. I’ve had a few meetings with colleagues about grants and partnerships we are applying for. I’ve attended a roundtable lunch discussion at Imagine K12. But most importantly, we’ve moved into our first house.
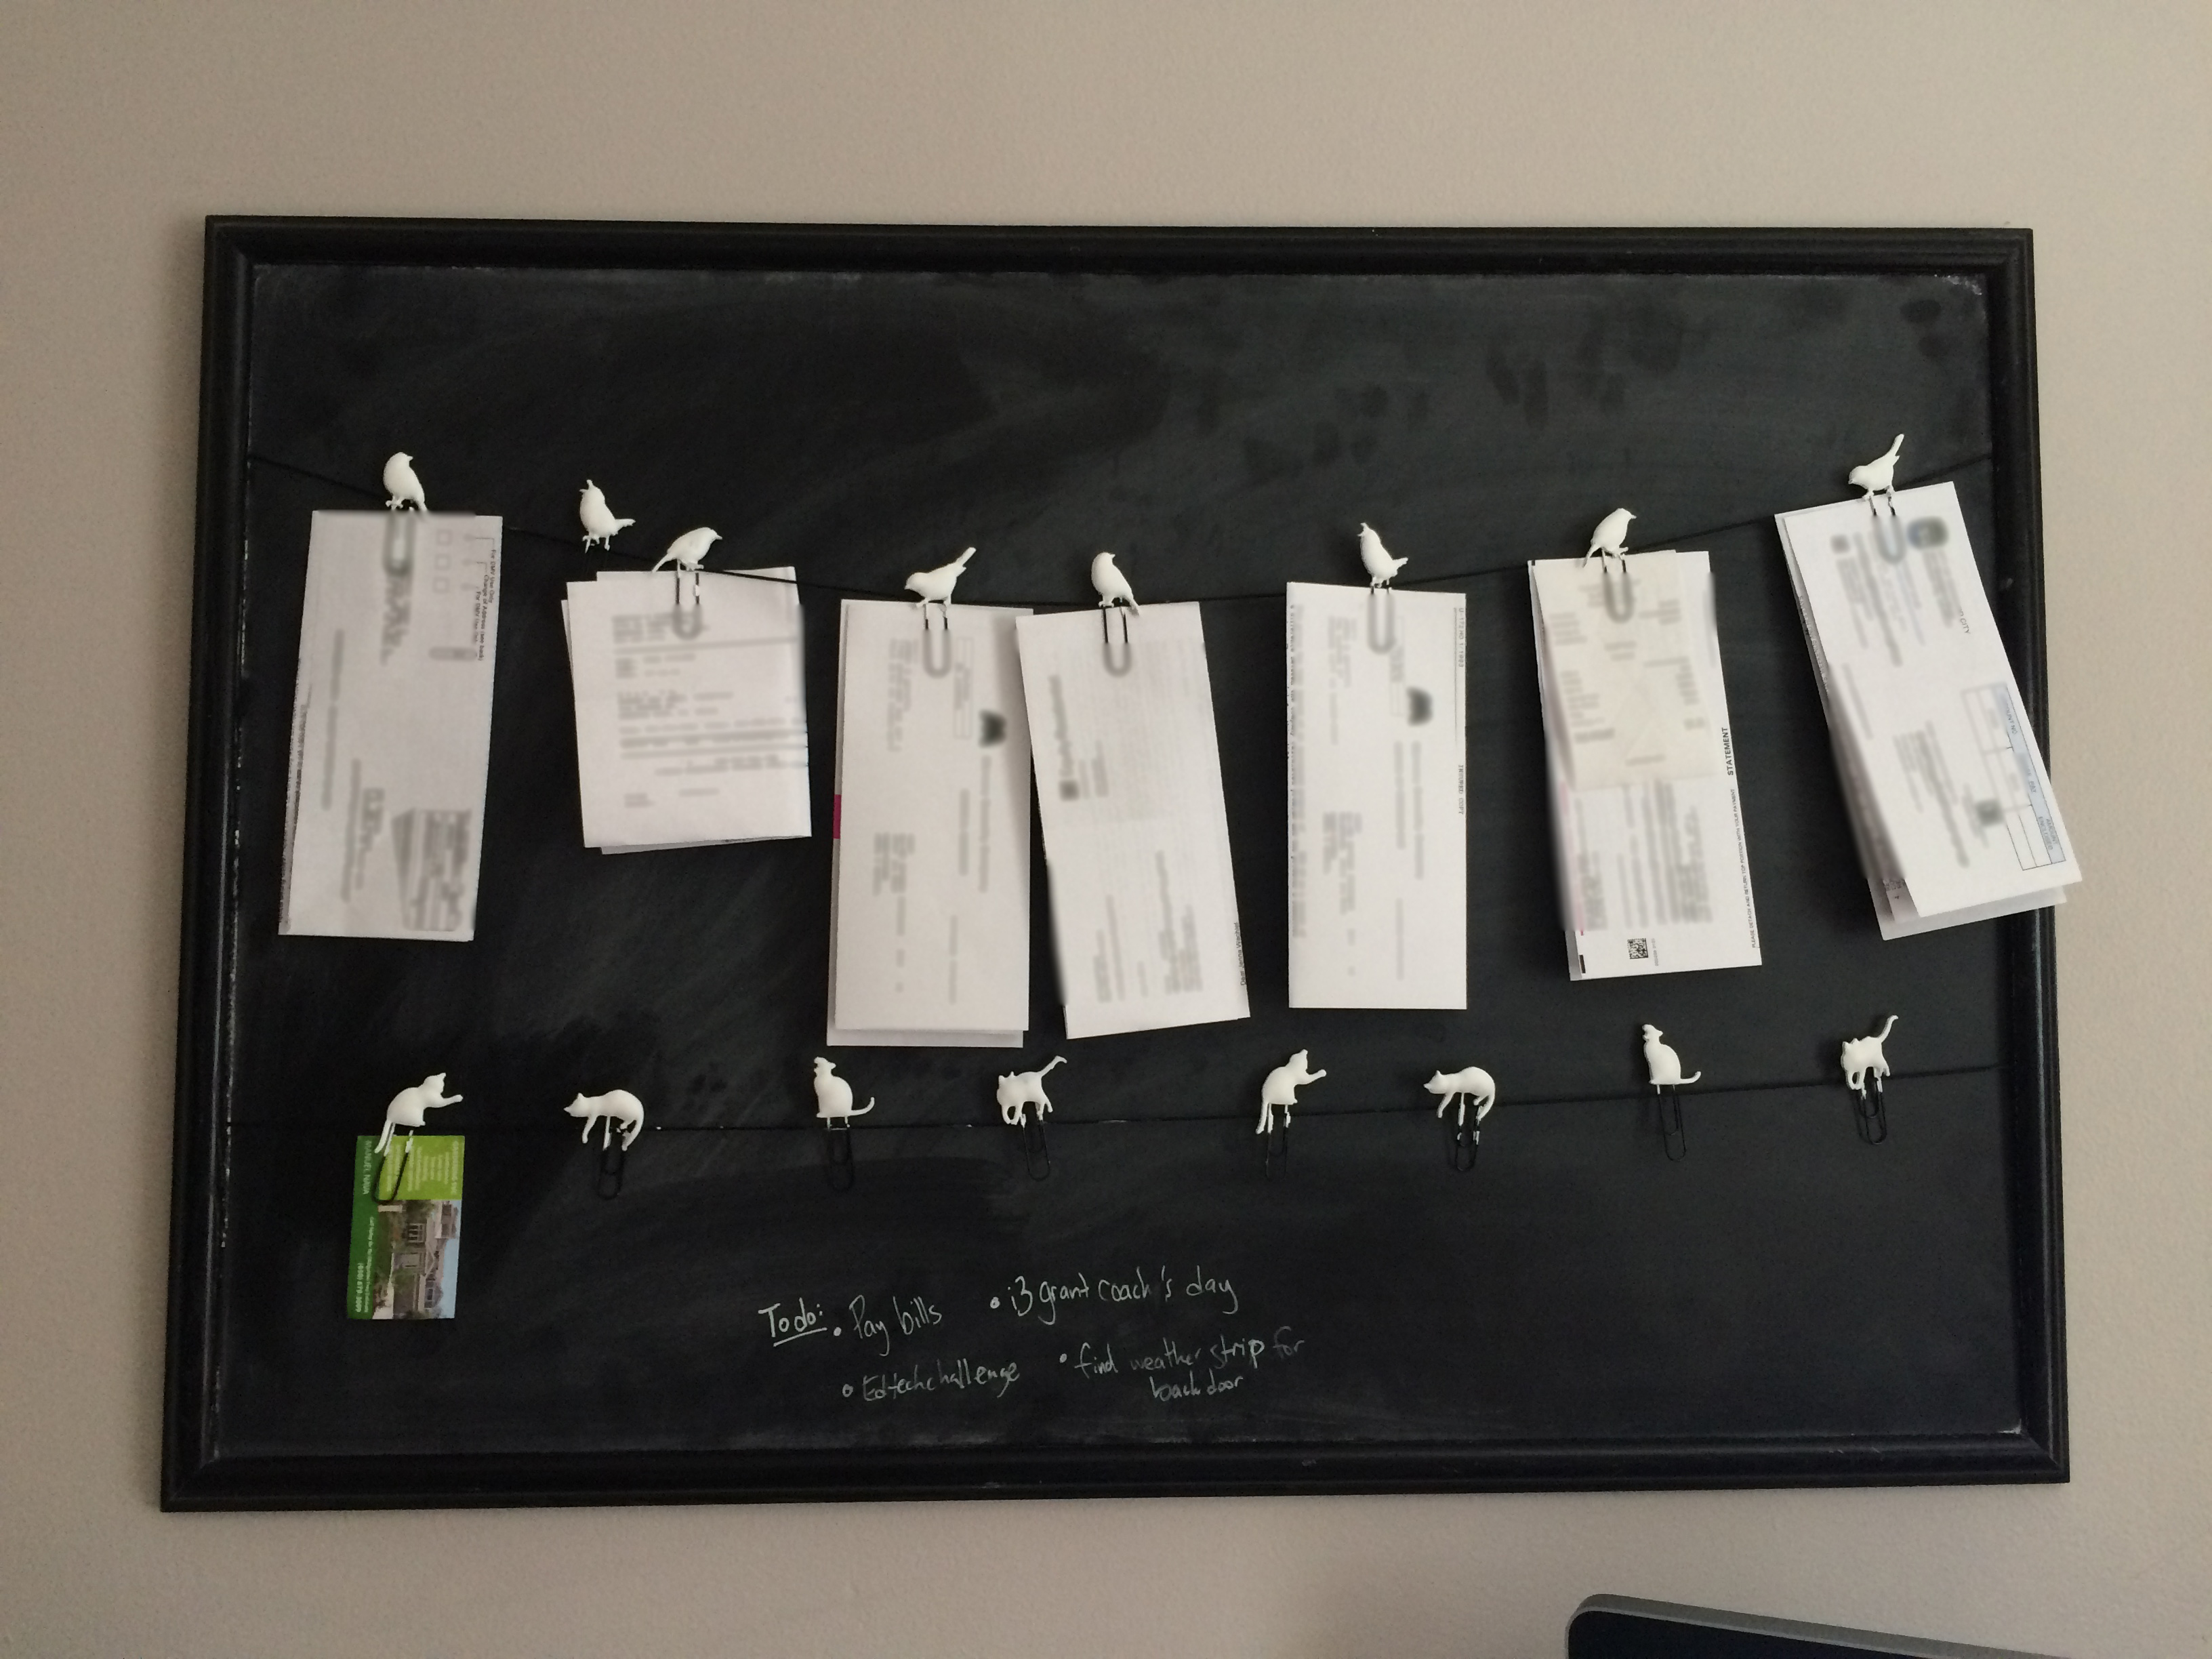
With moving has come many improvement projects, from putting up blinds to creating my own board to attach bills and write notes on.
Made from a garage sale frame, a slab of chalkboard from Home Depot, and some neat little cat and bird paperclips.
But the more exciting things have been when I’ve been able to integrate the Internet of Things into our home in useful ways. The latest example? A homemade doorbell that notifies me via sound and SMS.
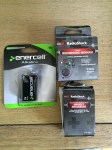
My first attempt at a doorbell occurred yesterday, when I went to Radioshack and picked up these pieces.
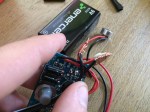
I did some splicing, drilling, taping, and recording, before installing my first homemade doorbell.
Splicing
Recording
Drilling
Taping
As you can see in the video, the project worked, but was going to be quite an eyesore to visitors, and probably even more so for Jenna and me whenever we came home.
Outside
Inside
It was a good attempt, but not something I’d love to have permanently attached to the door. But, proof that we could have a custom doorbell that could play something we chose.
In trying to make a more robust doorbell, I pulled out the littleBits. I have littleBits in my home right now from three different places: kits from our Makerspace, kits that were gifted to me by Kevin Carroll (another great story), and the cloudBit that I was sent in order to create a project before they officially announced the module. At this point, I had already failed at meeting the July 4th deadline for the cloudBit work and I didn’t really have a novel idea for it at the time.
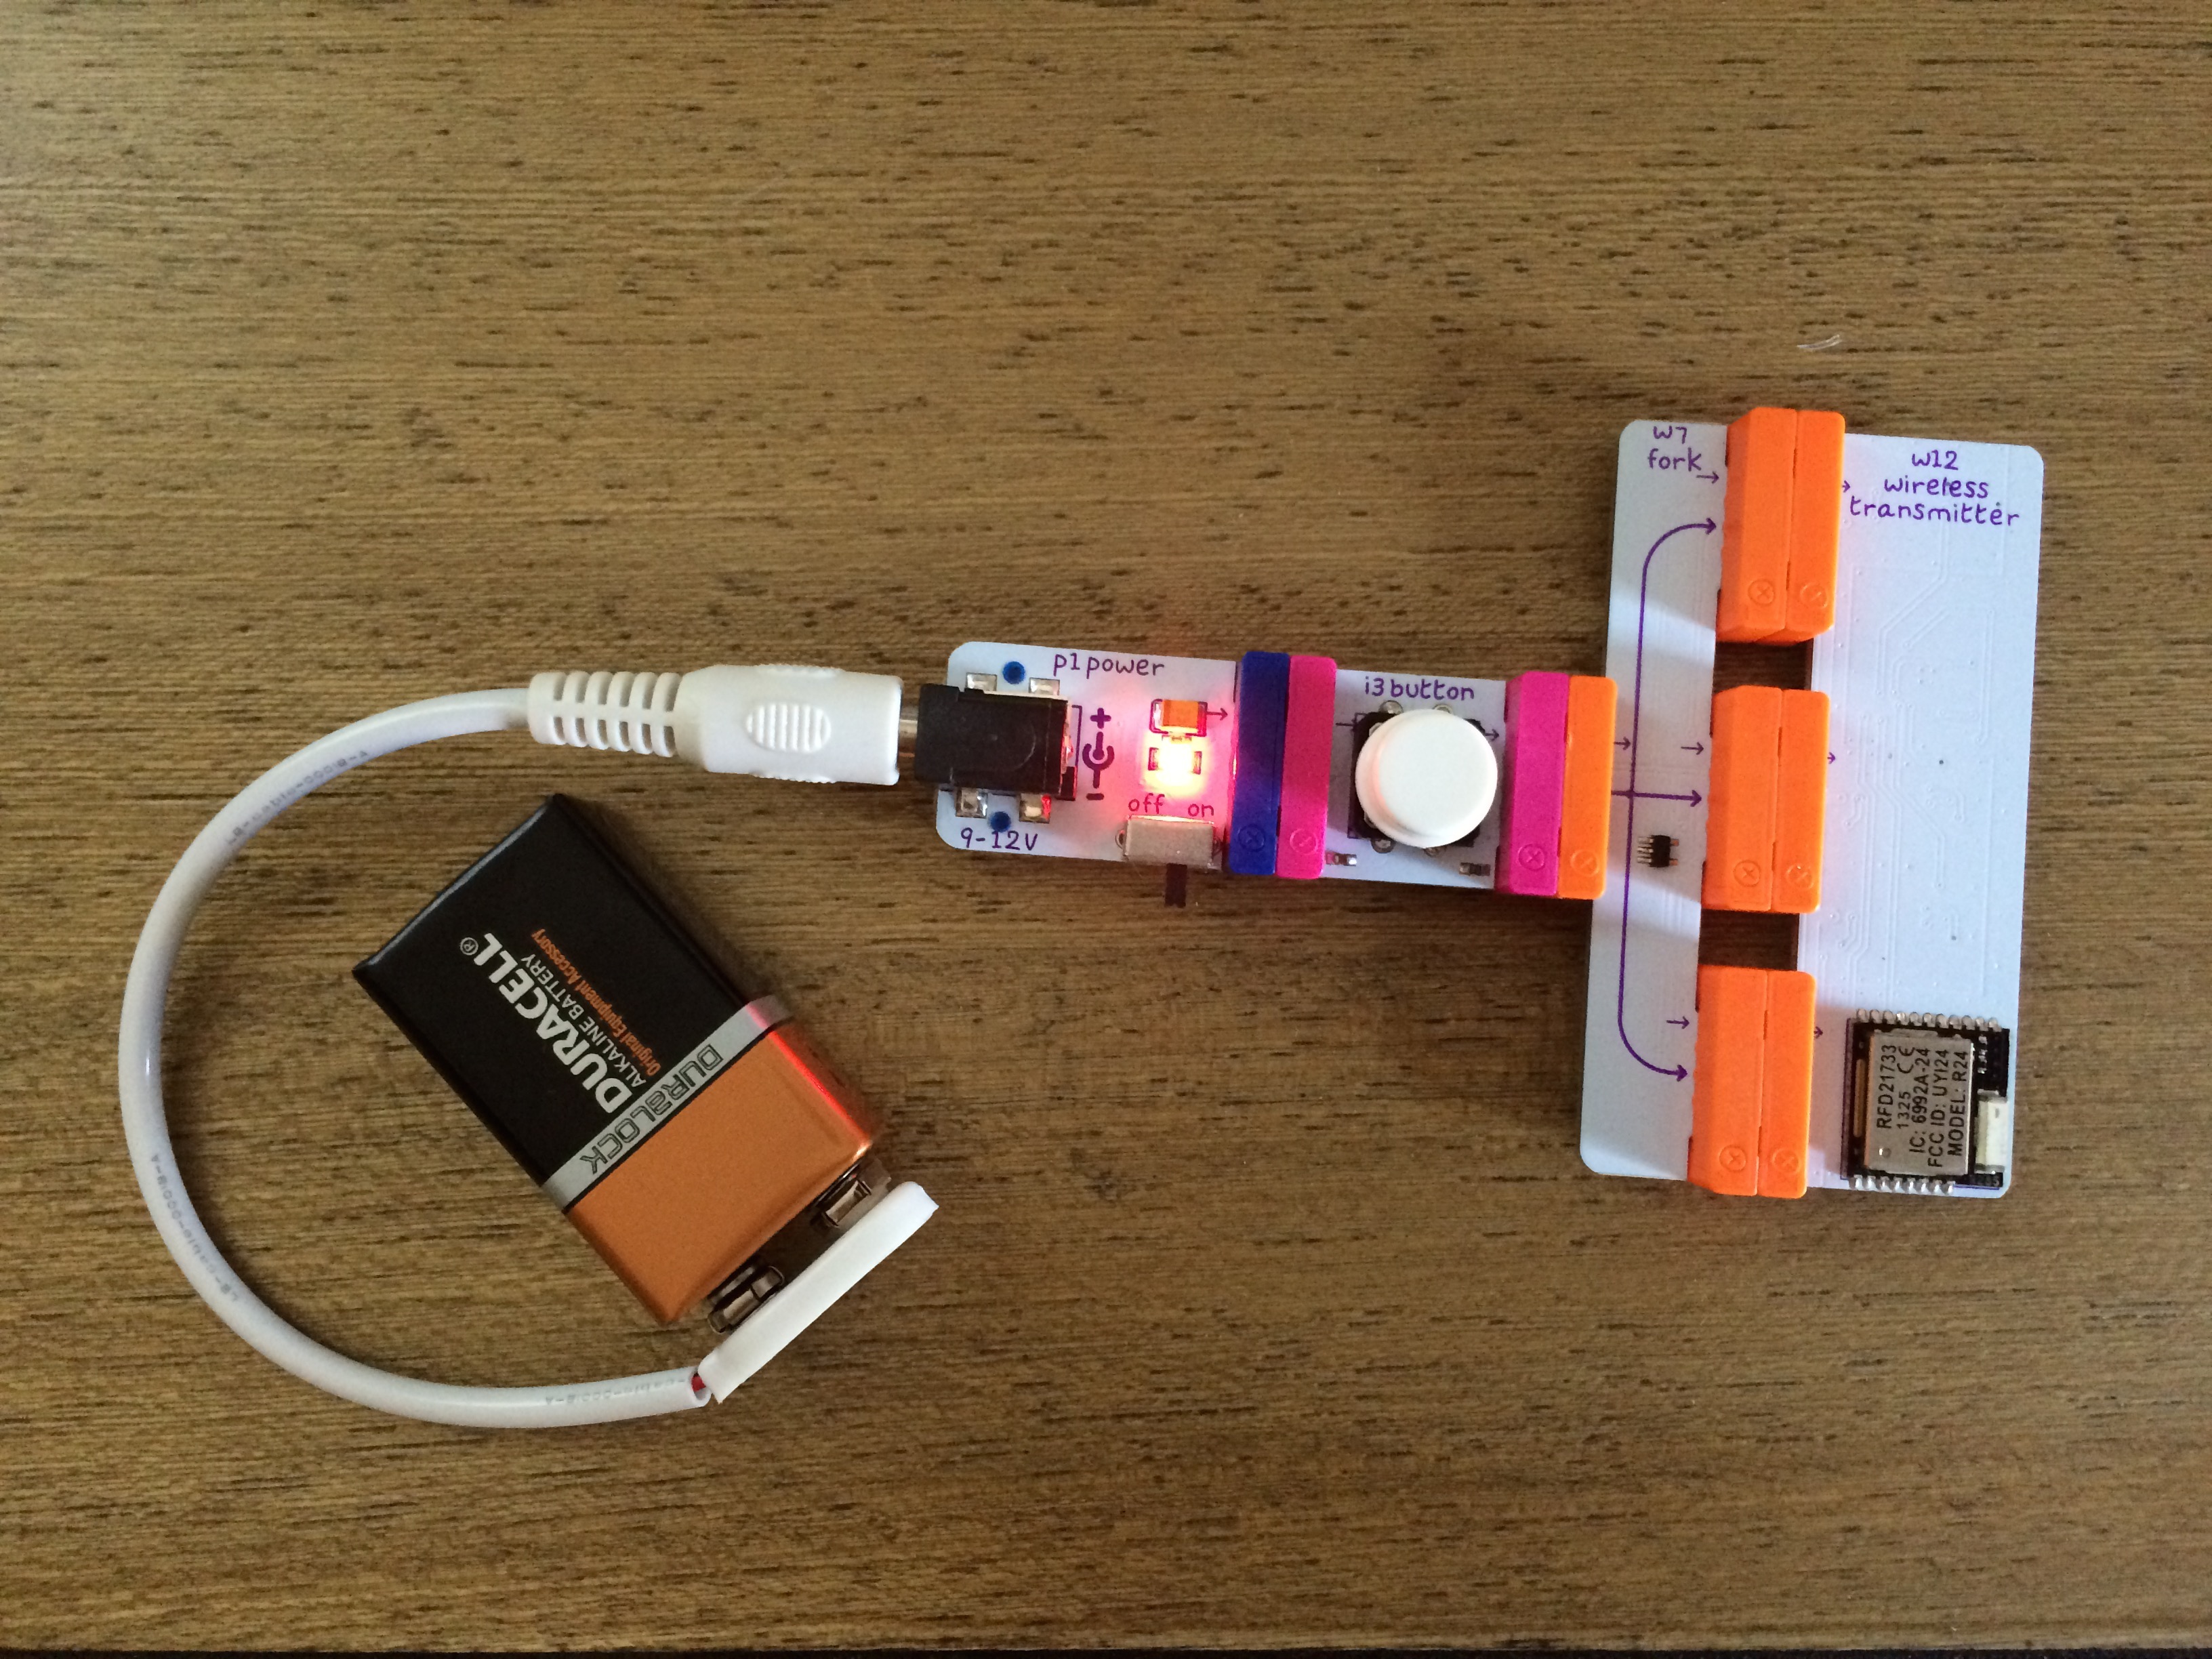
In pulling out the littleBits, the first thing I wanted to do was see if I could create a doorbell using the wireless transmitter/receiver combination. I put the power, button and wireless transmitter on one side and the power, receiver, and buzzer on the other side. Success!
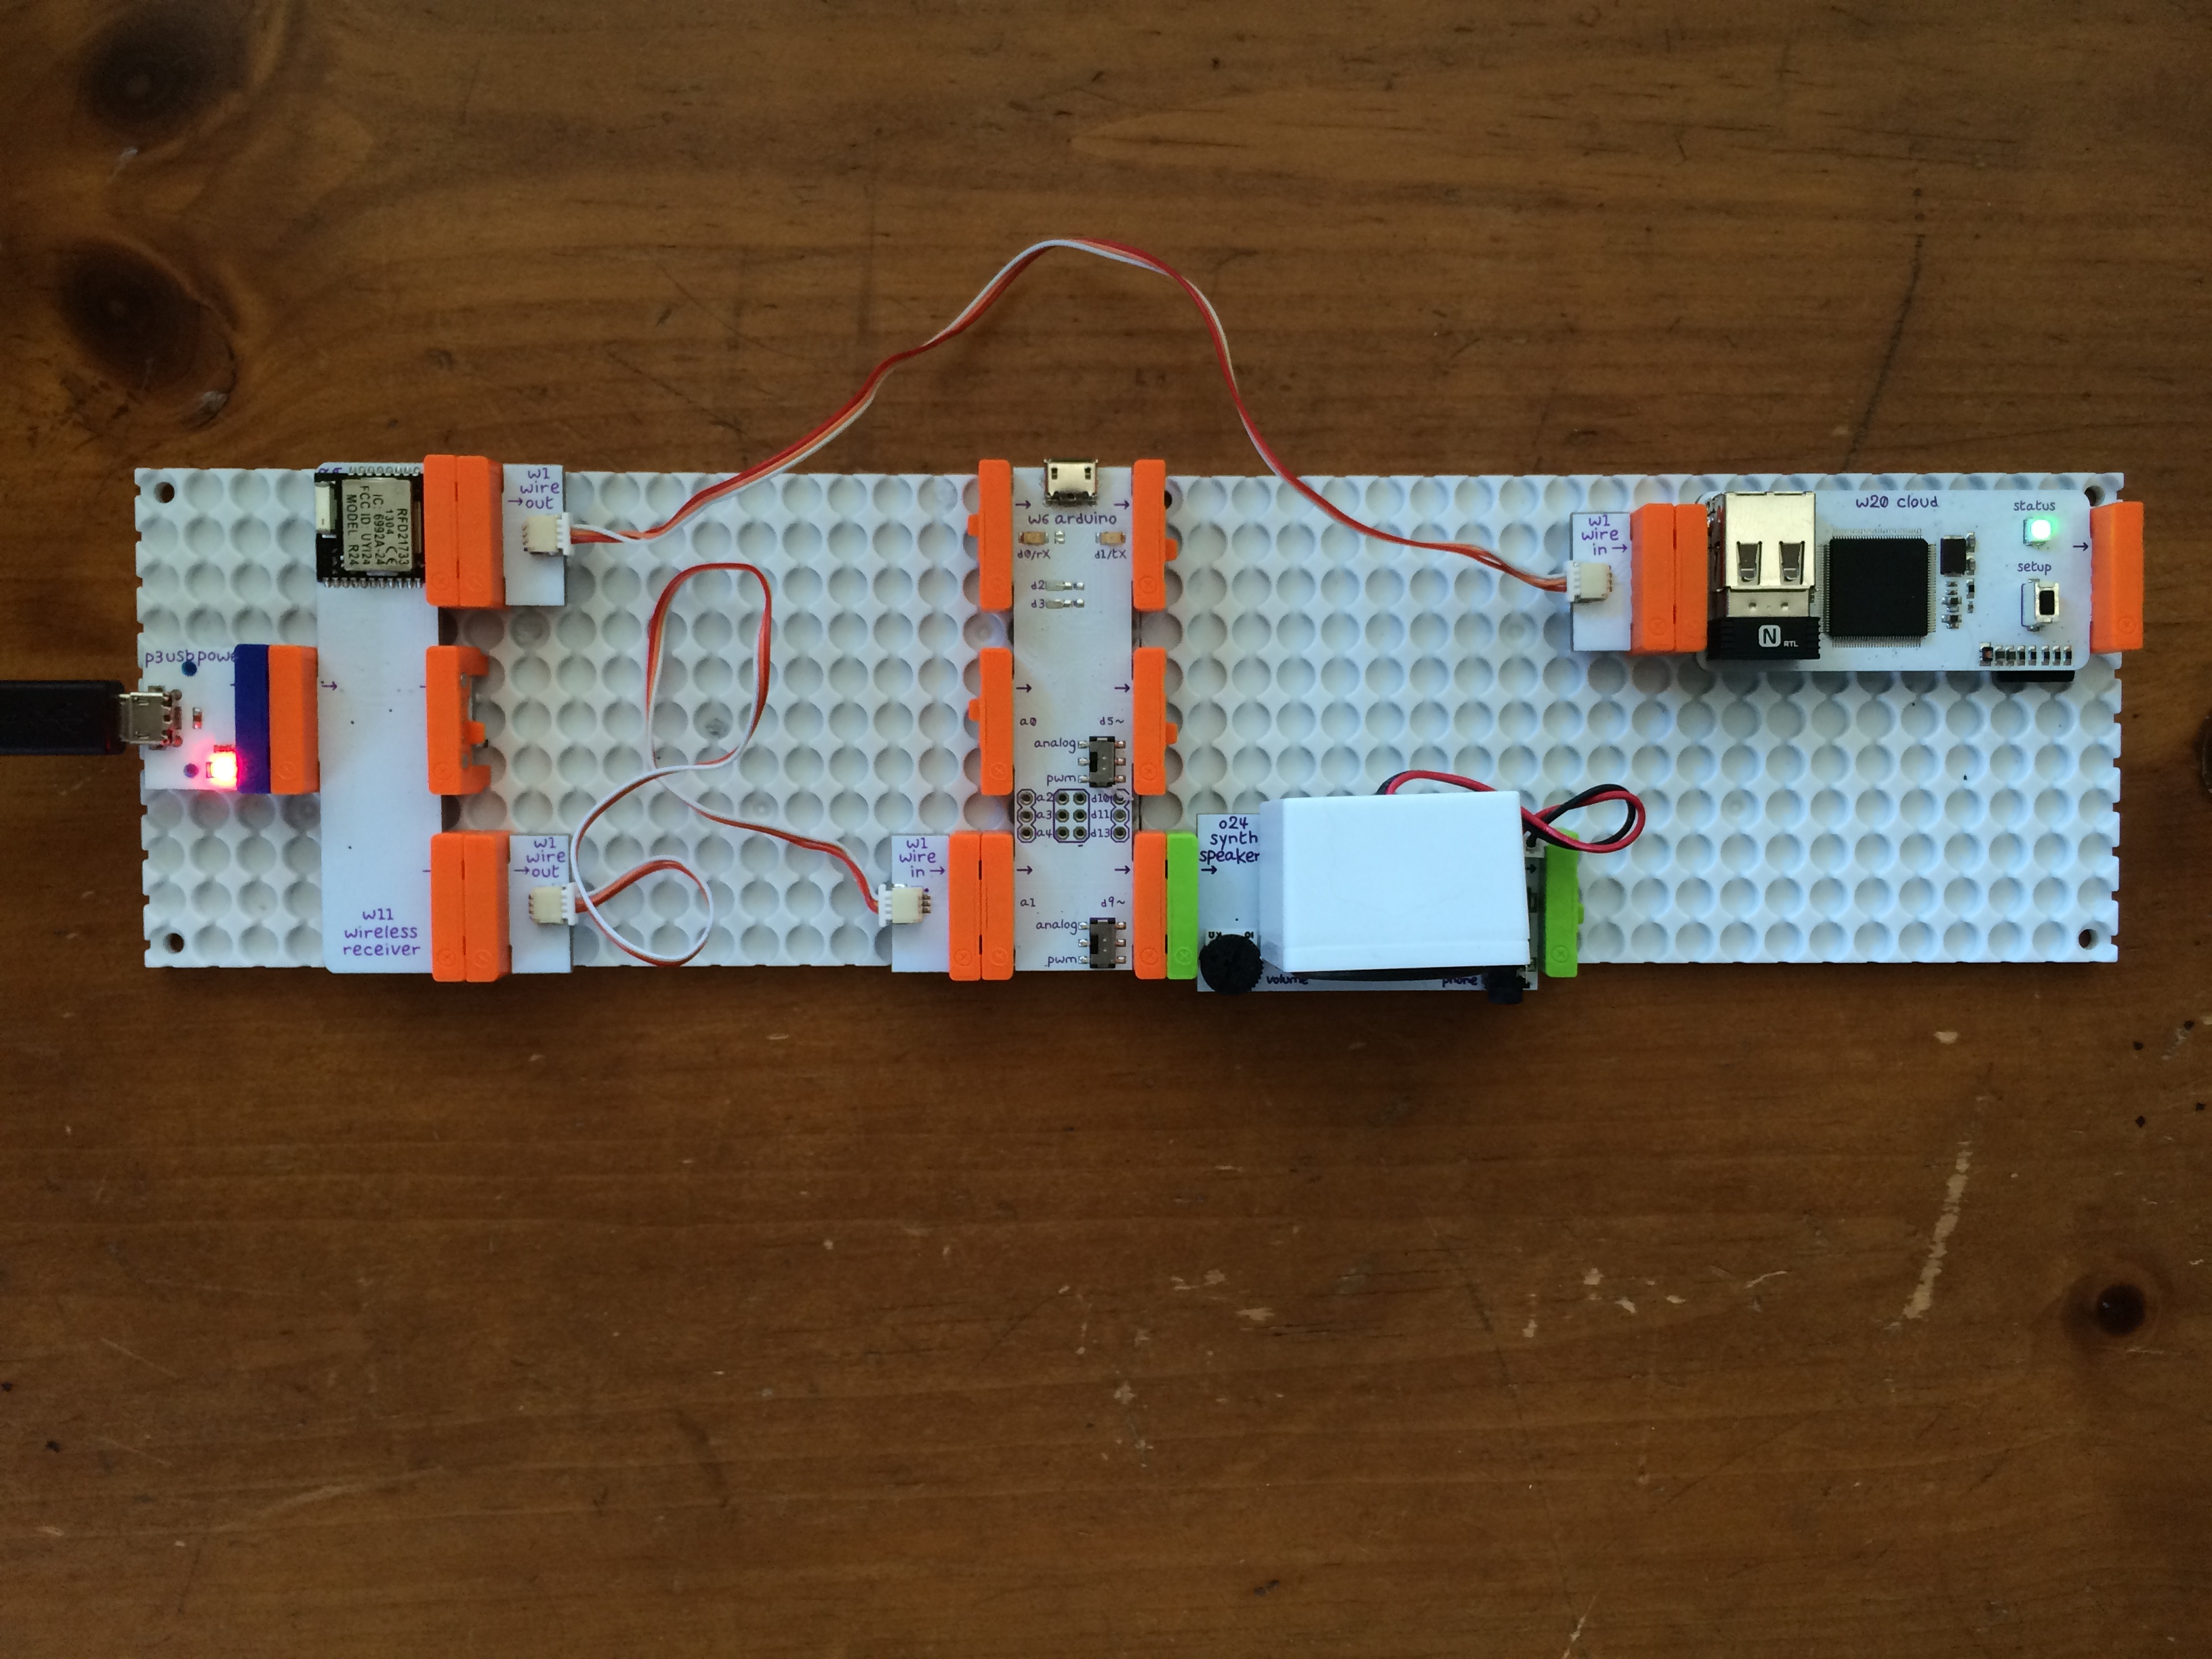
Next, I wanted to see if I could play my own tone, so I added the Arduino module (which I bought at Maker Faire) and programmed my first Arduino project. Okay, so I took the littleBits Play A Melody project, copied the Marios Bros tune from another Arduino project (I had to change octaves a little bit… NOTE_C7 became NOTE_C4 and so on), and learned how to play the melody once rather than a loop (although you’ll notice later that I still have it playing twice rather than once).
I uploaded the code to the littleBits Arduino piece and – ta-da! – the Mario theme song played every time I pressed the button! I was one step closer to my doorbell dreams.
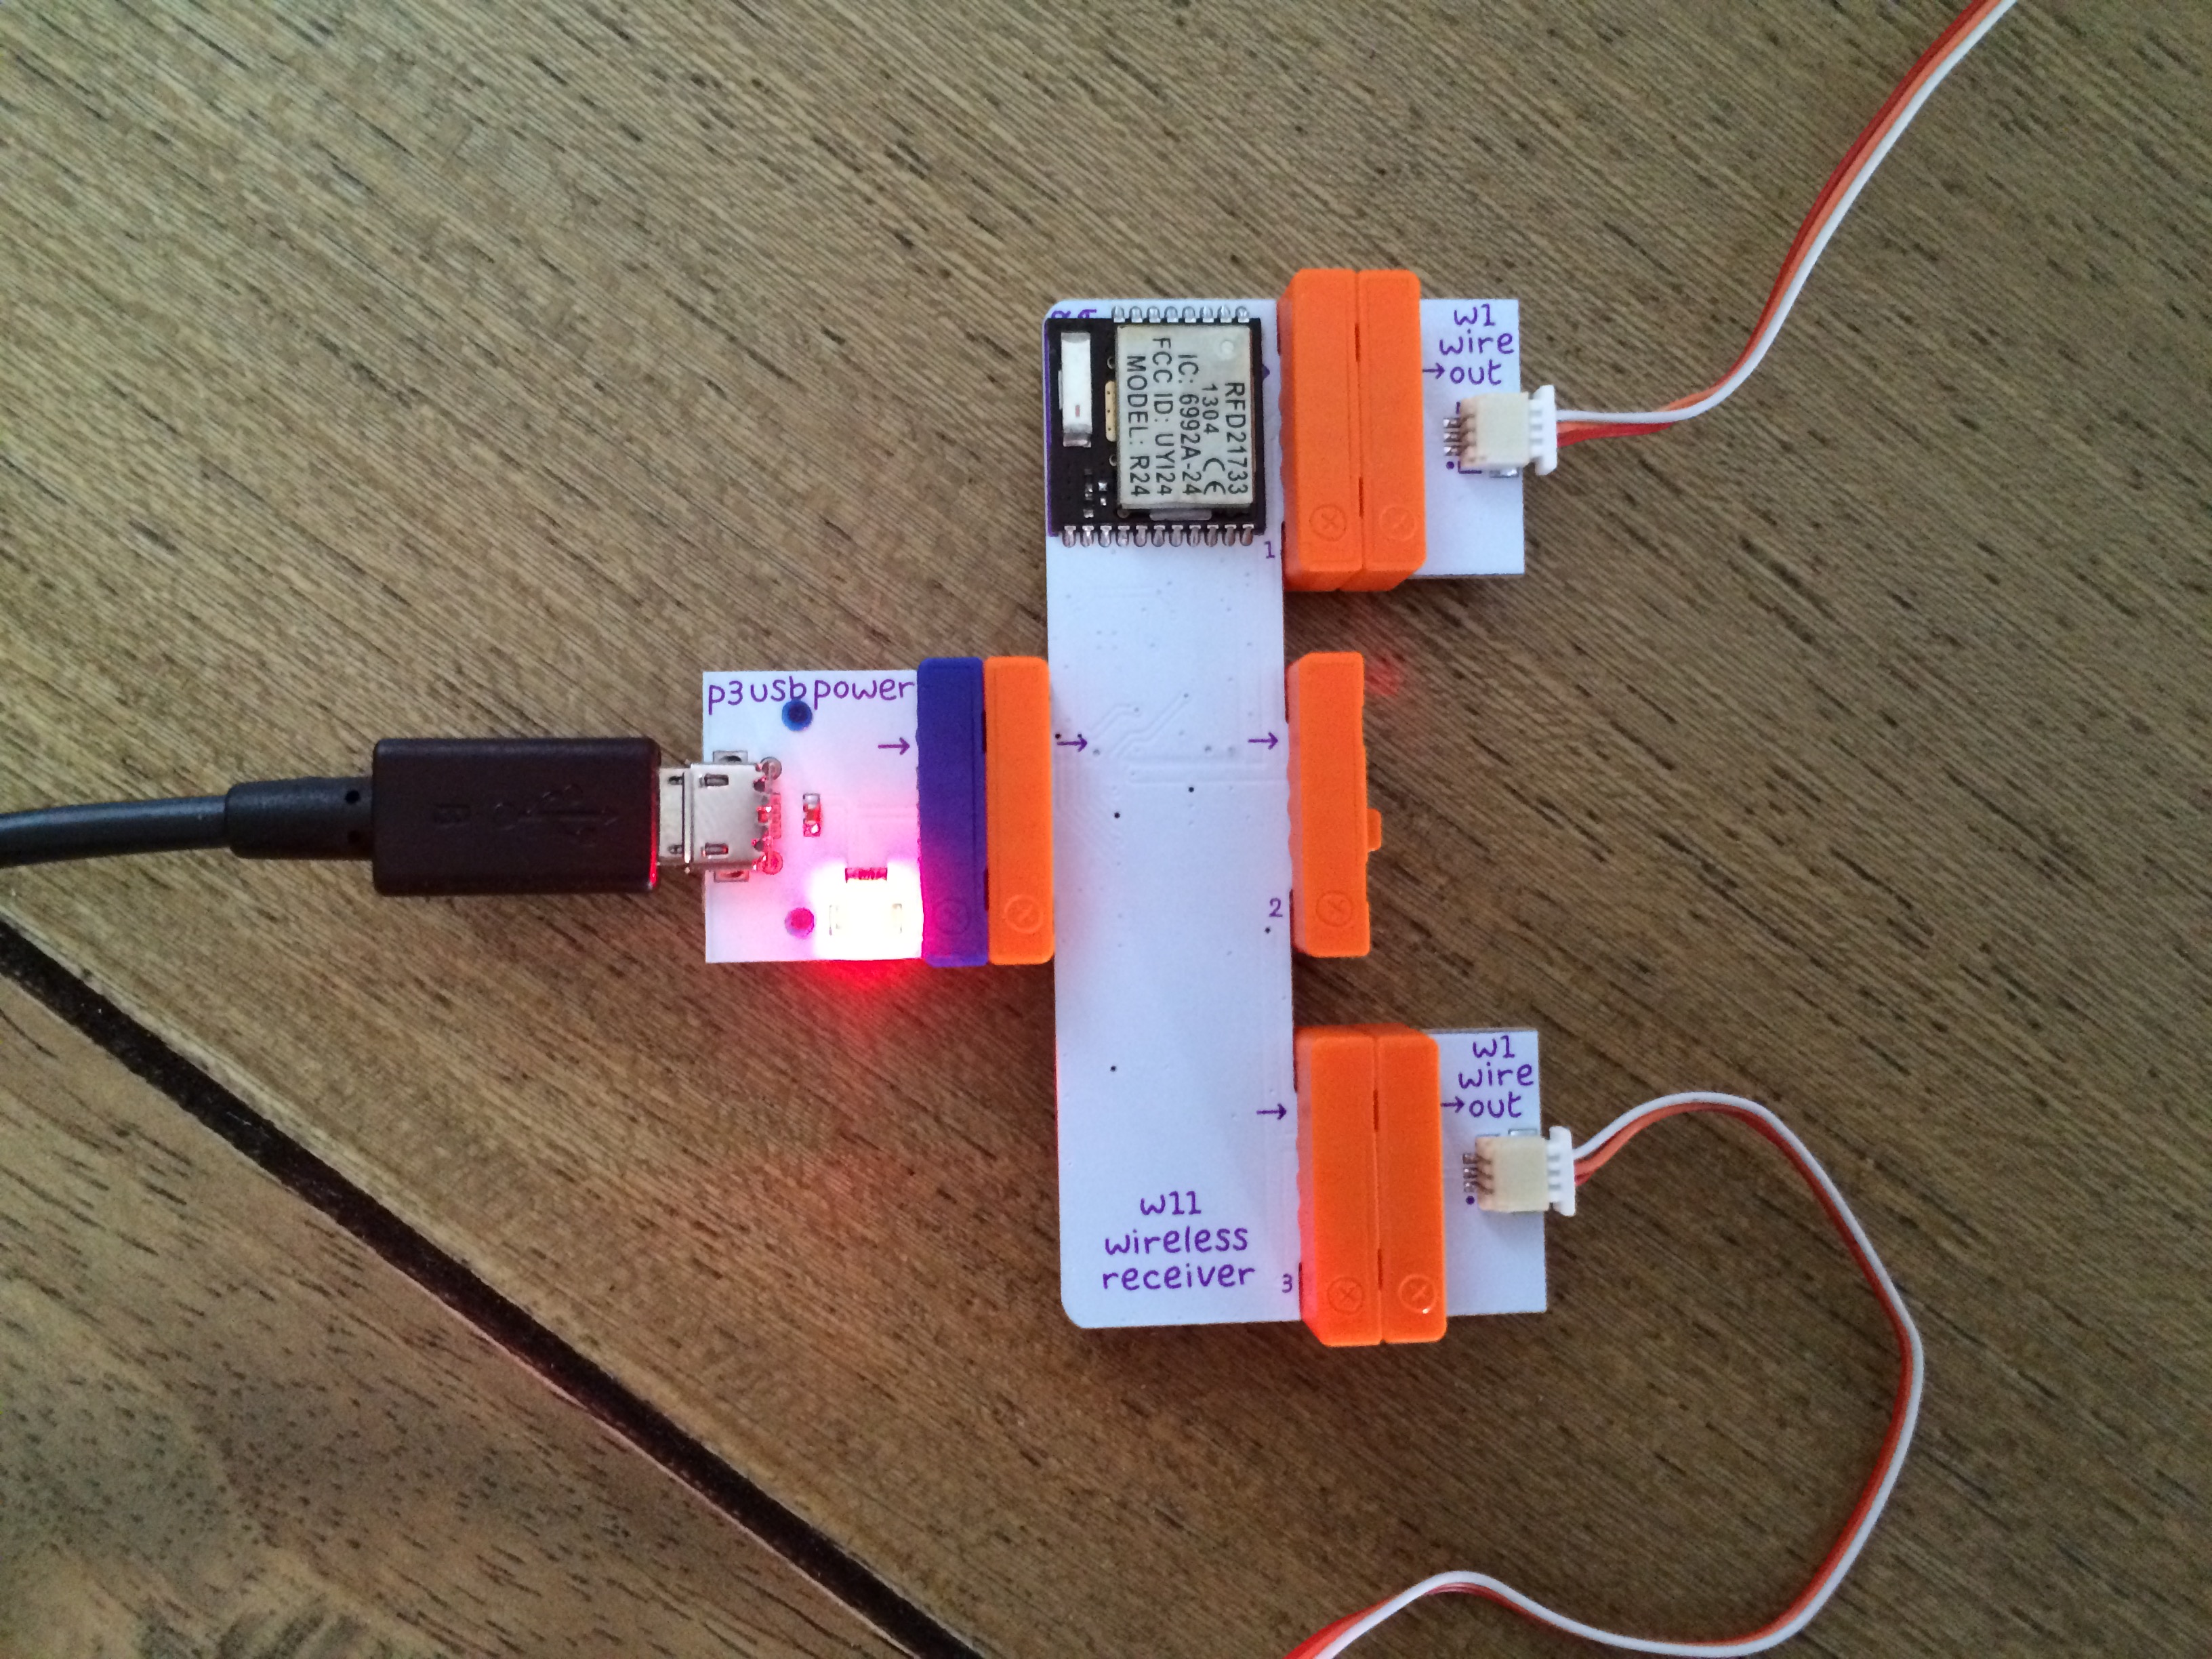
Wireless Receiver
Arduino and Speaker
That’s when I realized that I could not only have the doorbell play a song in the house, but using the cloudBit and IFTTT I could receive a text message to my phone when the doorbell rang as well. That could be especially beneficial if we’re in the backyard or have the TV turned up too loud. I went onto IFTTT and created a recipe that would trigger an SMS every time the button was pressed and sent a signal to the cloudBit.
Success! Well, okay, failure after failure did happen in between each success, but eventually I got there.
Indoor doorbell pieces
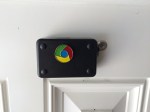
Once I had this all programmed and set up, it was time to go to Home Depot to find the right enclosure for the littleBits. I wanted something that people could see the littleBits, but not steal them, so I bought a TayMac slim waterproof outlet enclosure, which I drilled a hole into so I could lock the littleBits inside. I also drilled a hole into the front to allow the user to press the doorbell. I went outside and mounted the doorbell next to the door.
Doorbell locked up and mounted
With the doorbell mounted, I plugged in the indoor pieces and went outside to test. (Apologies for the vertical filming, but I wanted to film in a way that showed that I actually got the doorbell to work.)
And as you can see from the screenshot below, the cloudBit worked too, sending me texts each time the doorbell has been pressed.
Now that I’ve made the doorbell I’d envisioned, I only have two more problems to tackle:
1) How do I get sustaining power out to the doorbell in a way that doesn’t cost a significant amount of money? The current power comes from the littleBits coin battery and doesn’t last long enough to power it beyond an afternoon at most.
2) How do I program a song that my wife Jenna will find more appealing than the Super Mario Bros theme song? 😉
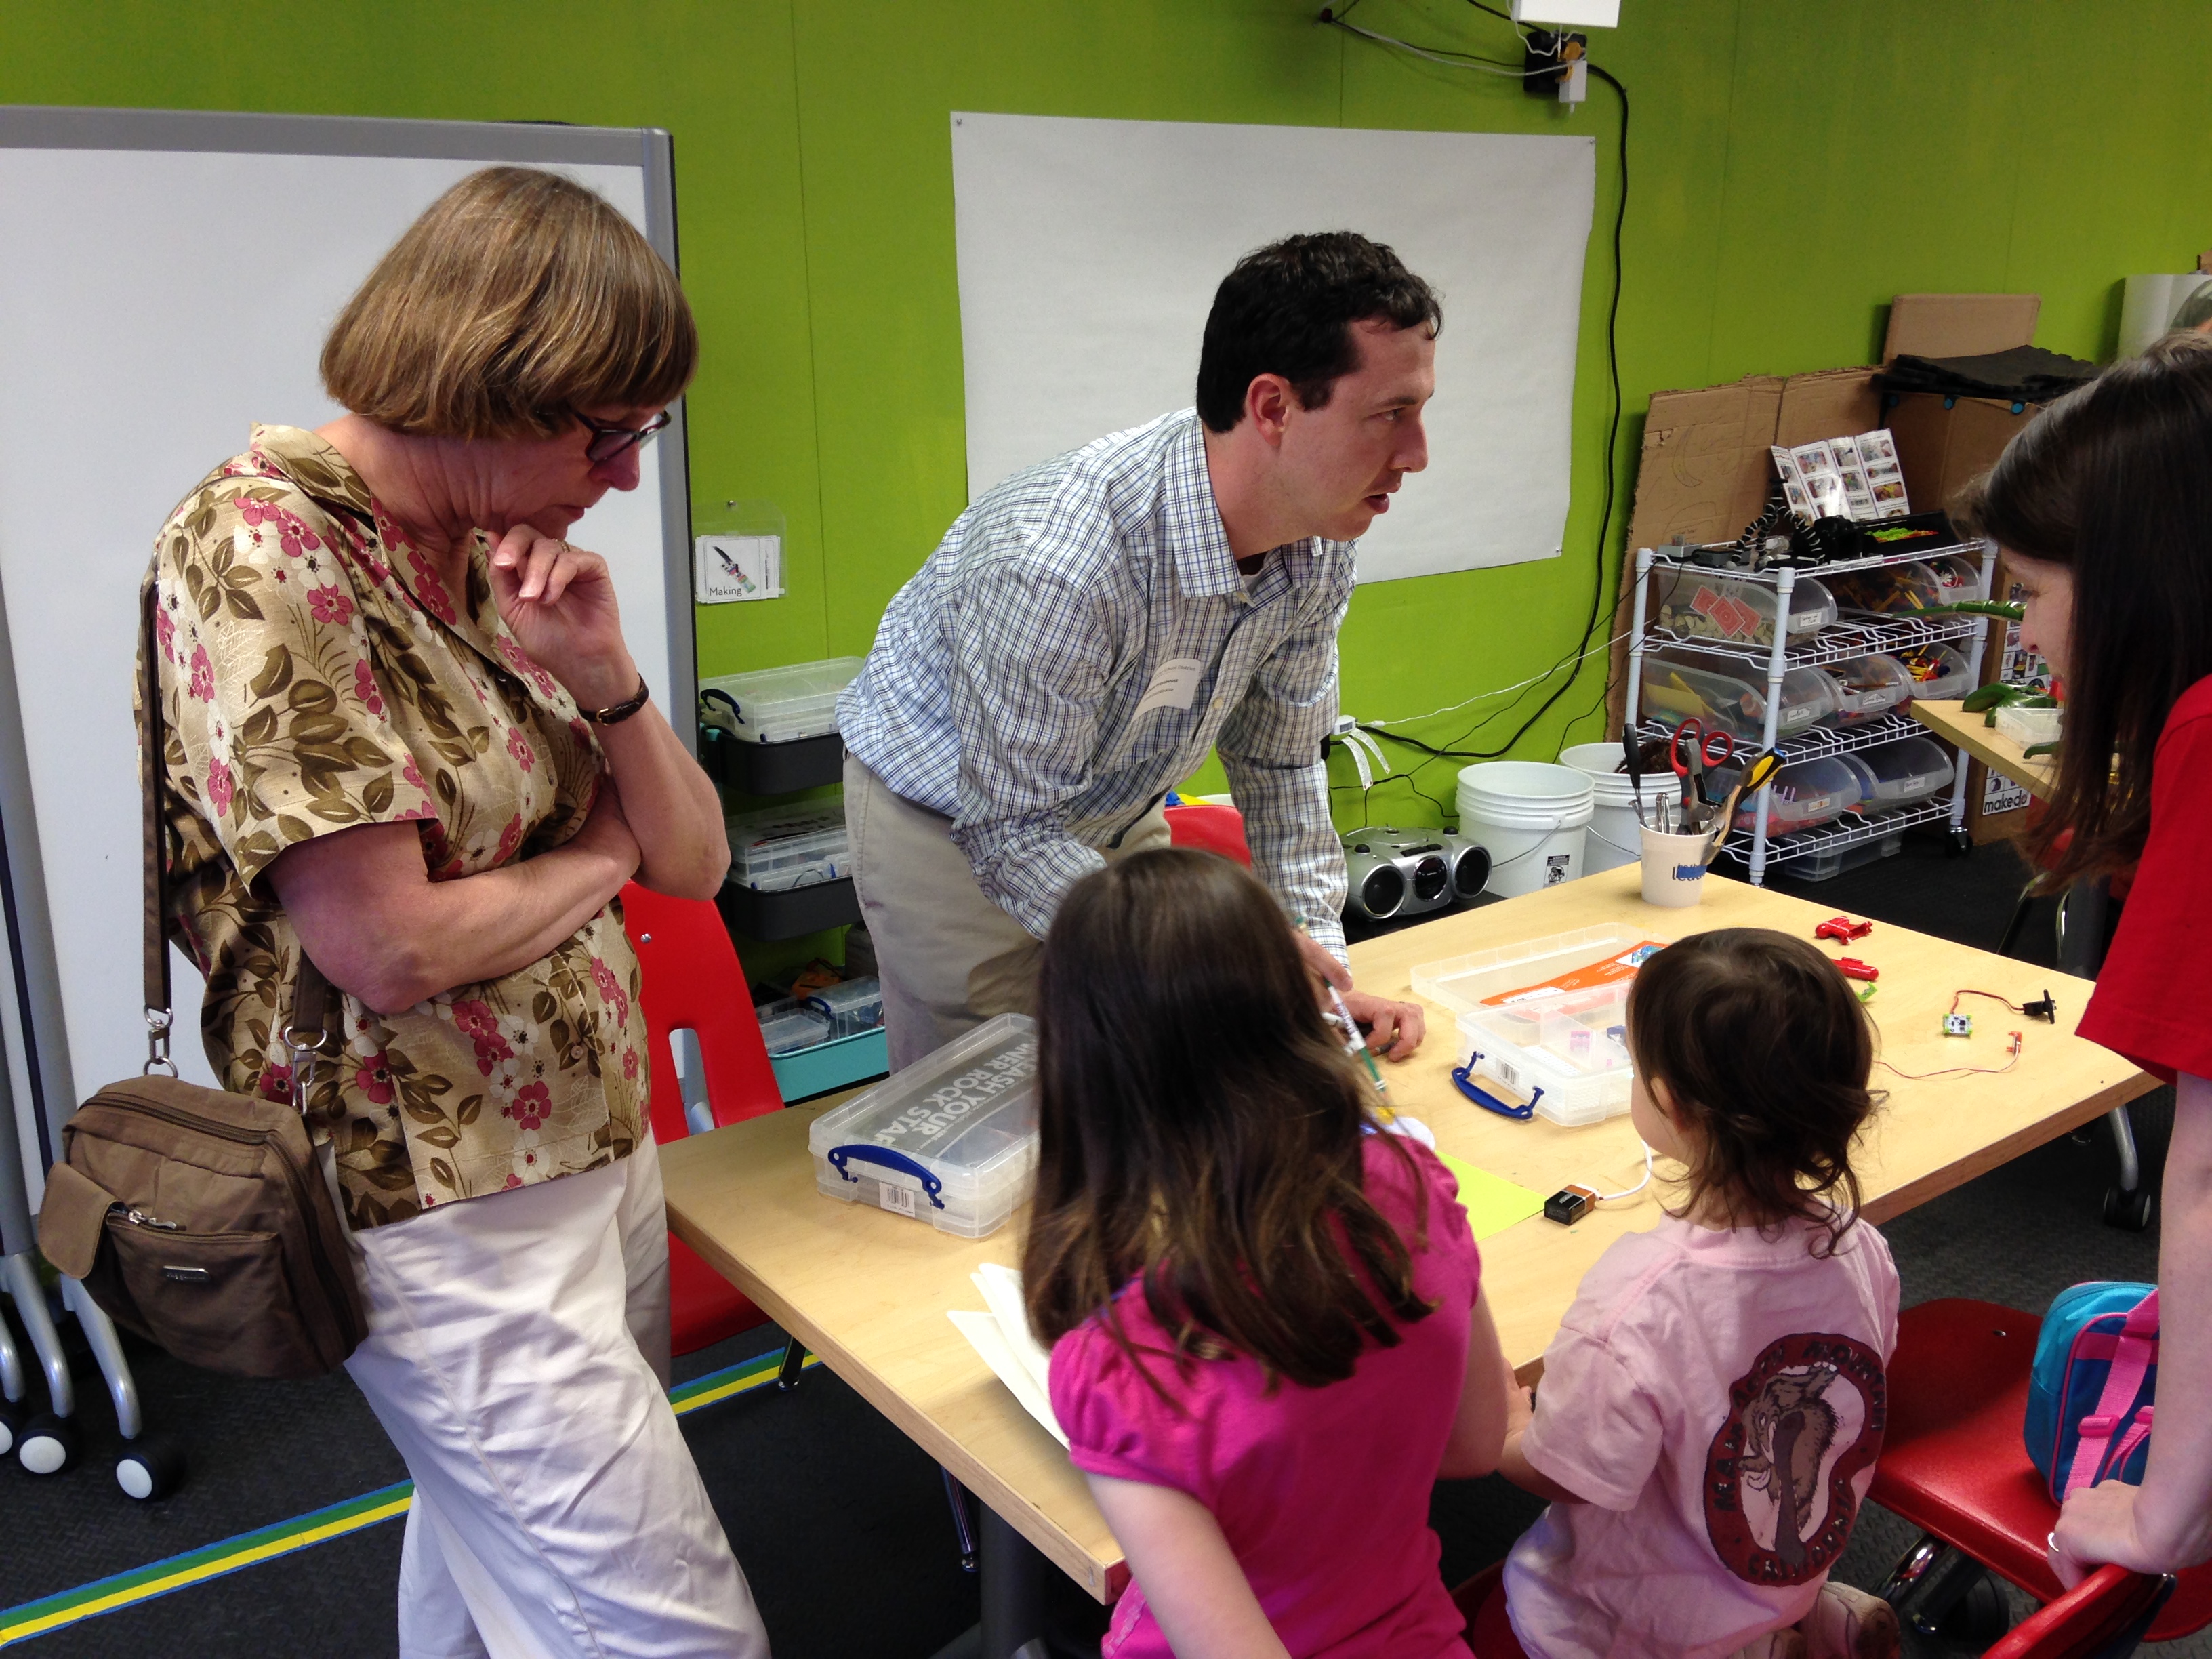
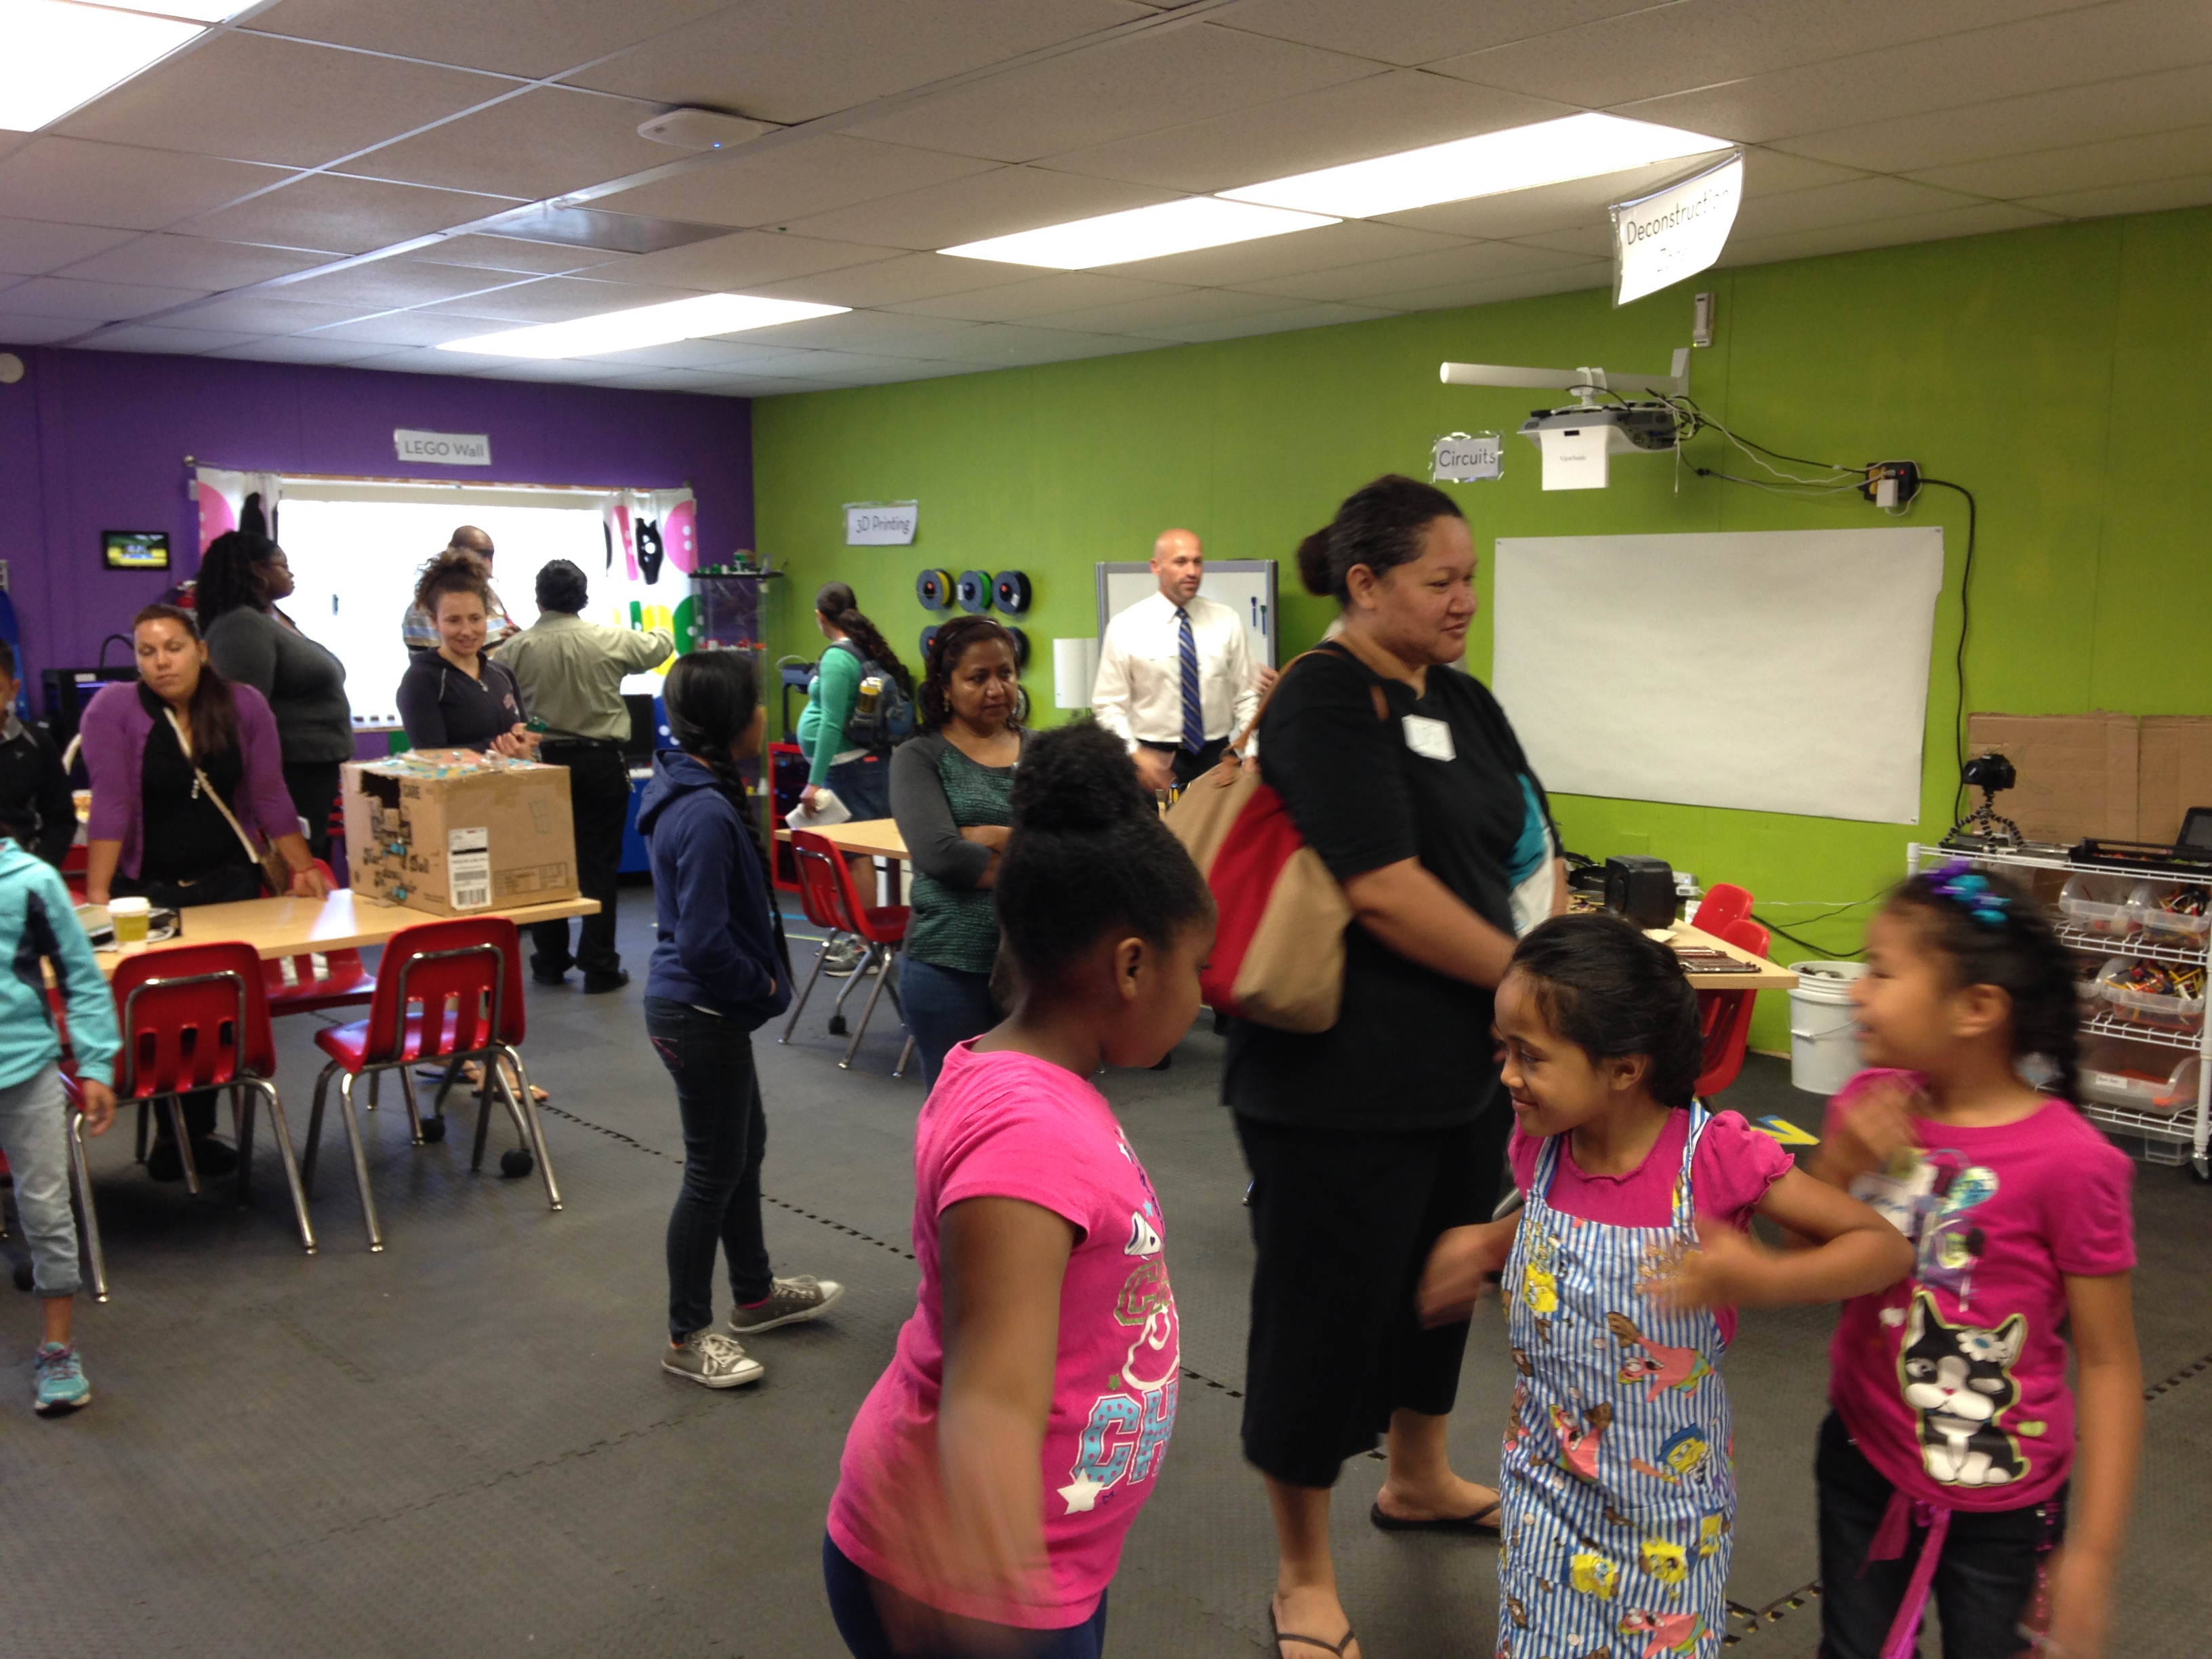
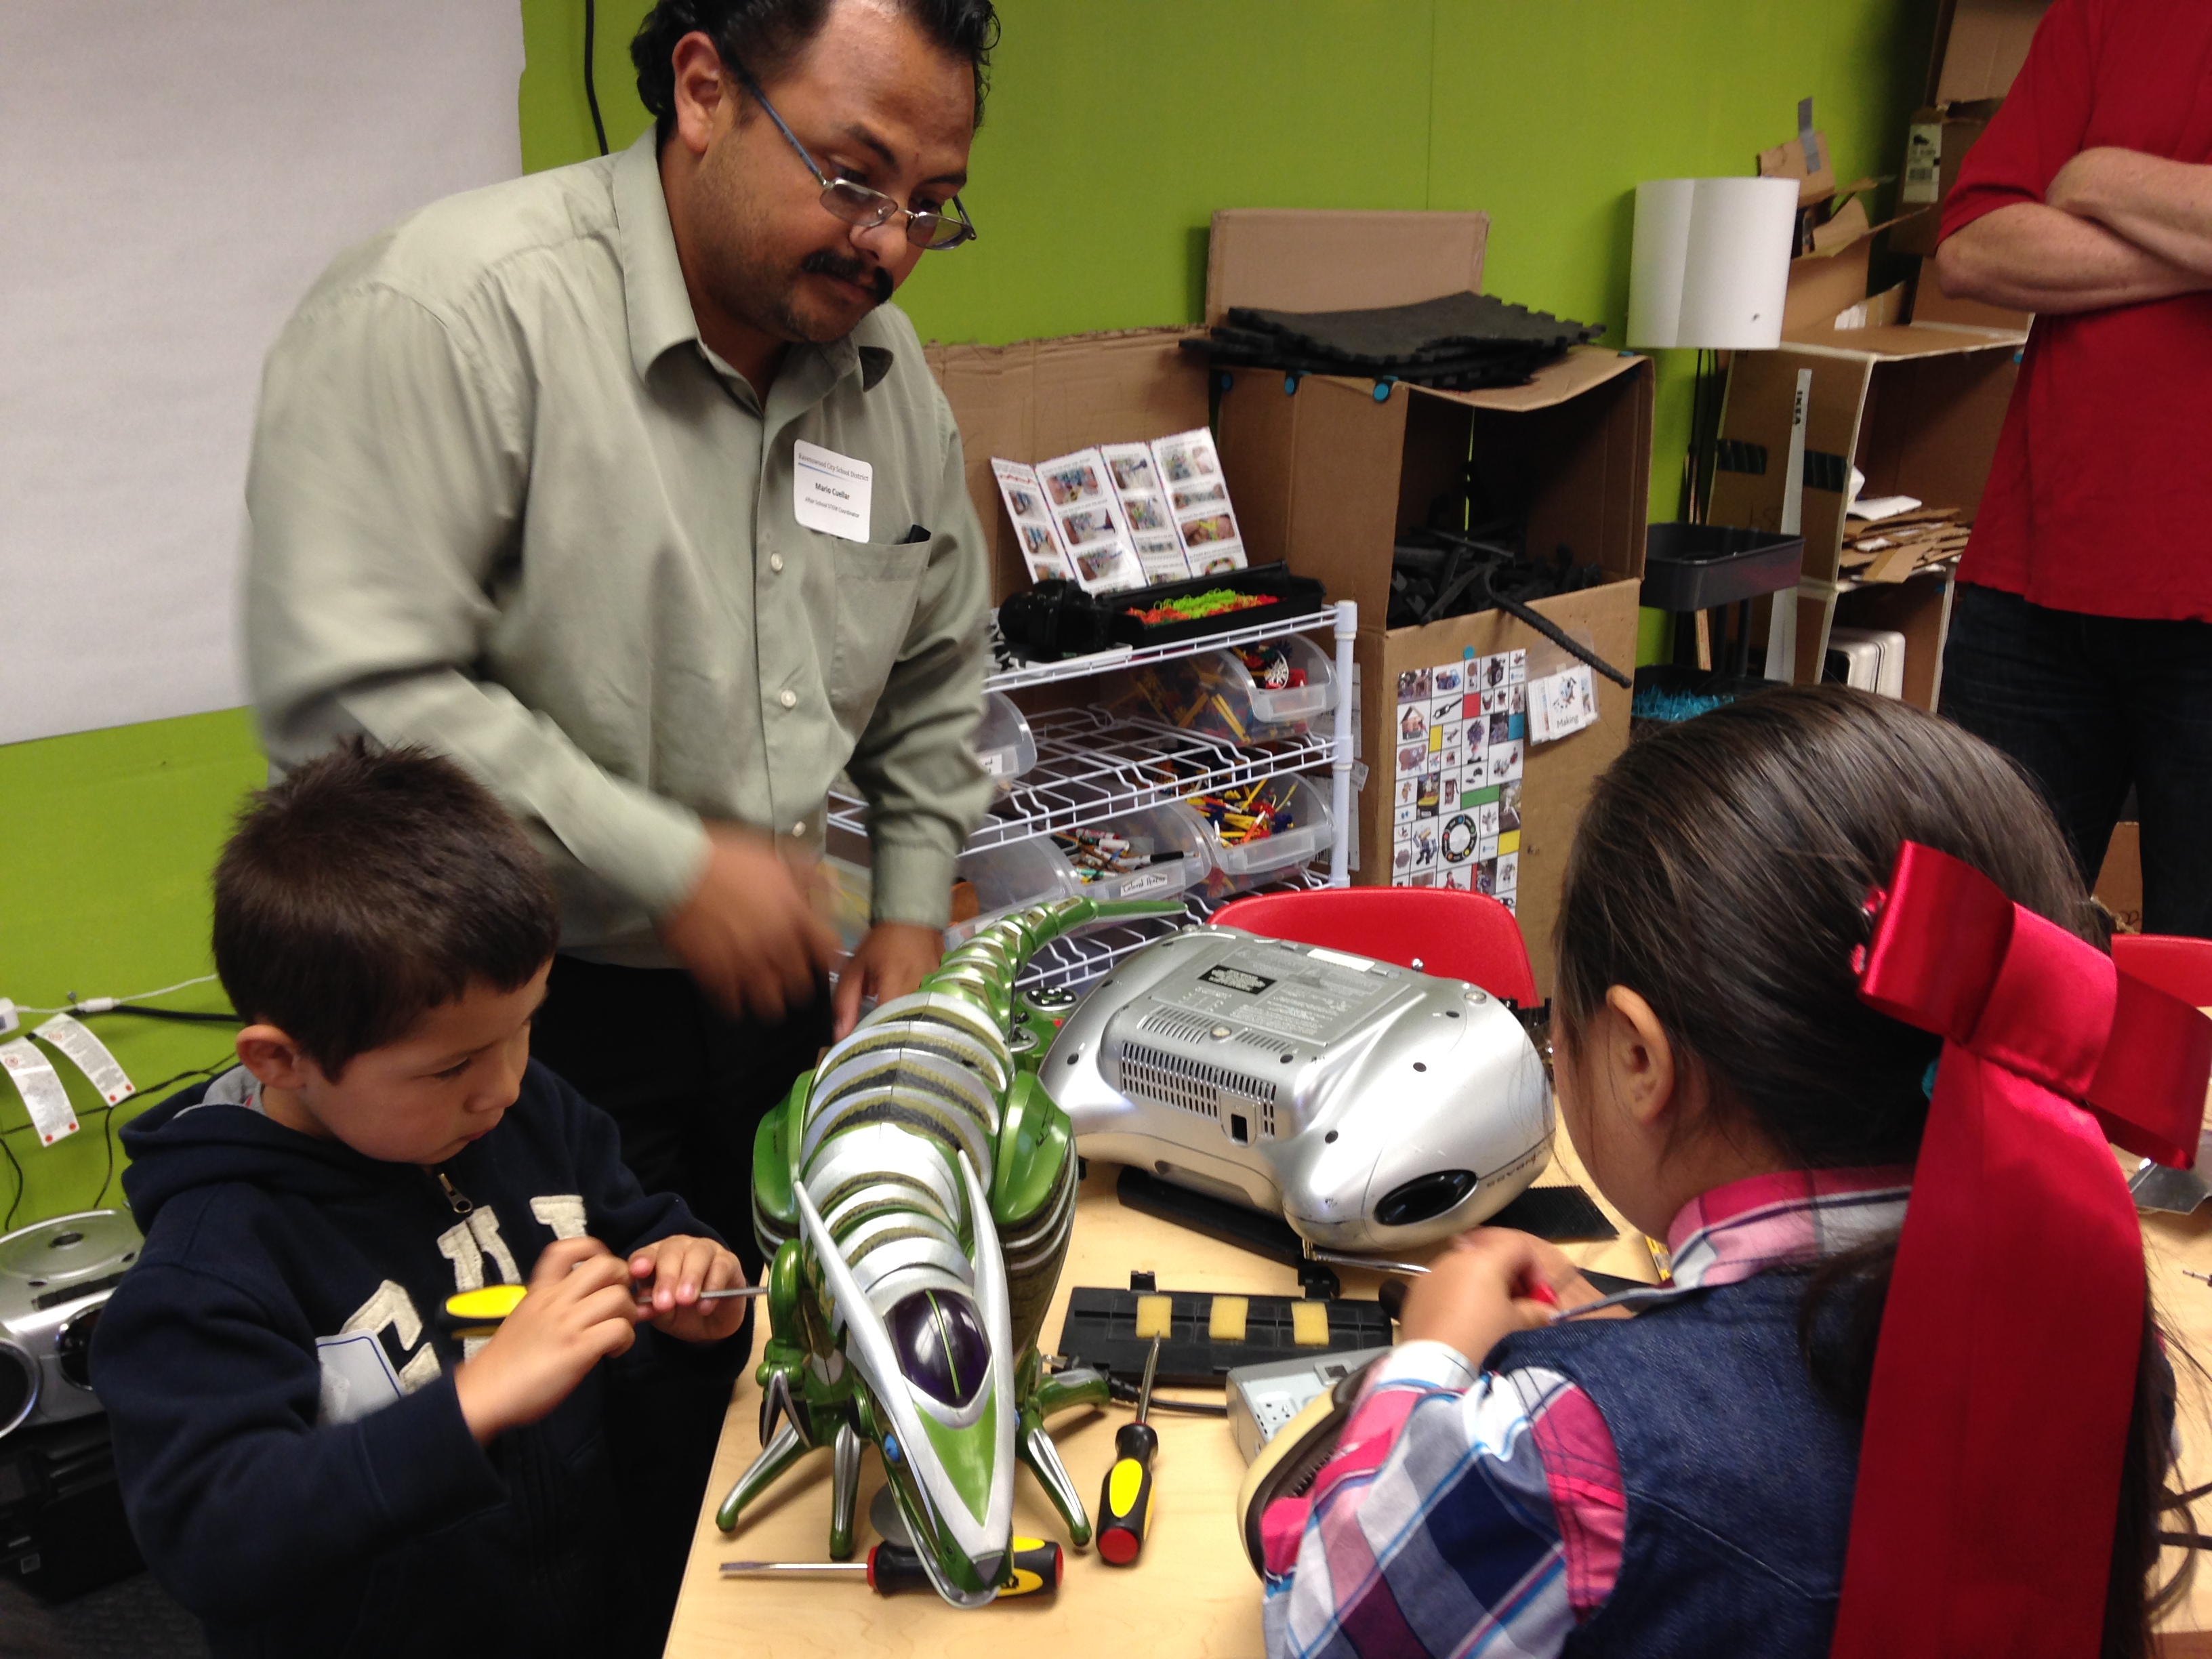
Today we opened the Makerspace all day to families and the greater community, with an incredible showing! We had children and adults in the space building, painting, exploring, and sharing with one another.
Thank you to everyone who took their Saturday morning and afternoon to see what we are doing for our students.
It’s been quite a while since I’ve updated, which means that there are so many little things to update that this might feel a little fragmented. I’m writing this update on the eve of #SVGives, a fundraiser for numerous Silicon Valley non-profits, including the Ravenswood Education Foundation.
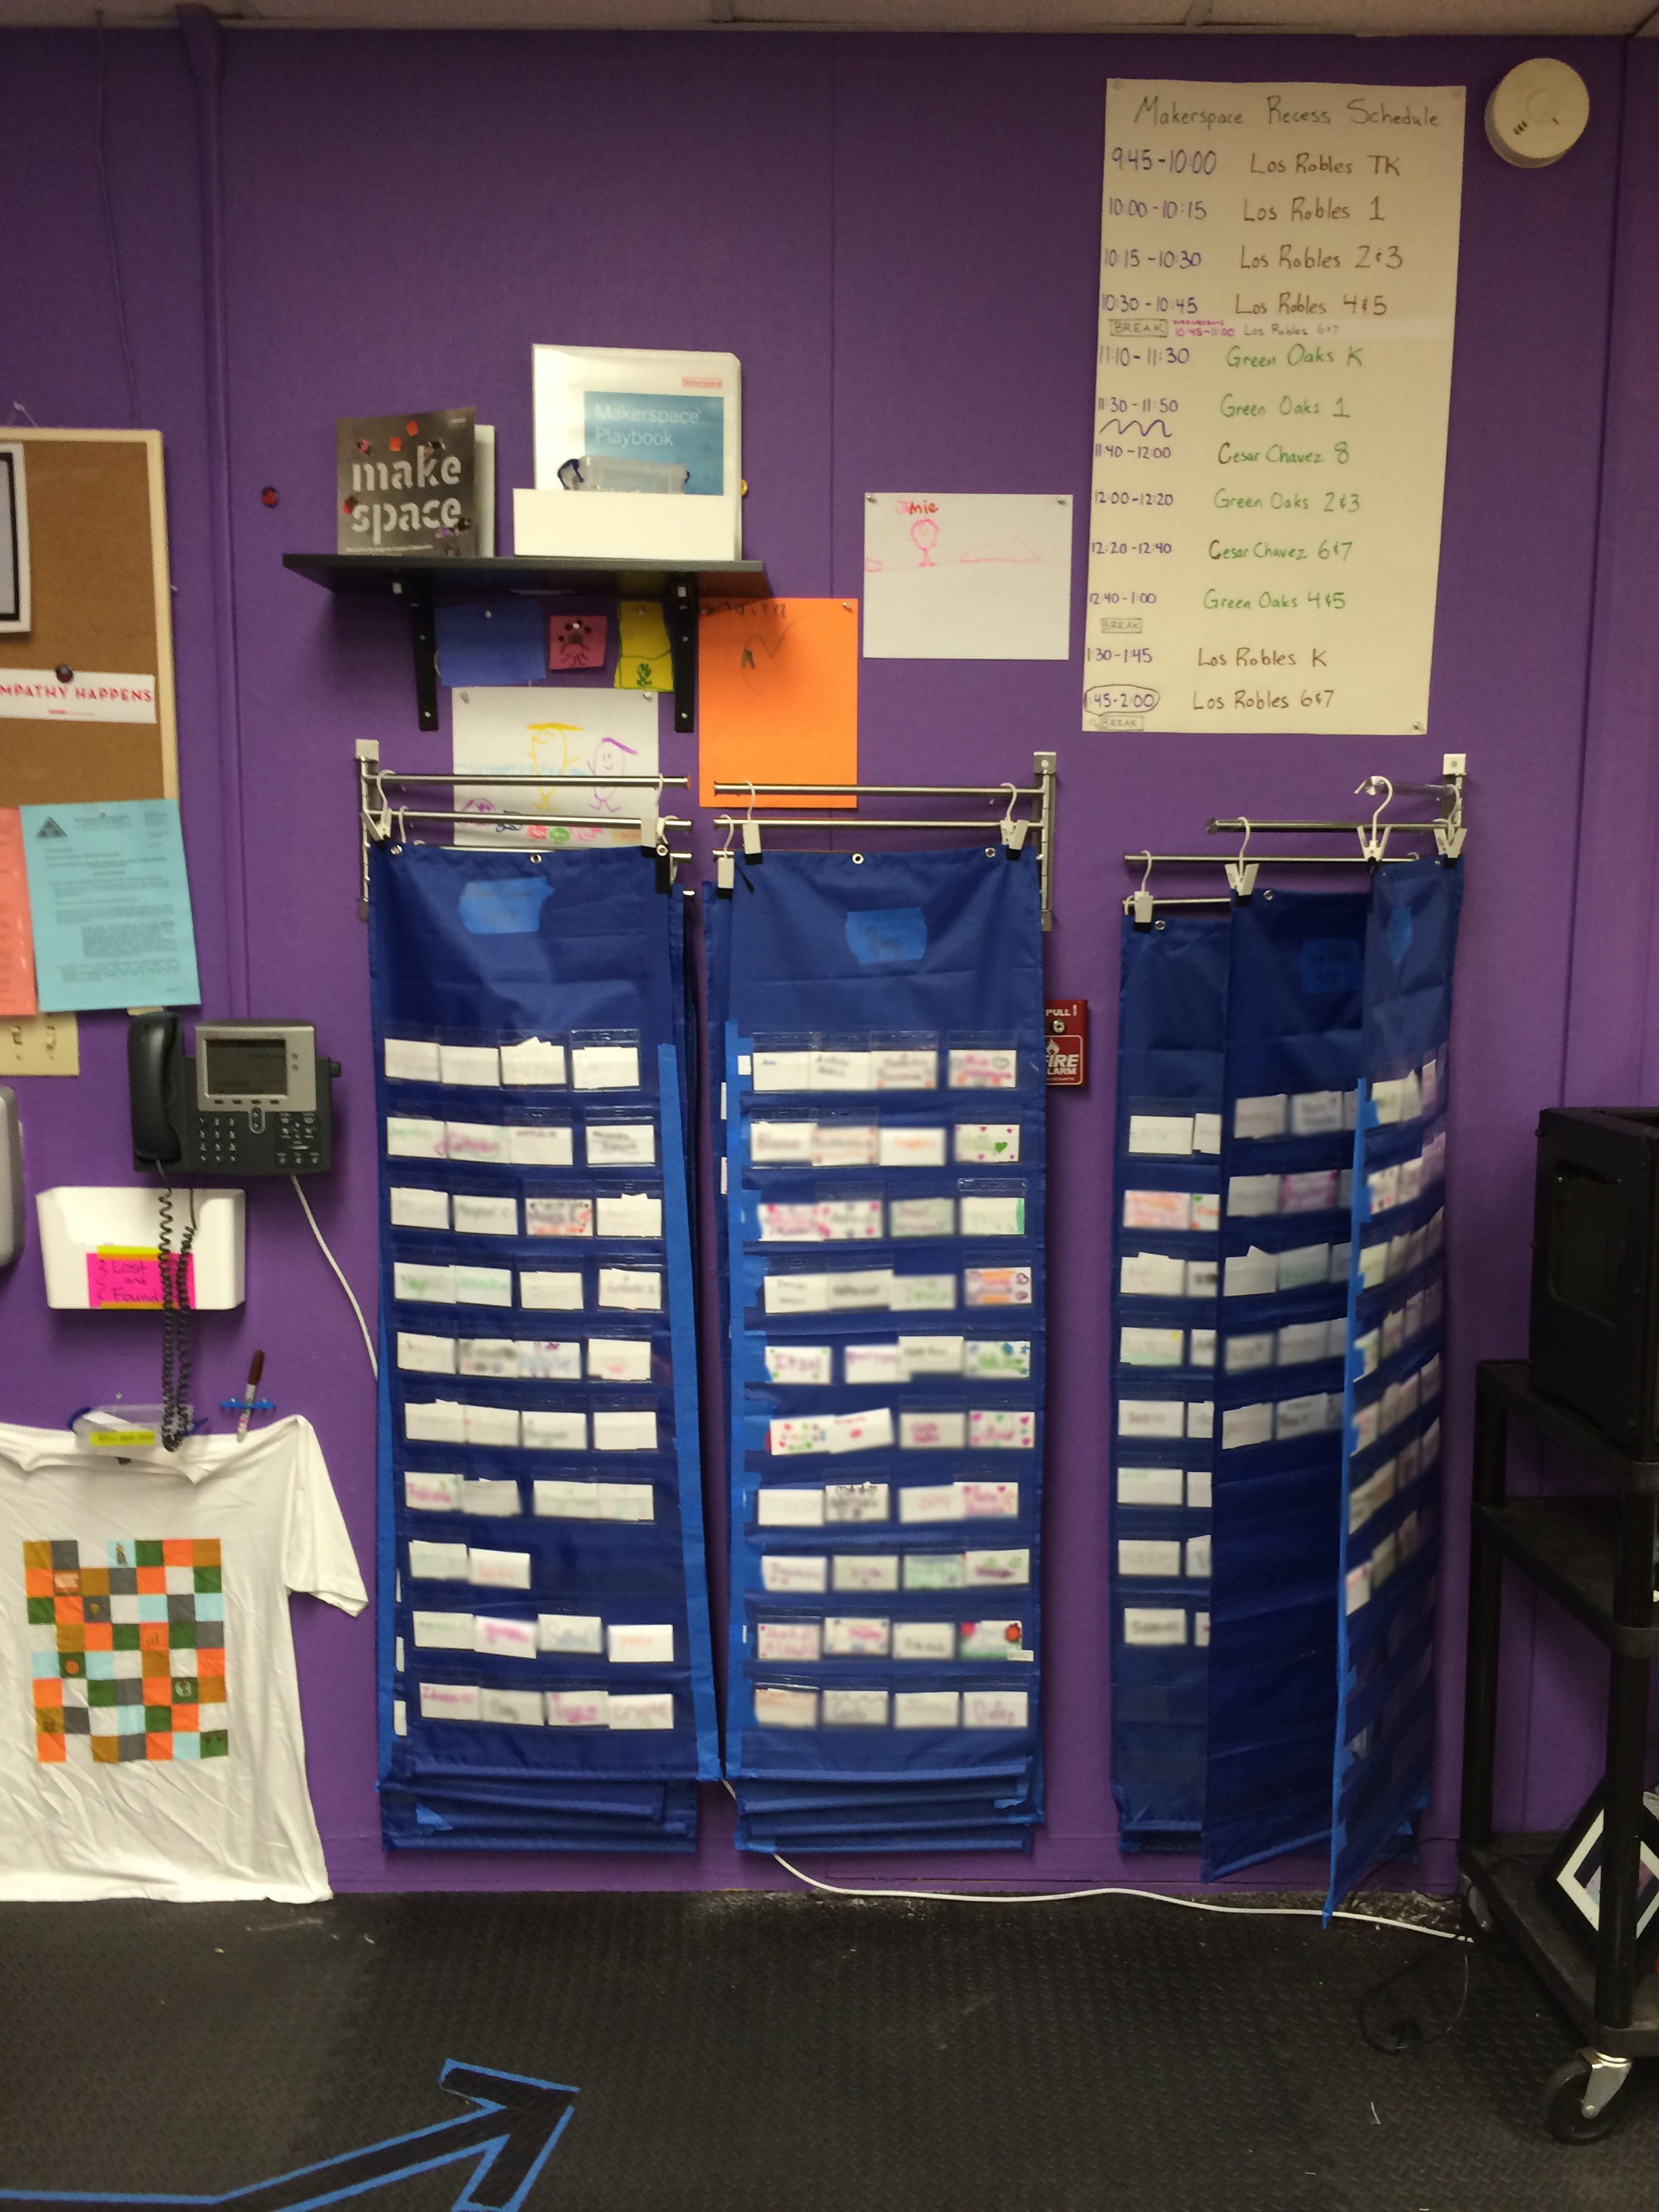
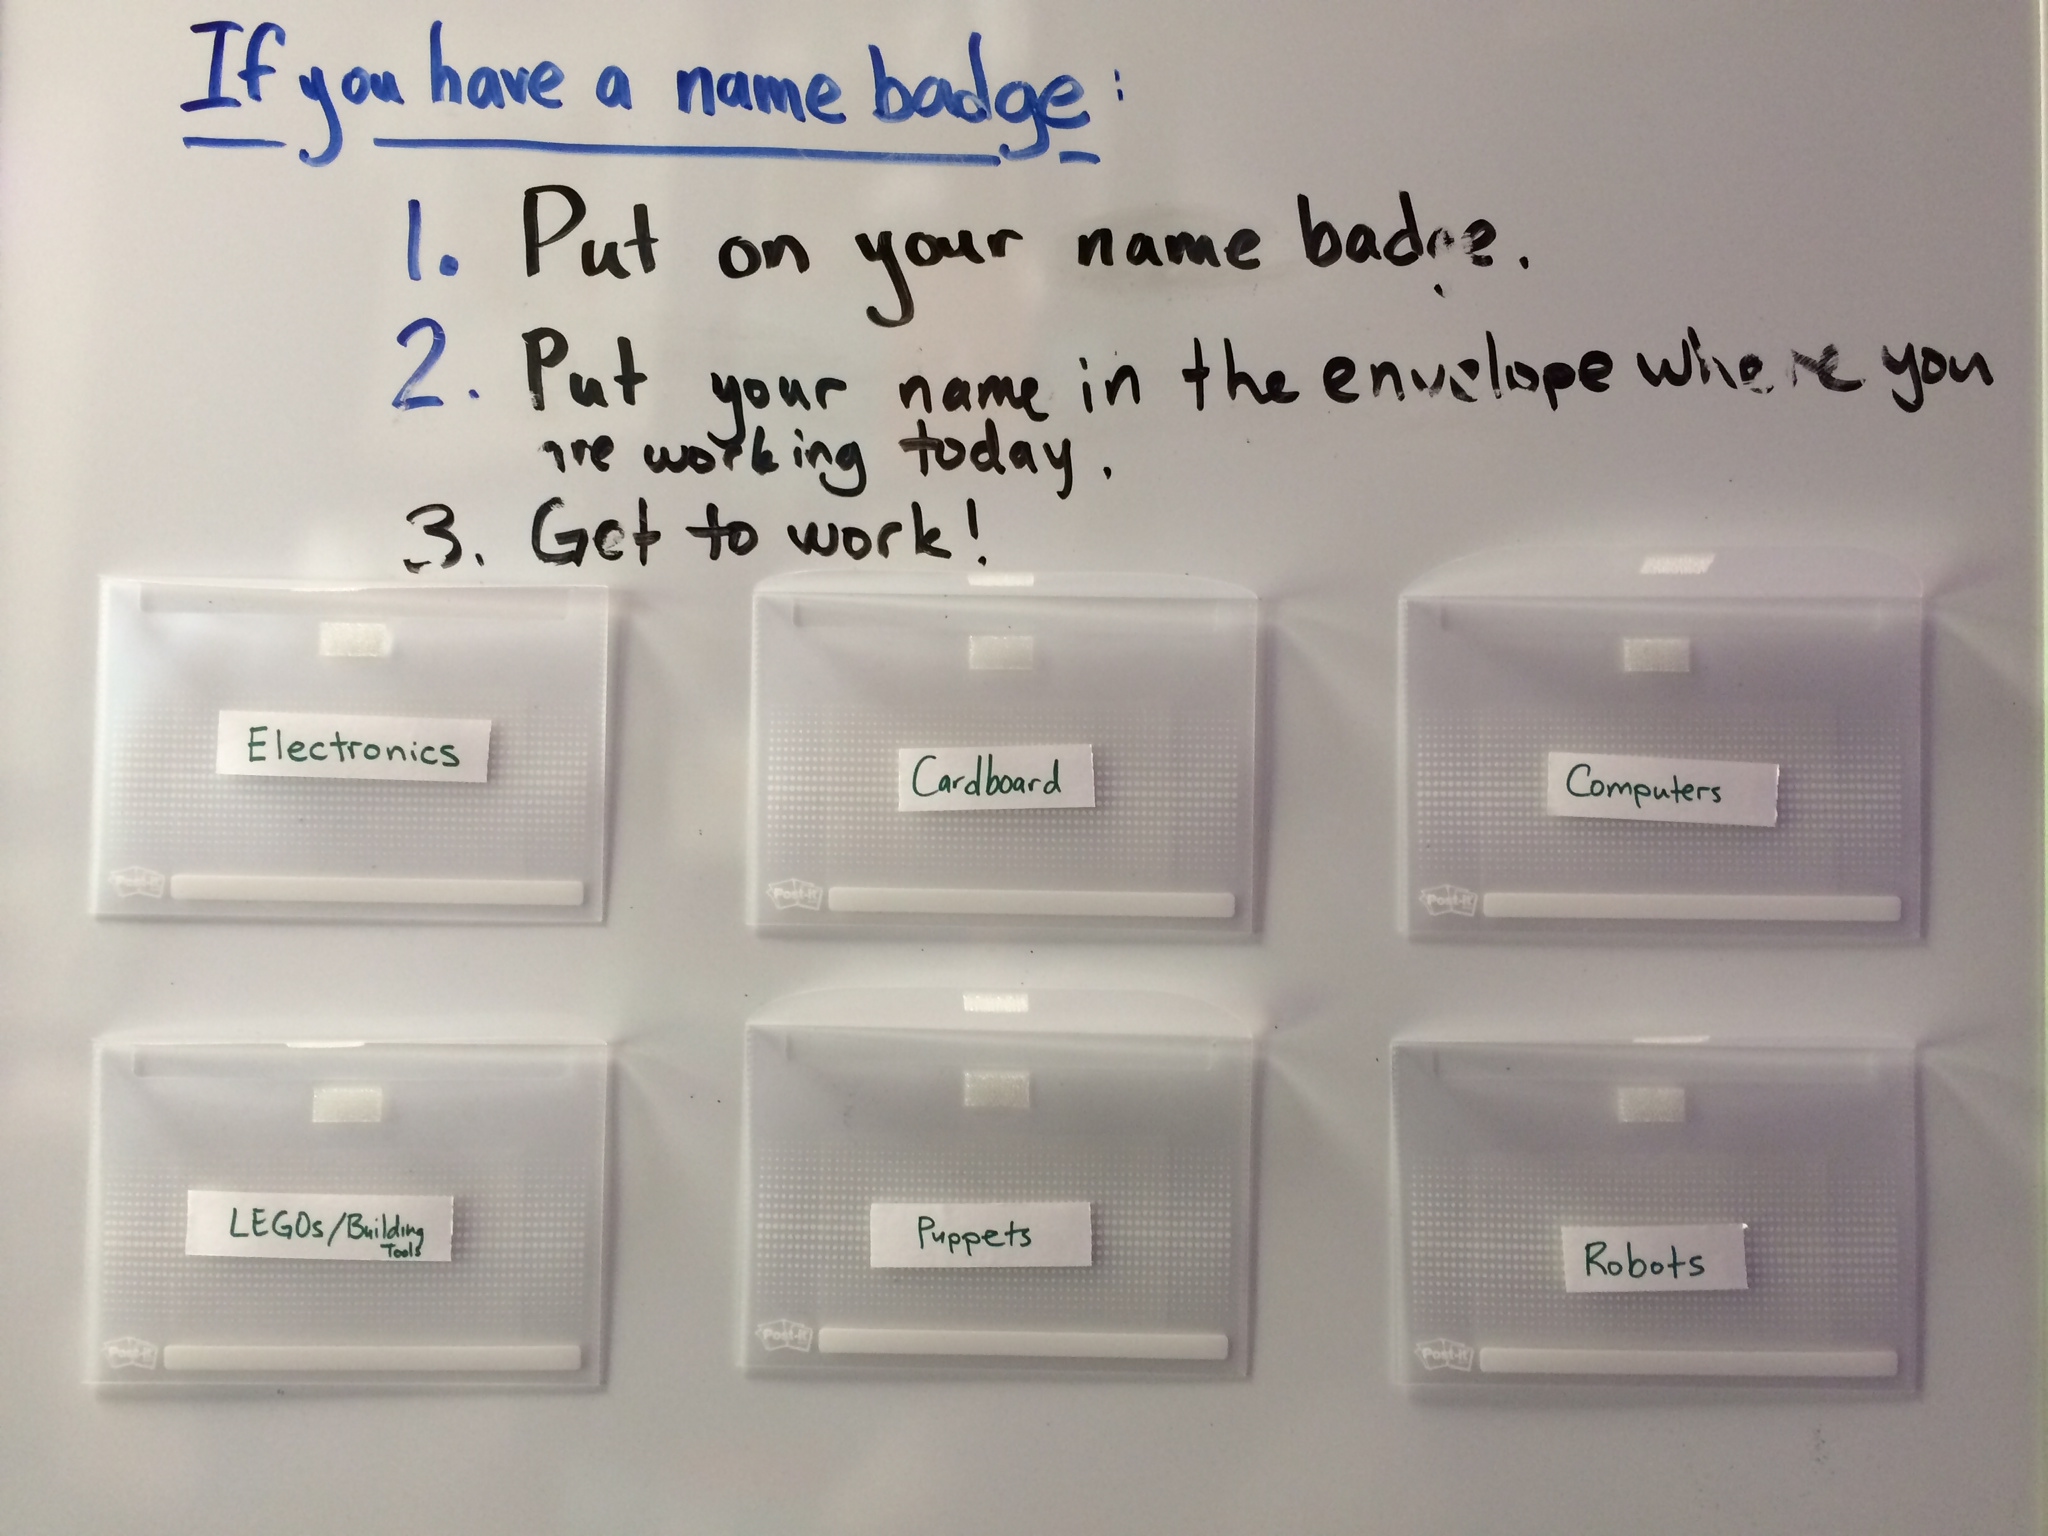
Name Badges If you’ve been following this blog, you know all about the iteration upon iteration I’ve gone through in trying to make entering and exiting fast and easy for all involved. Our latest attempt actually looks to be the winner. For now.
My colleague, Mario, and I were talking about how to make the name badges easier to access when he said he wished we could place each set on an arm that could swing out. I thought this was a fantastic idea, so I jumped over to IKEA and found these awesome towel racks. The pocket charts we were using were a bit too large, so I cut them in half, taped up the exposed half, and clipped them in.
Now, students come in, find their grade level, find their name, and pick up their name badge. Still takes a moment, but will have to do until digital name badges are invented that will show a student’s name based on voice recognition or voice command.
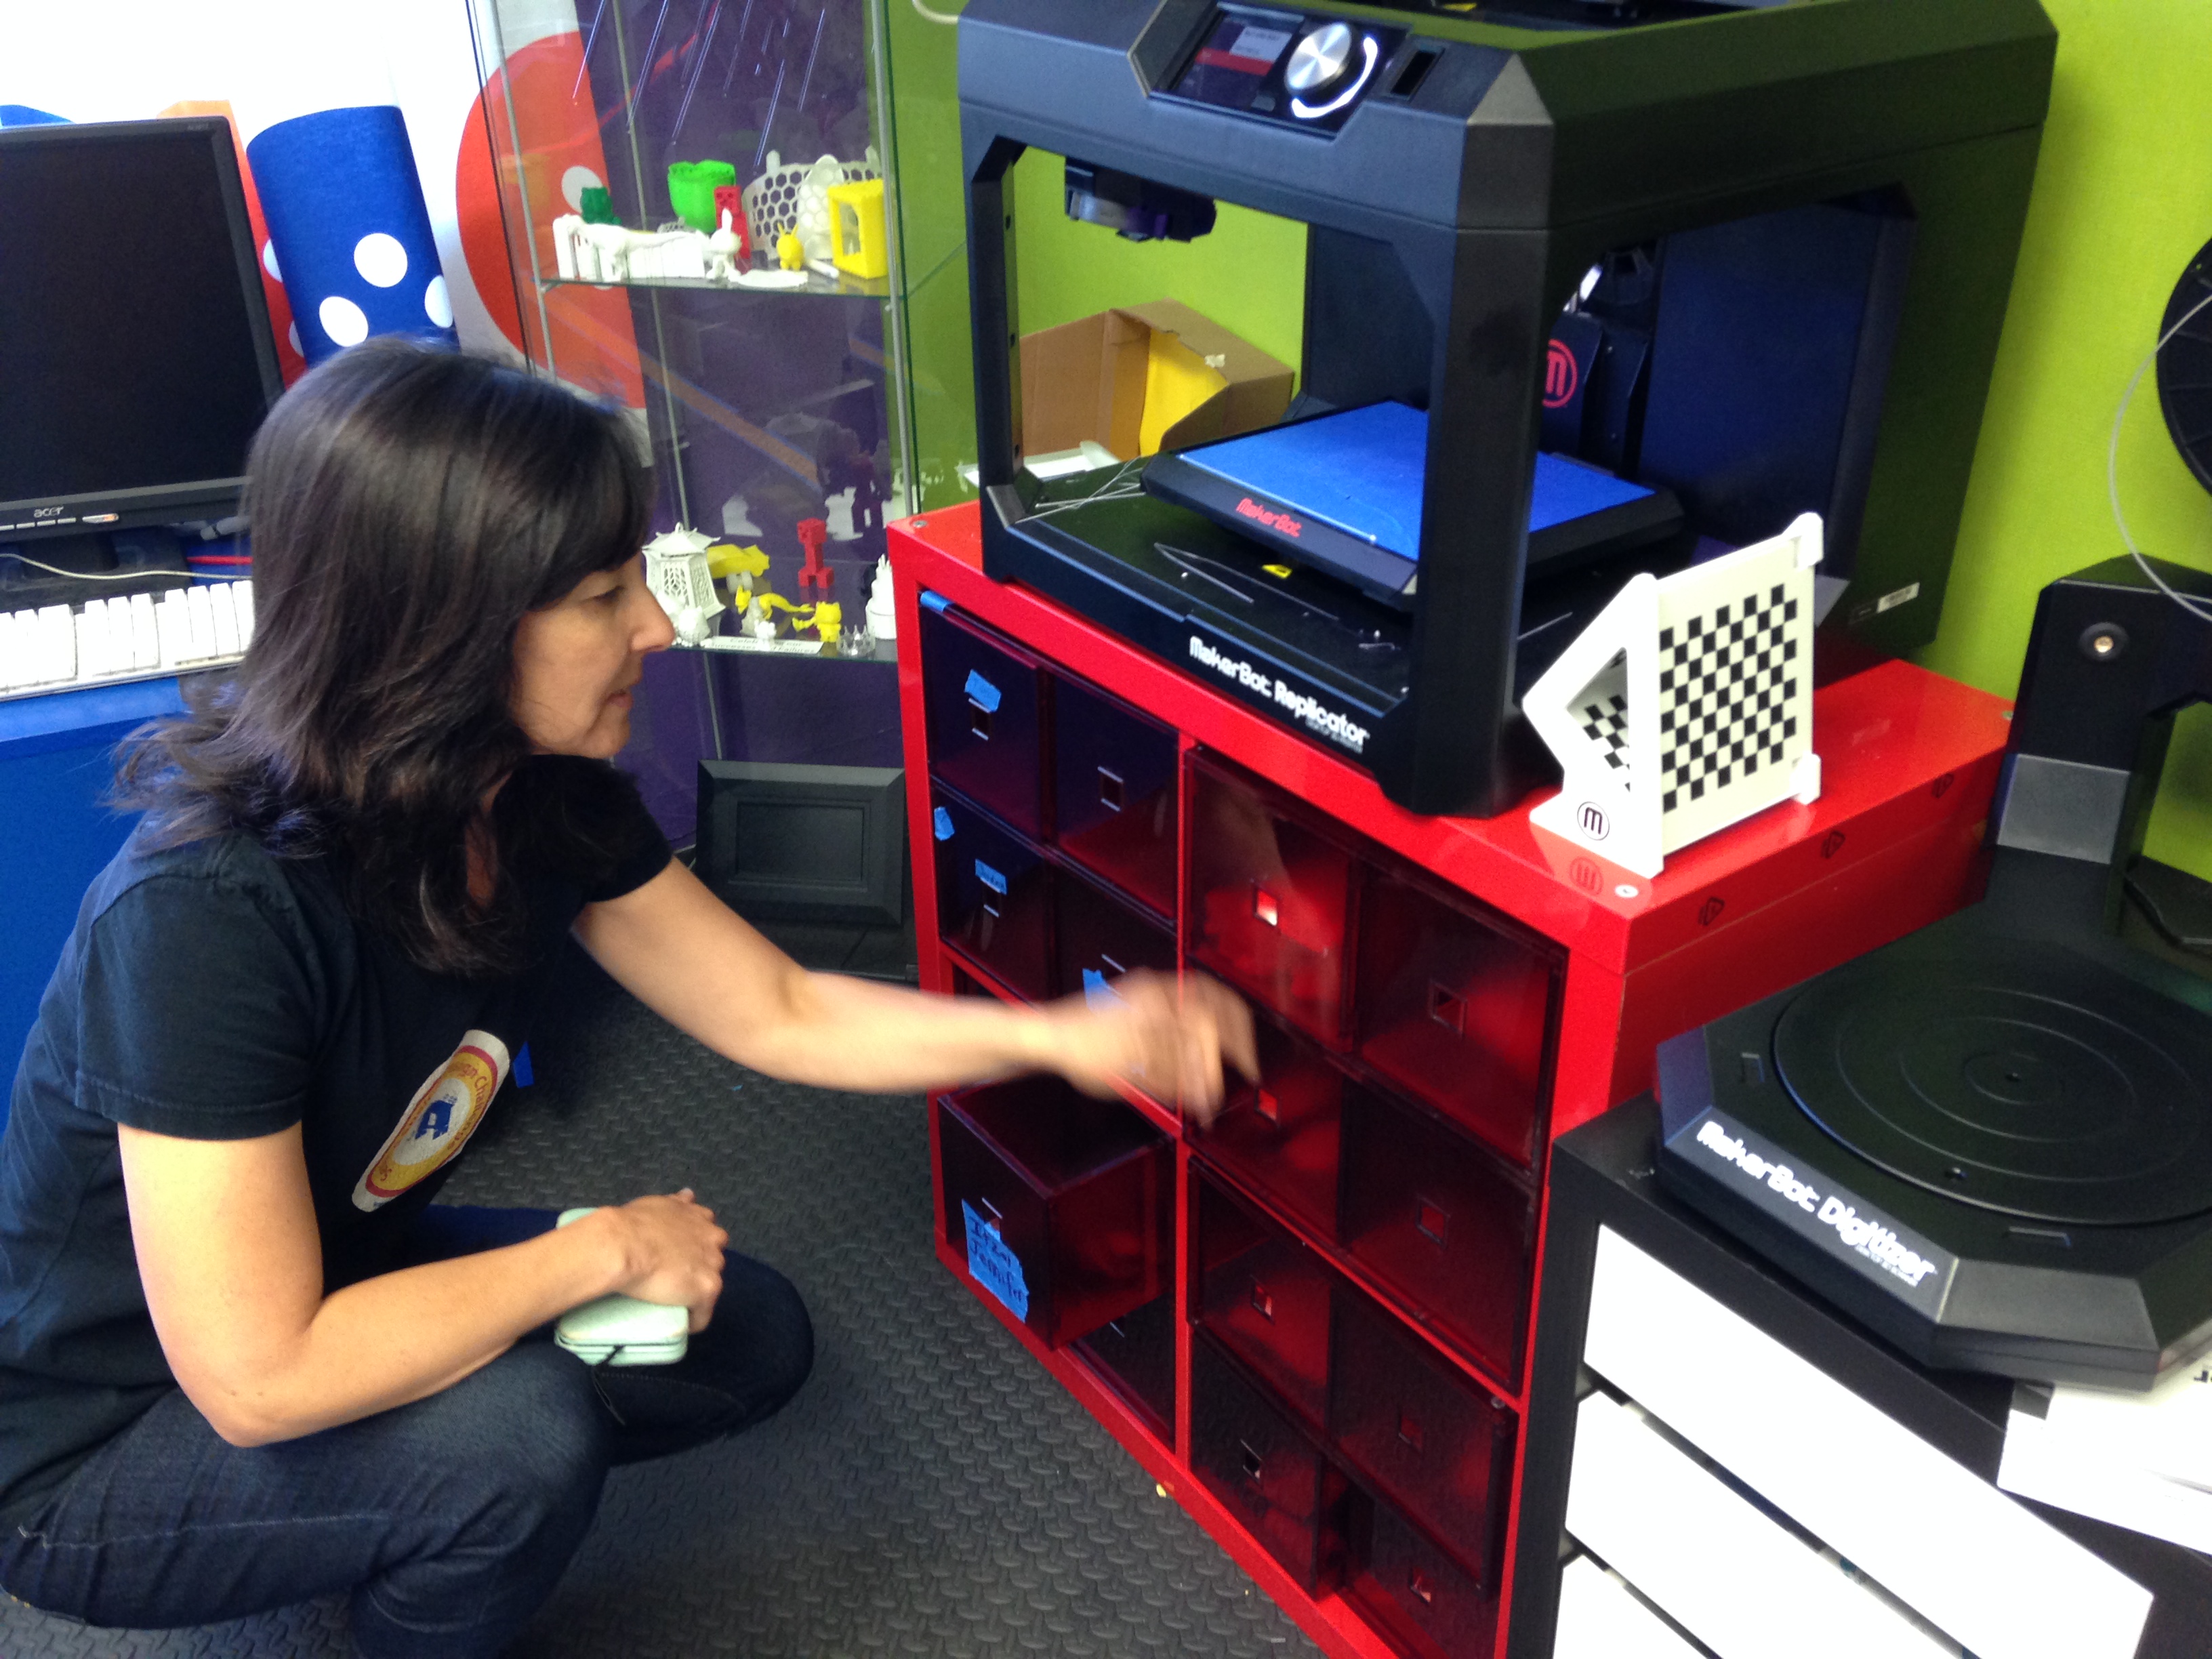
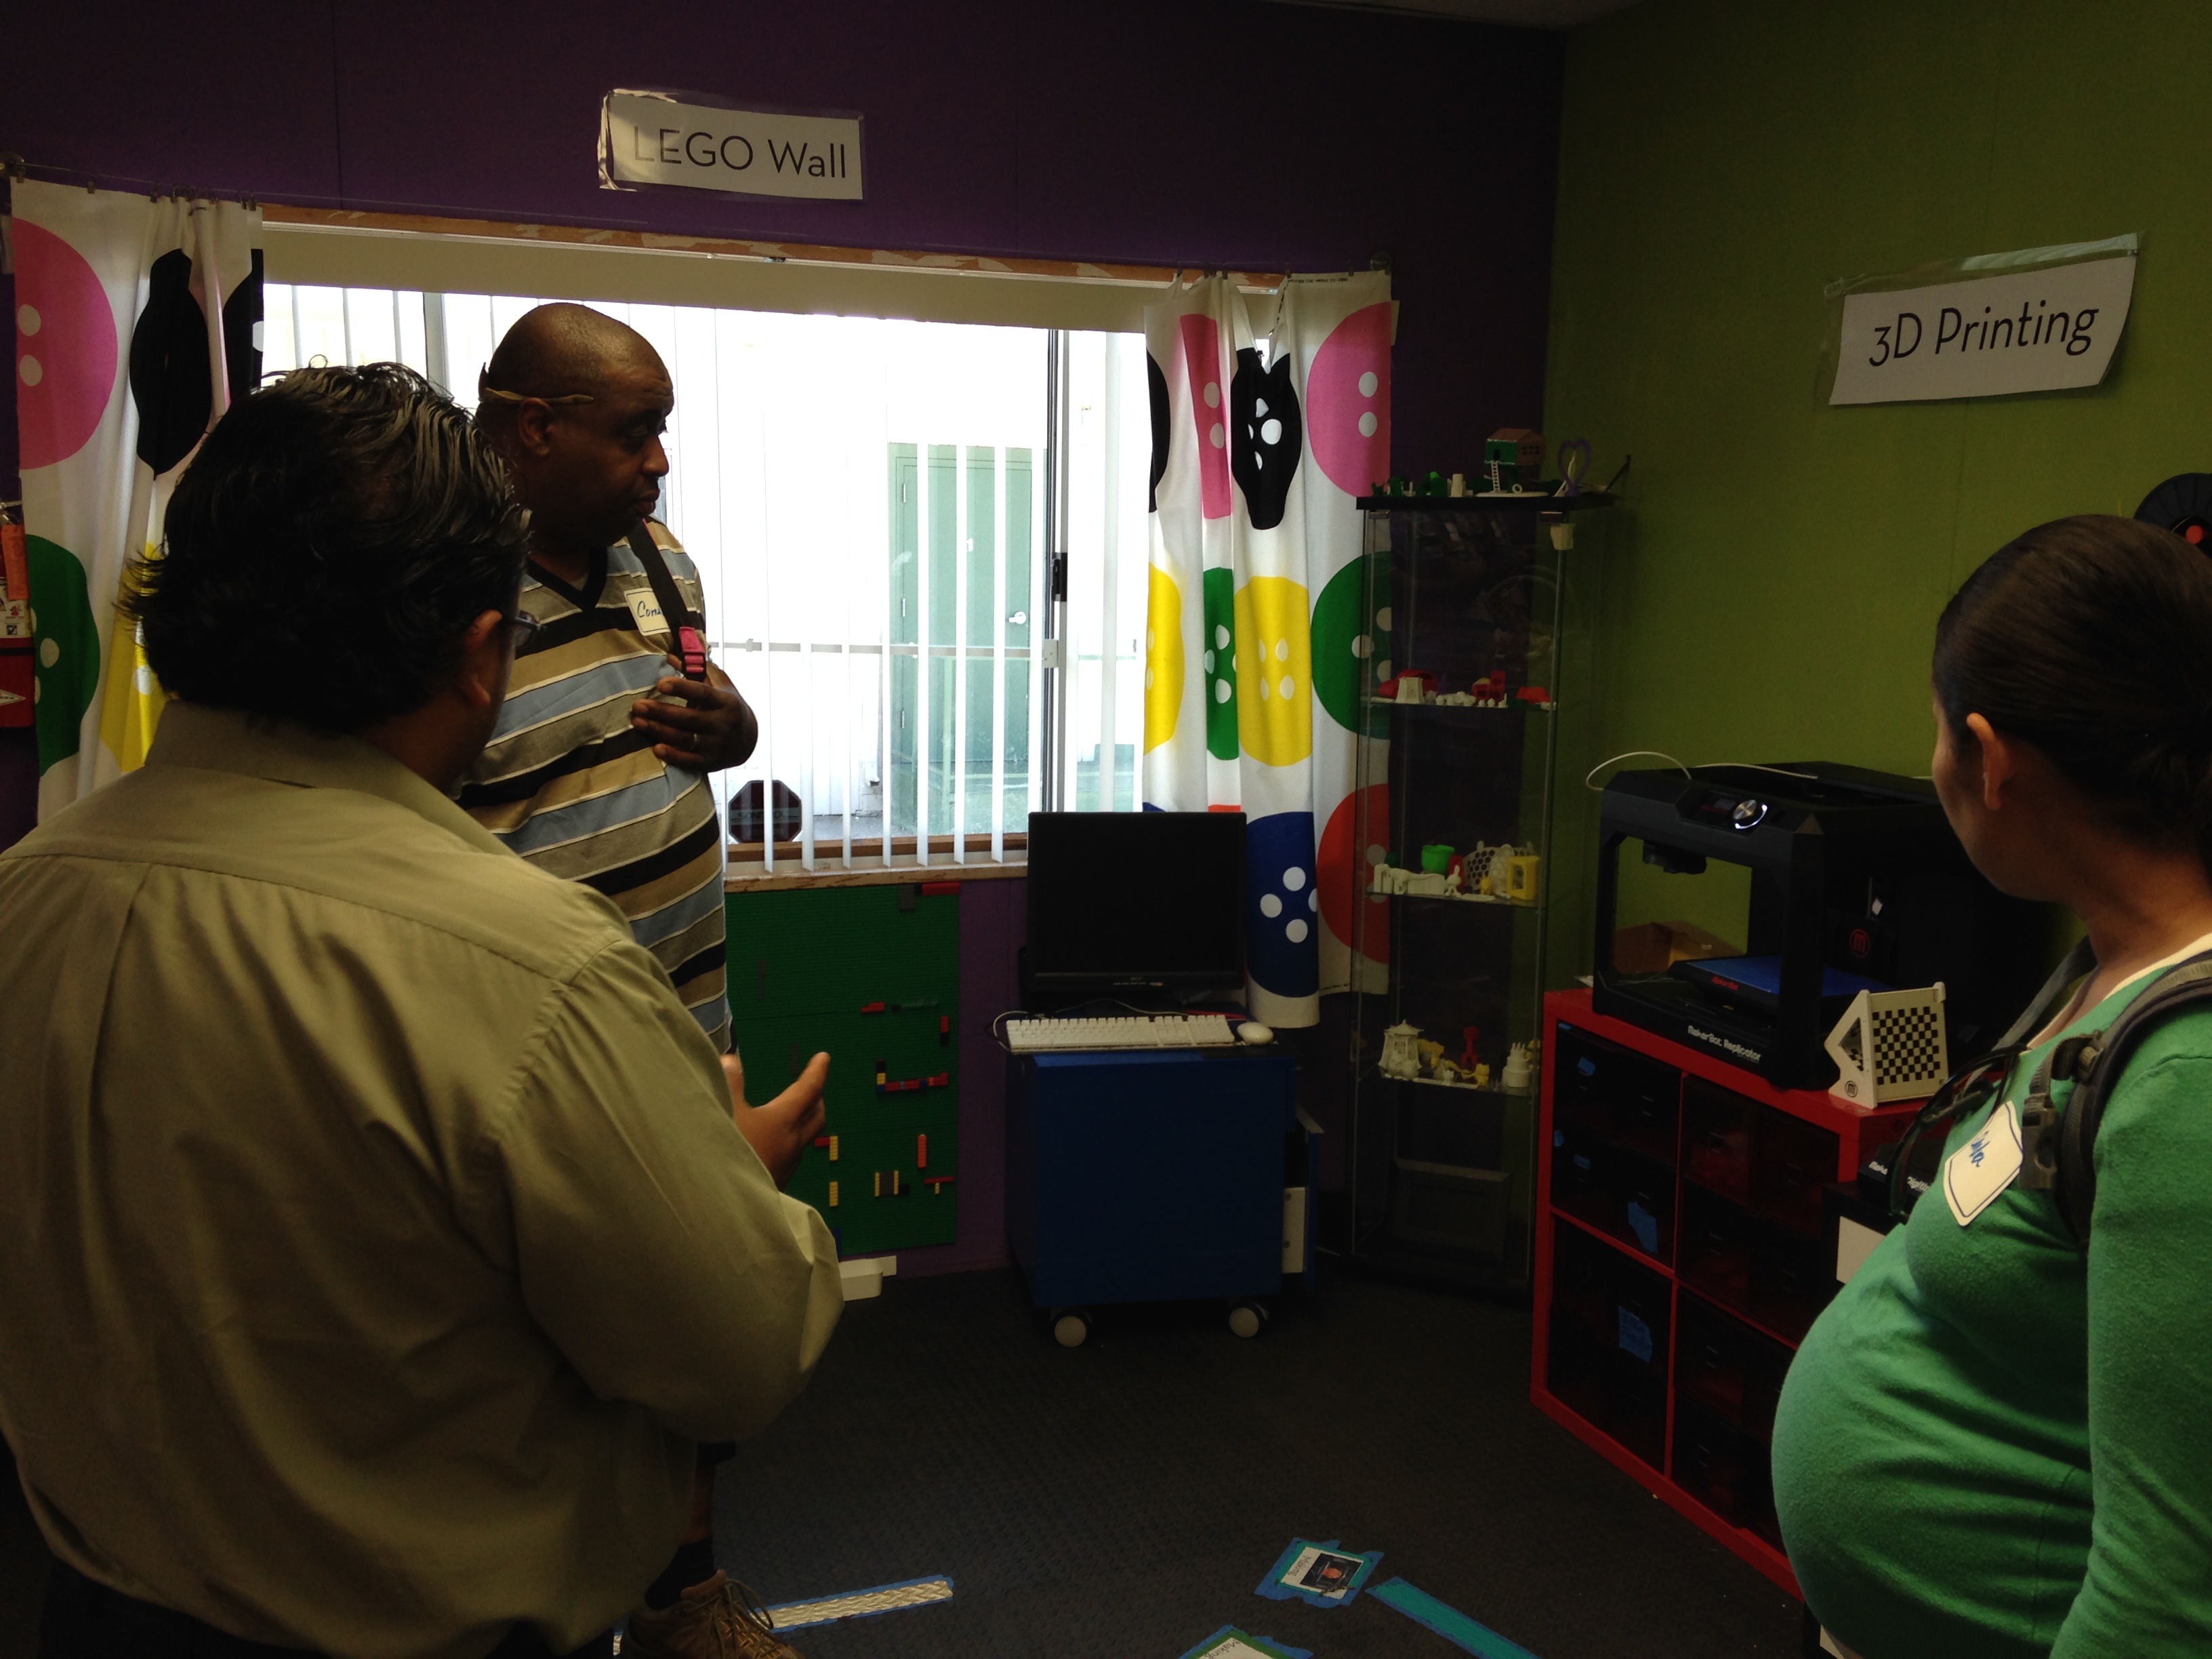
3D Printing
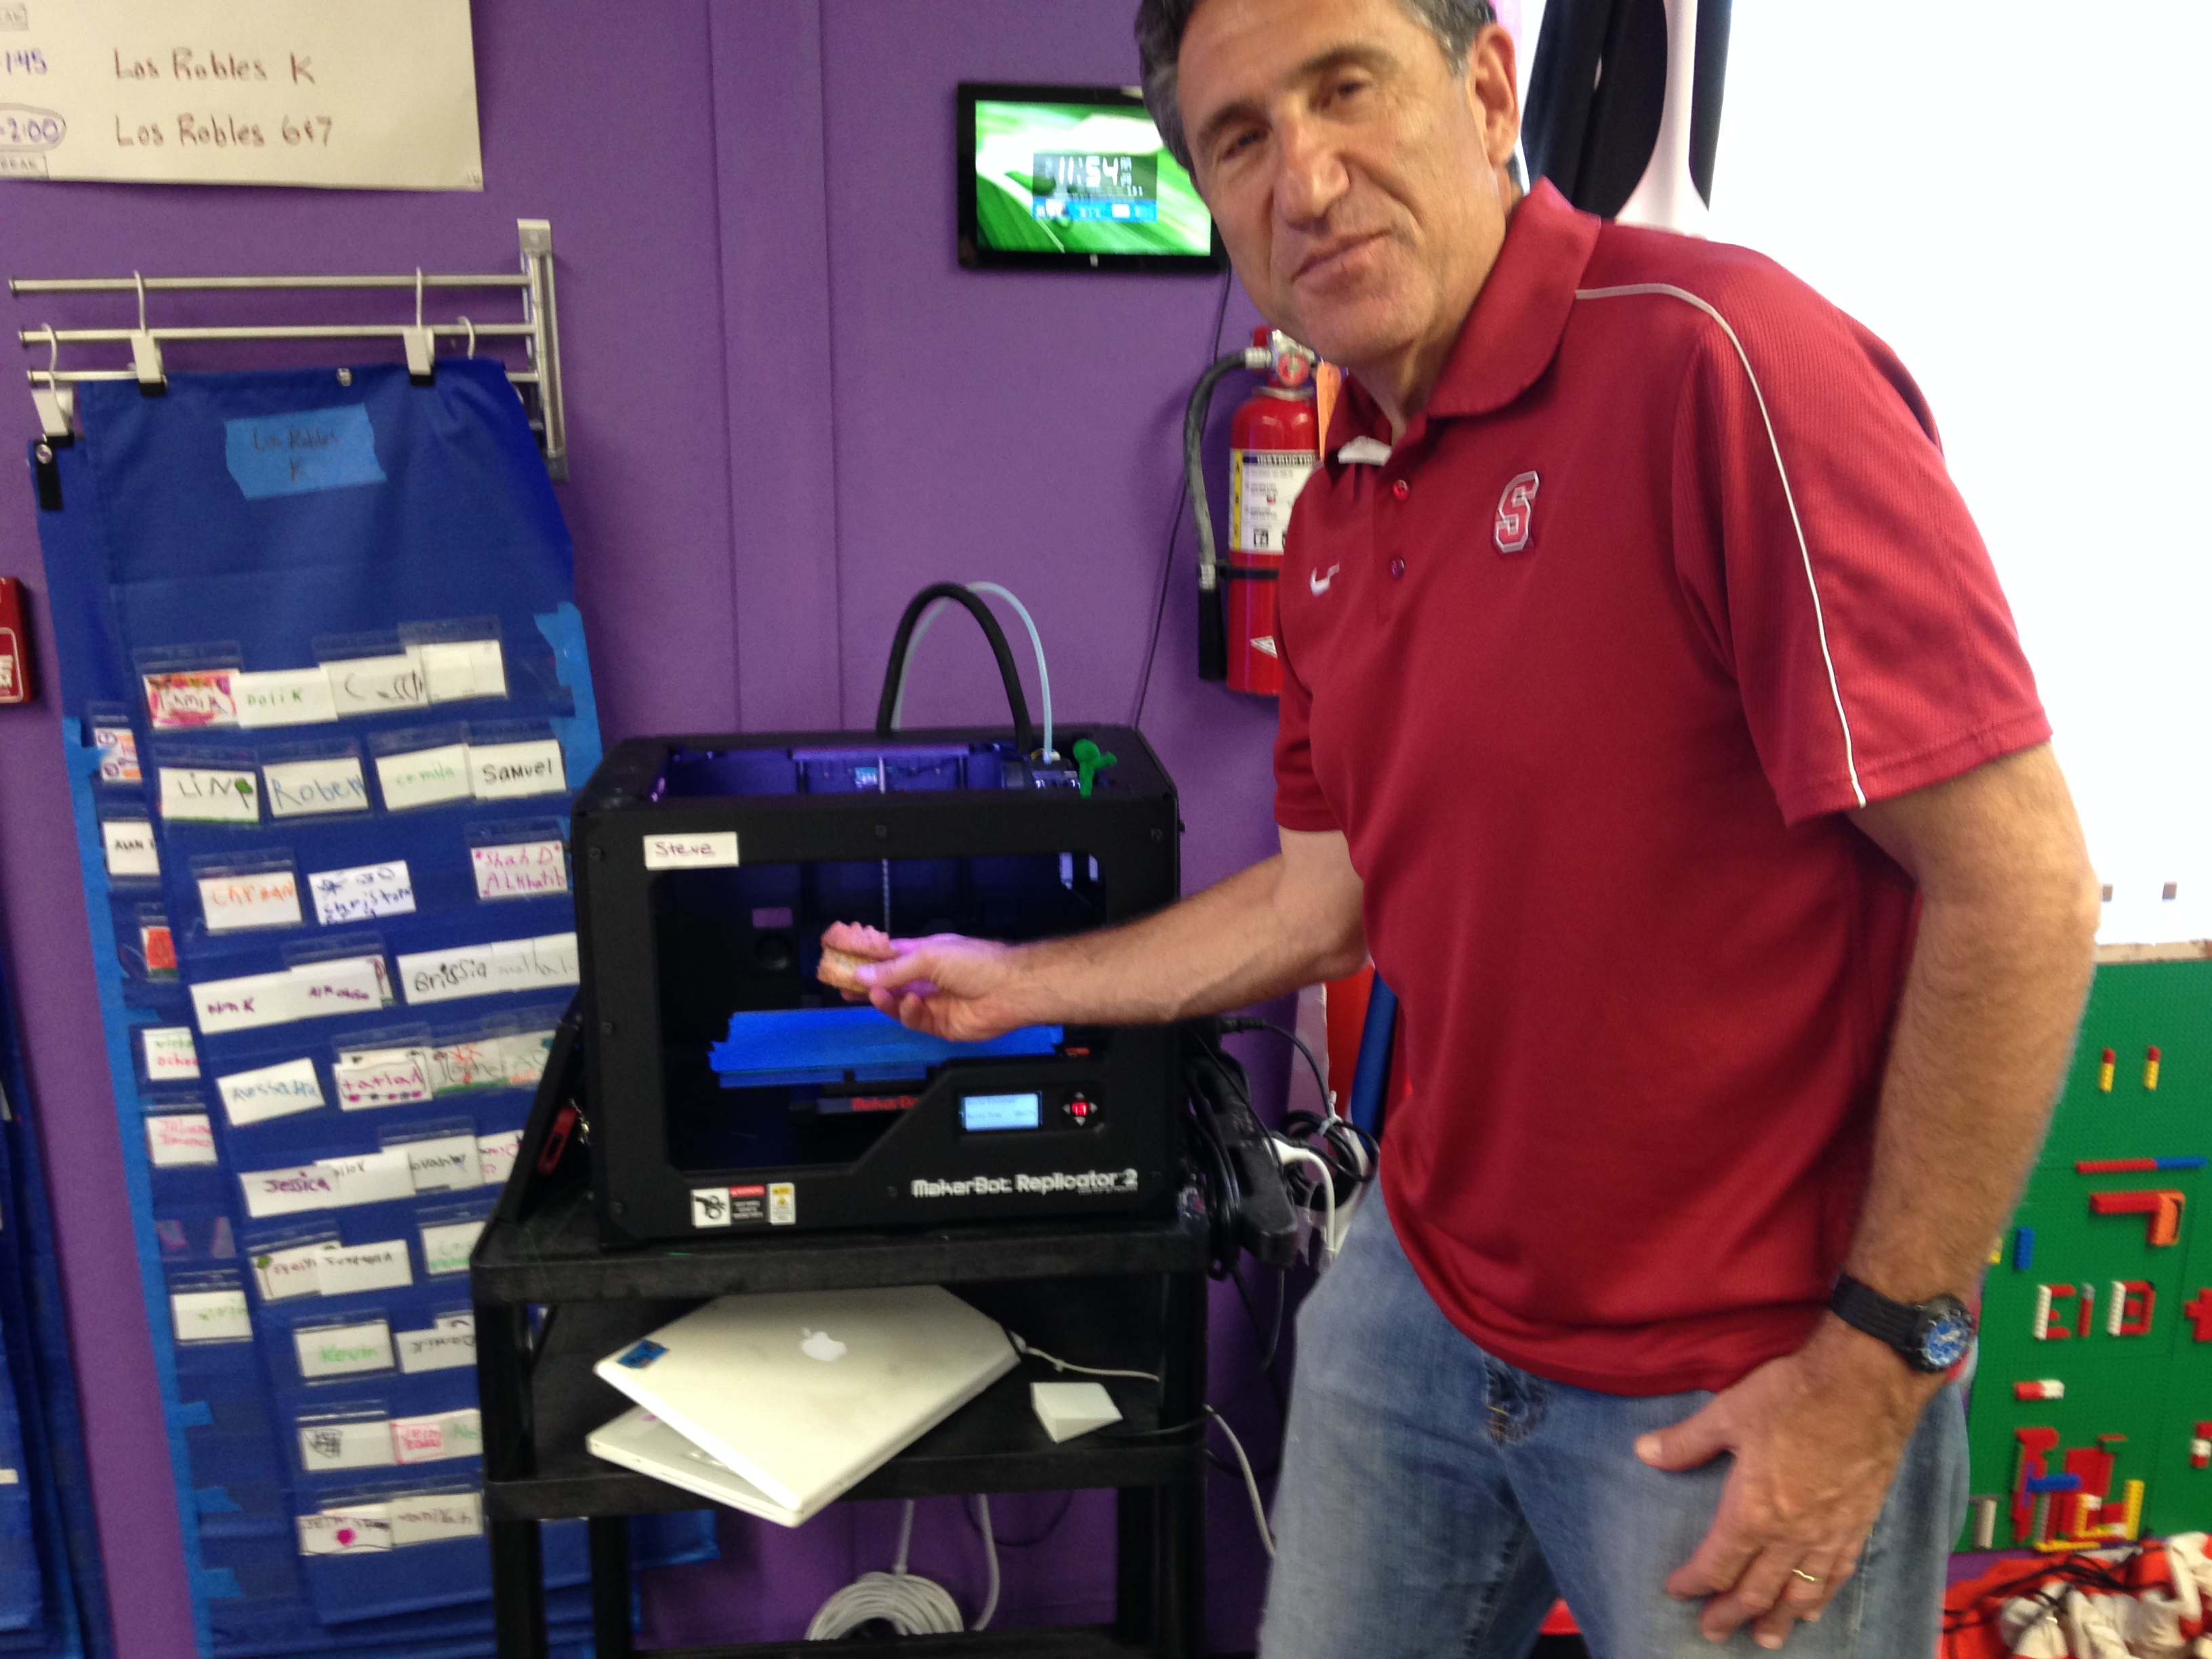
Our students are very fortunate because one of our early donors is so excited about students using 3D printers that he donated 8 – one for each of next year’s Makerspaces. To highlight student work, we put together a glass display case (IKEA again) that highlights our successes and our mistakes.
To print an object on the 3D printer, our students use one of two sites (or a combination!): Tinkercad and Thingiverse.
Thingiverse is generally first, as students begin more interested in the printing process than the design process. Students pick out an object to print (the wall plate above was actually customized by a couple of Transitional Kindergarten students with a little support from me), send it to the MakerBot, and ta-da! Instant object.
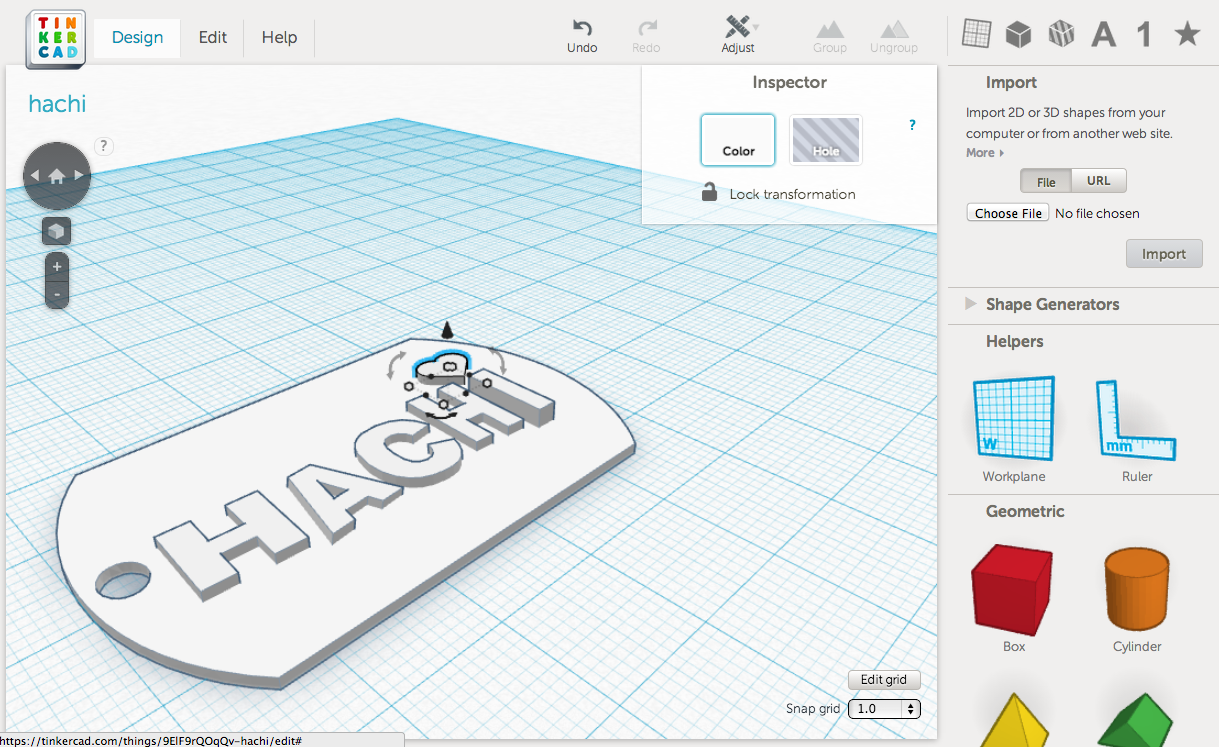
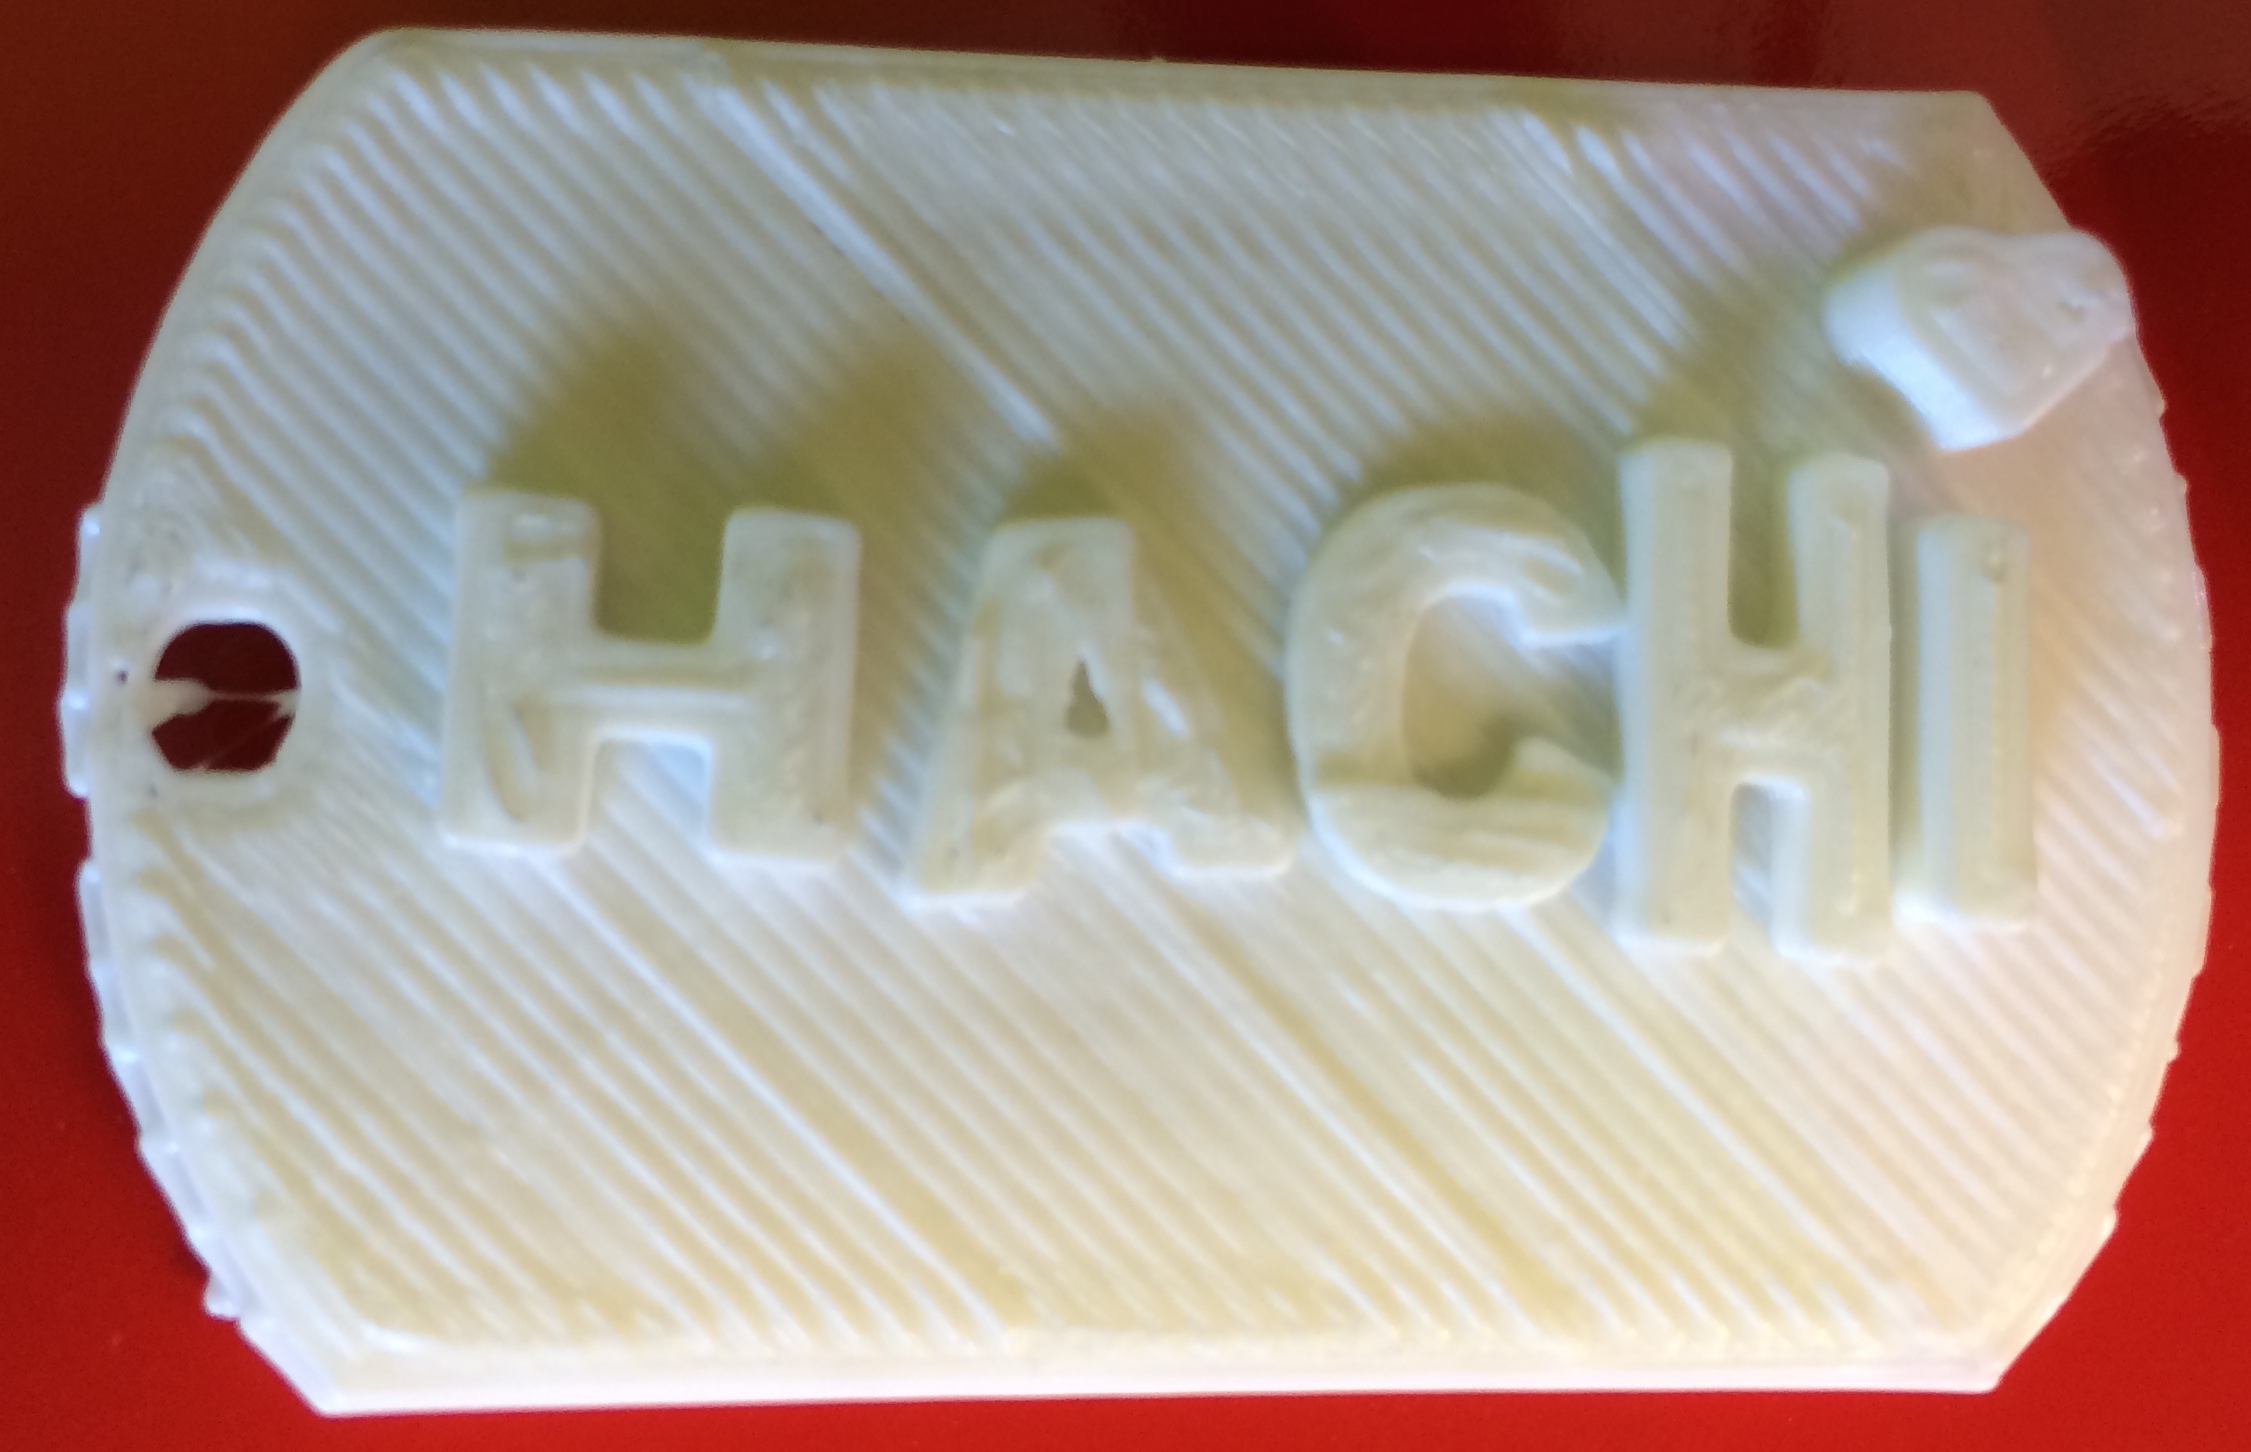
Tinkercad is where the real fun is. Students can create anything they want by dragging and dropping objects, resizing, and even turning selected objects into holes. The object above is by a student who wanted to make a nametag for her dog after the engraving machine at the store was broken.
Pretty neat, huh? The machine at the pet store didn’t work, so she took matters into her own creative hands. And I doubt the machine would’ve allowed her to place a heart above the i.
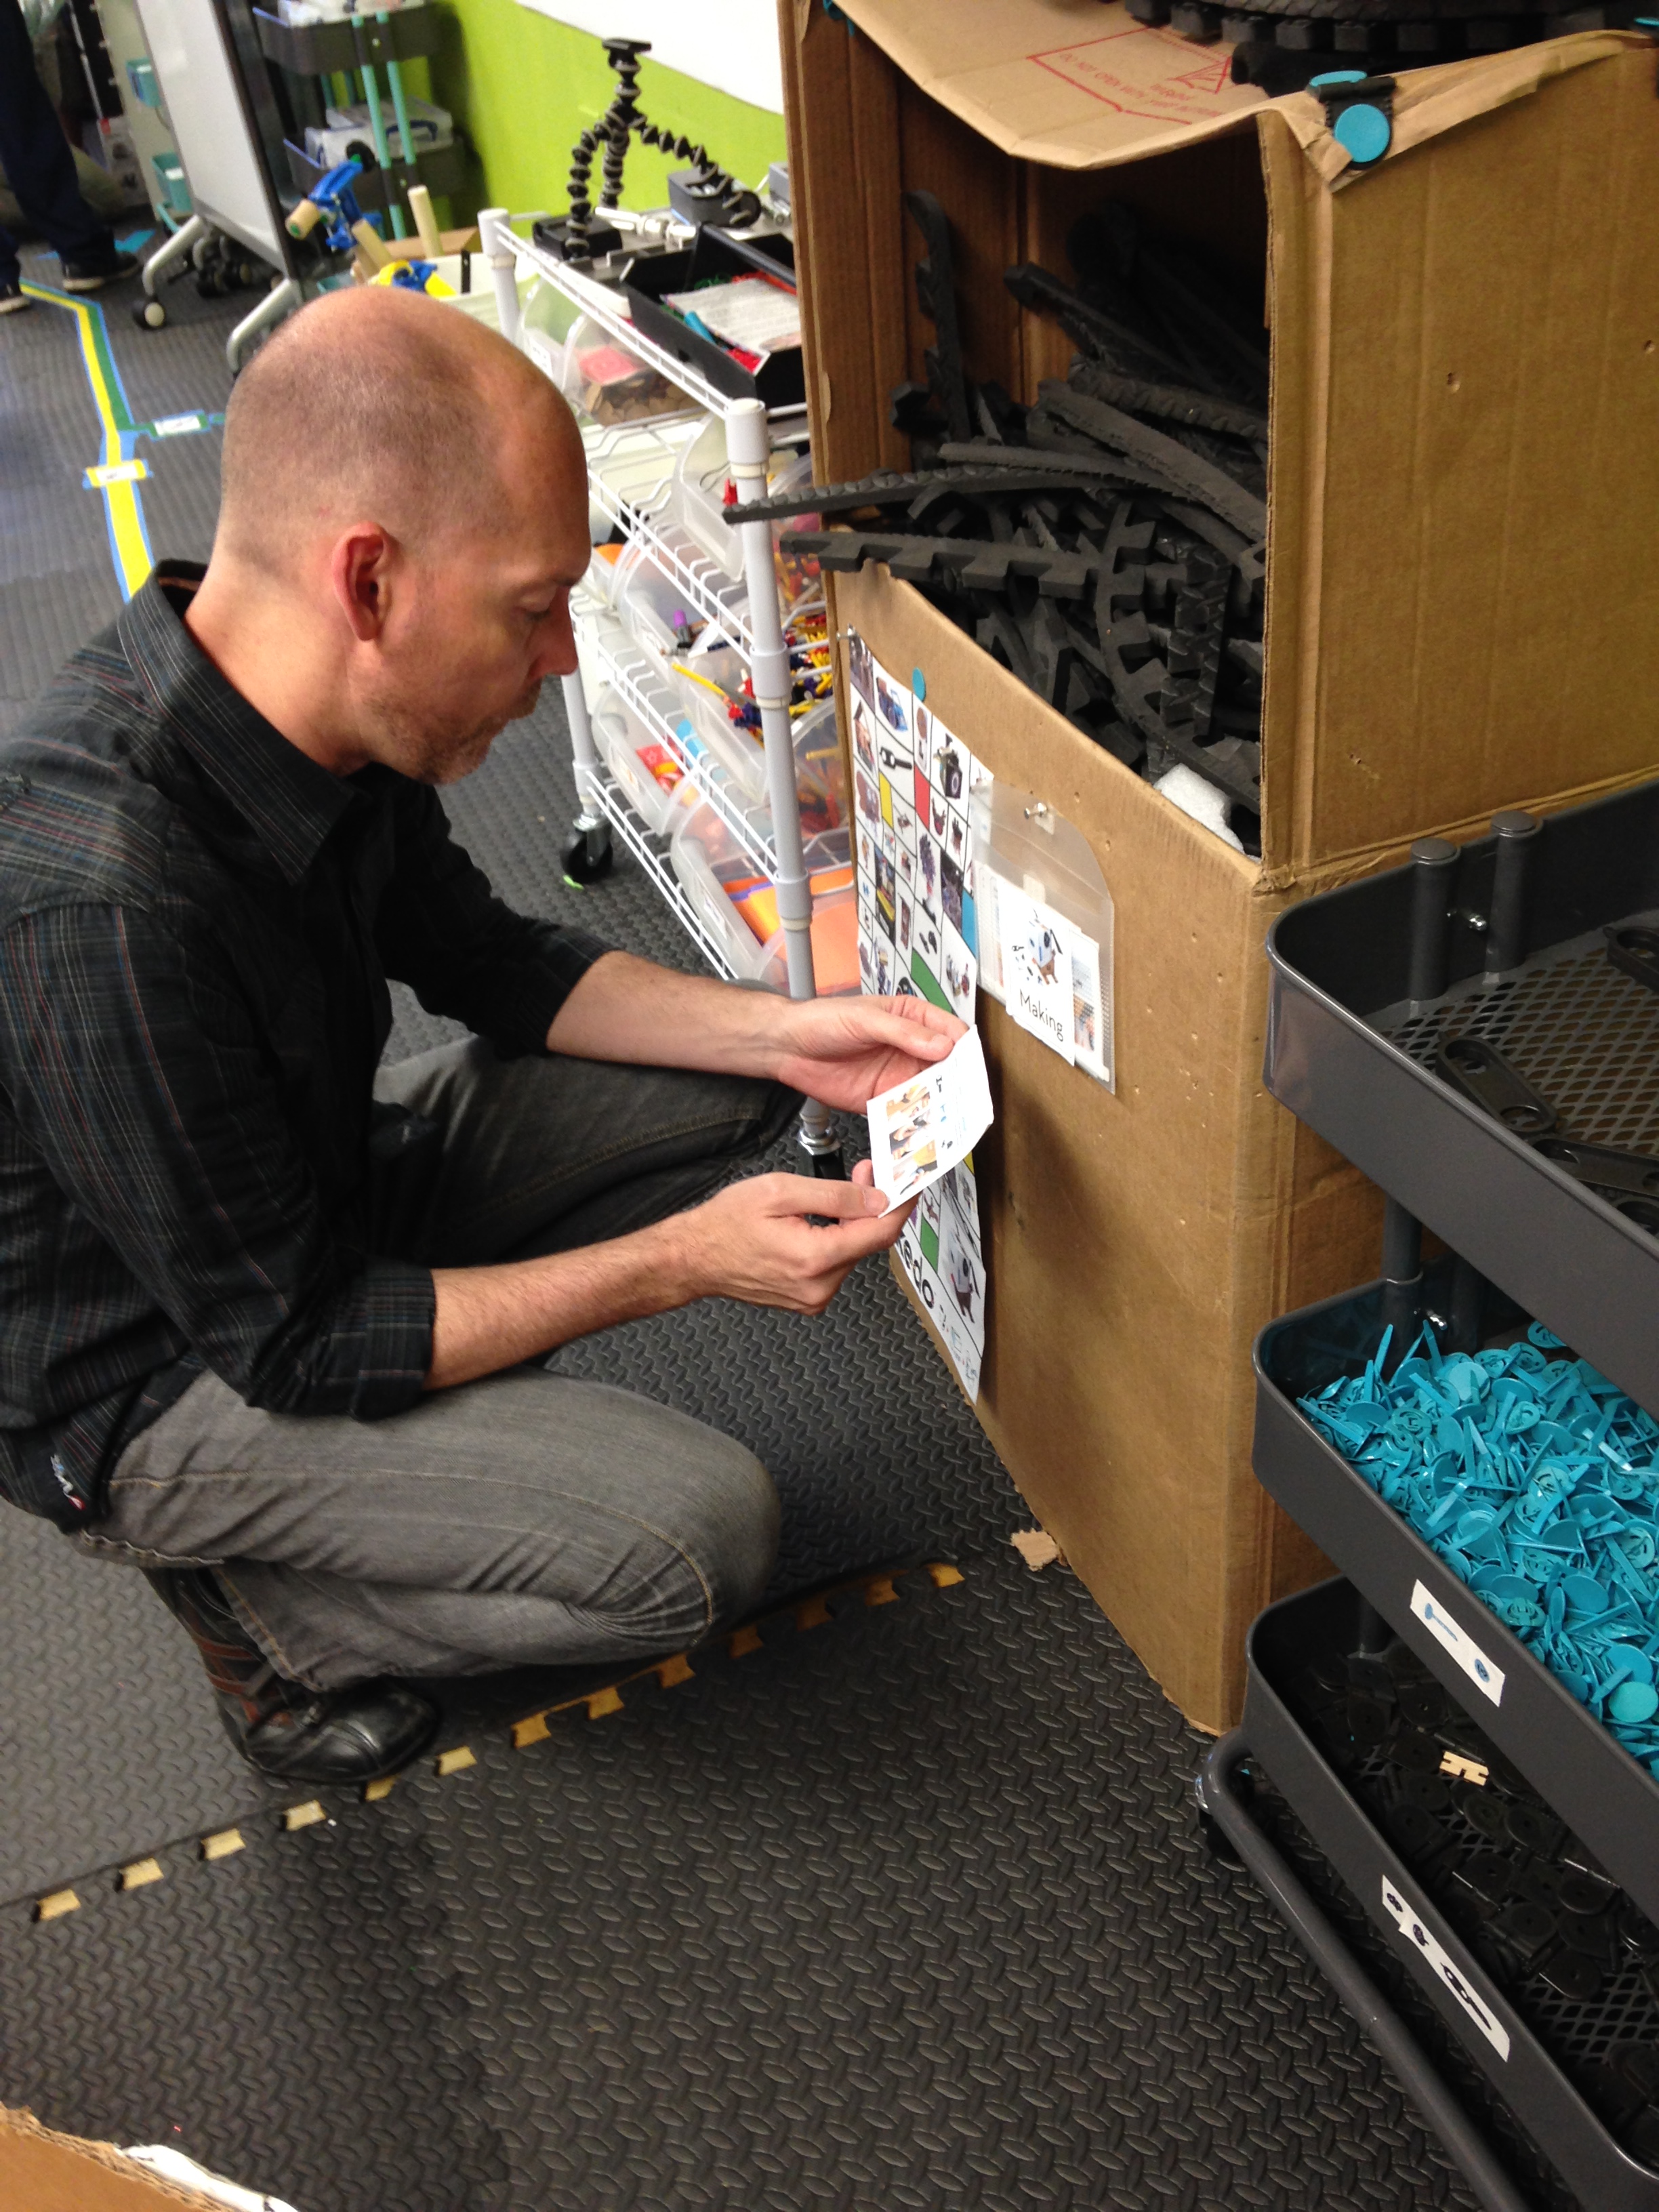
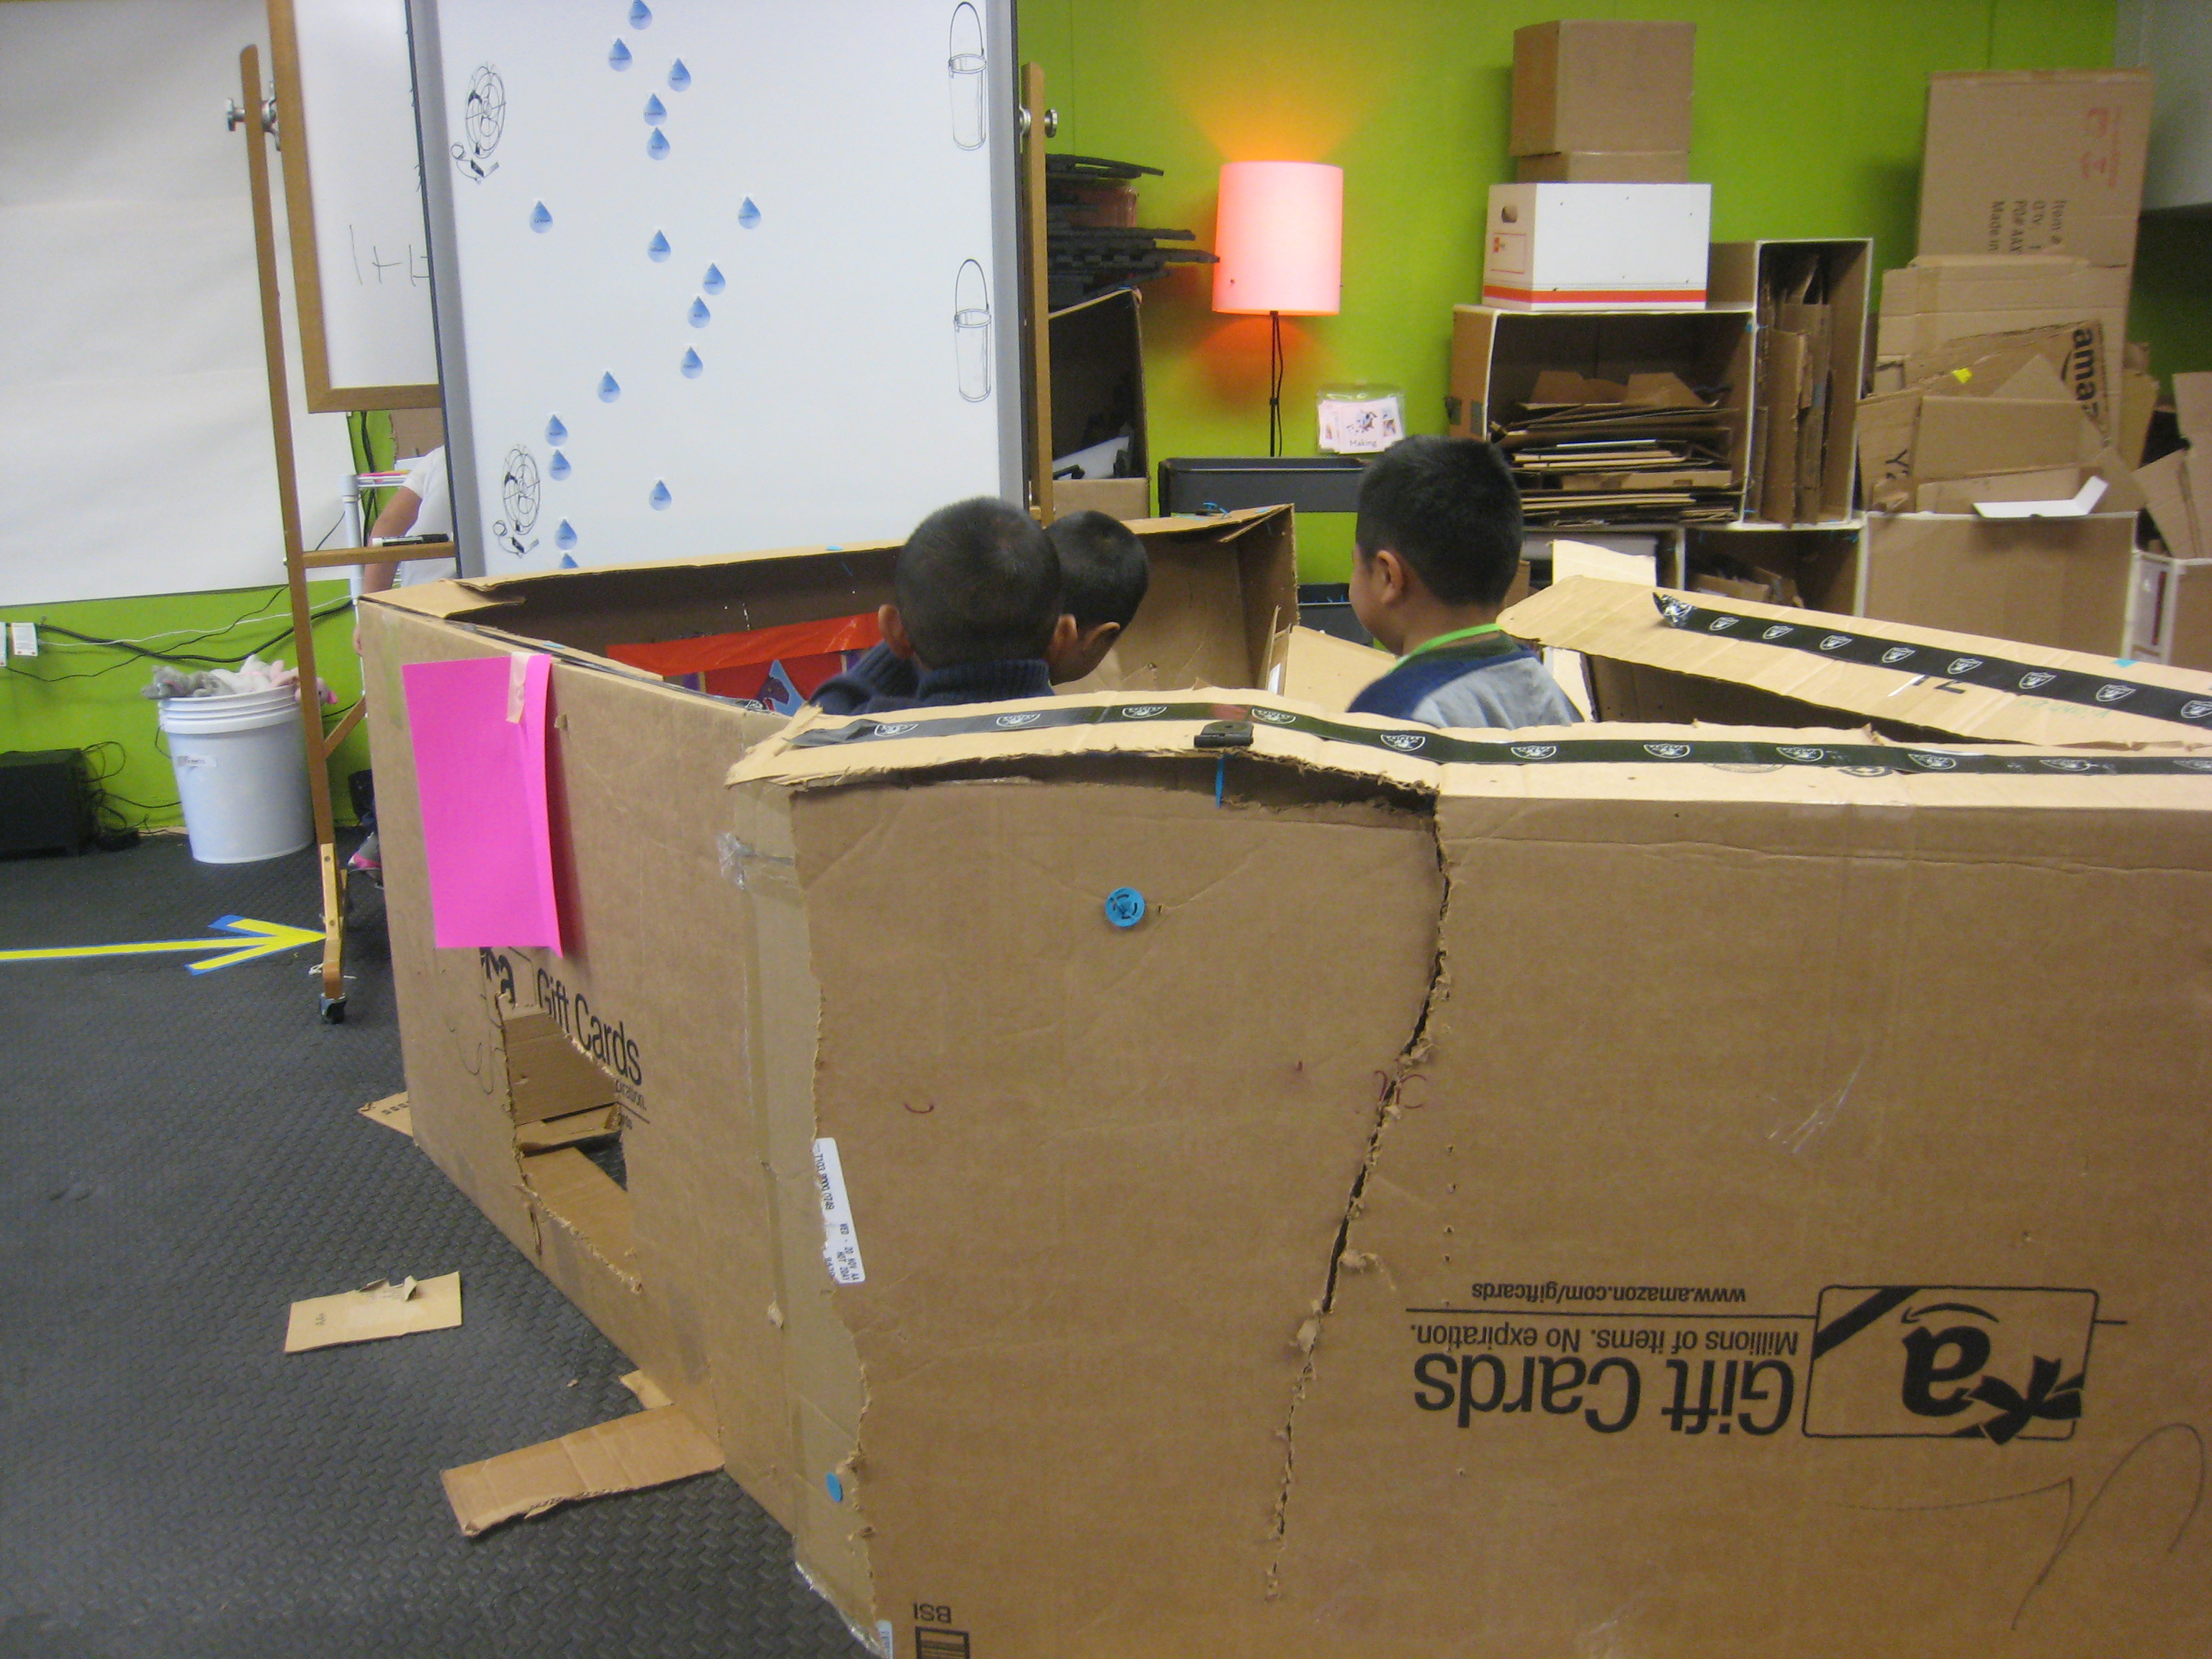
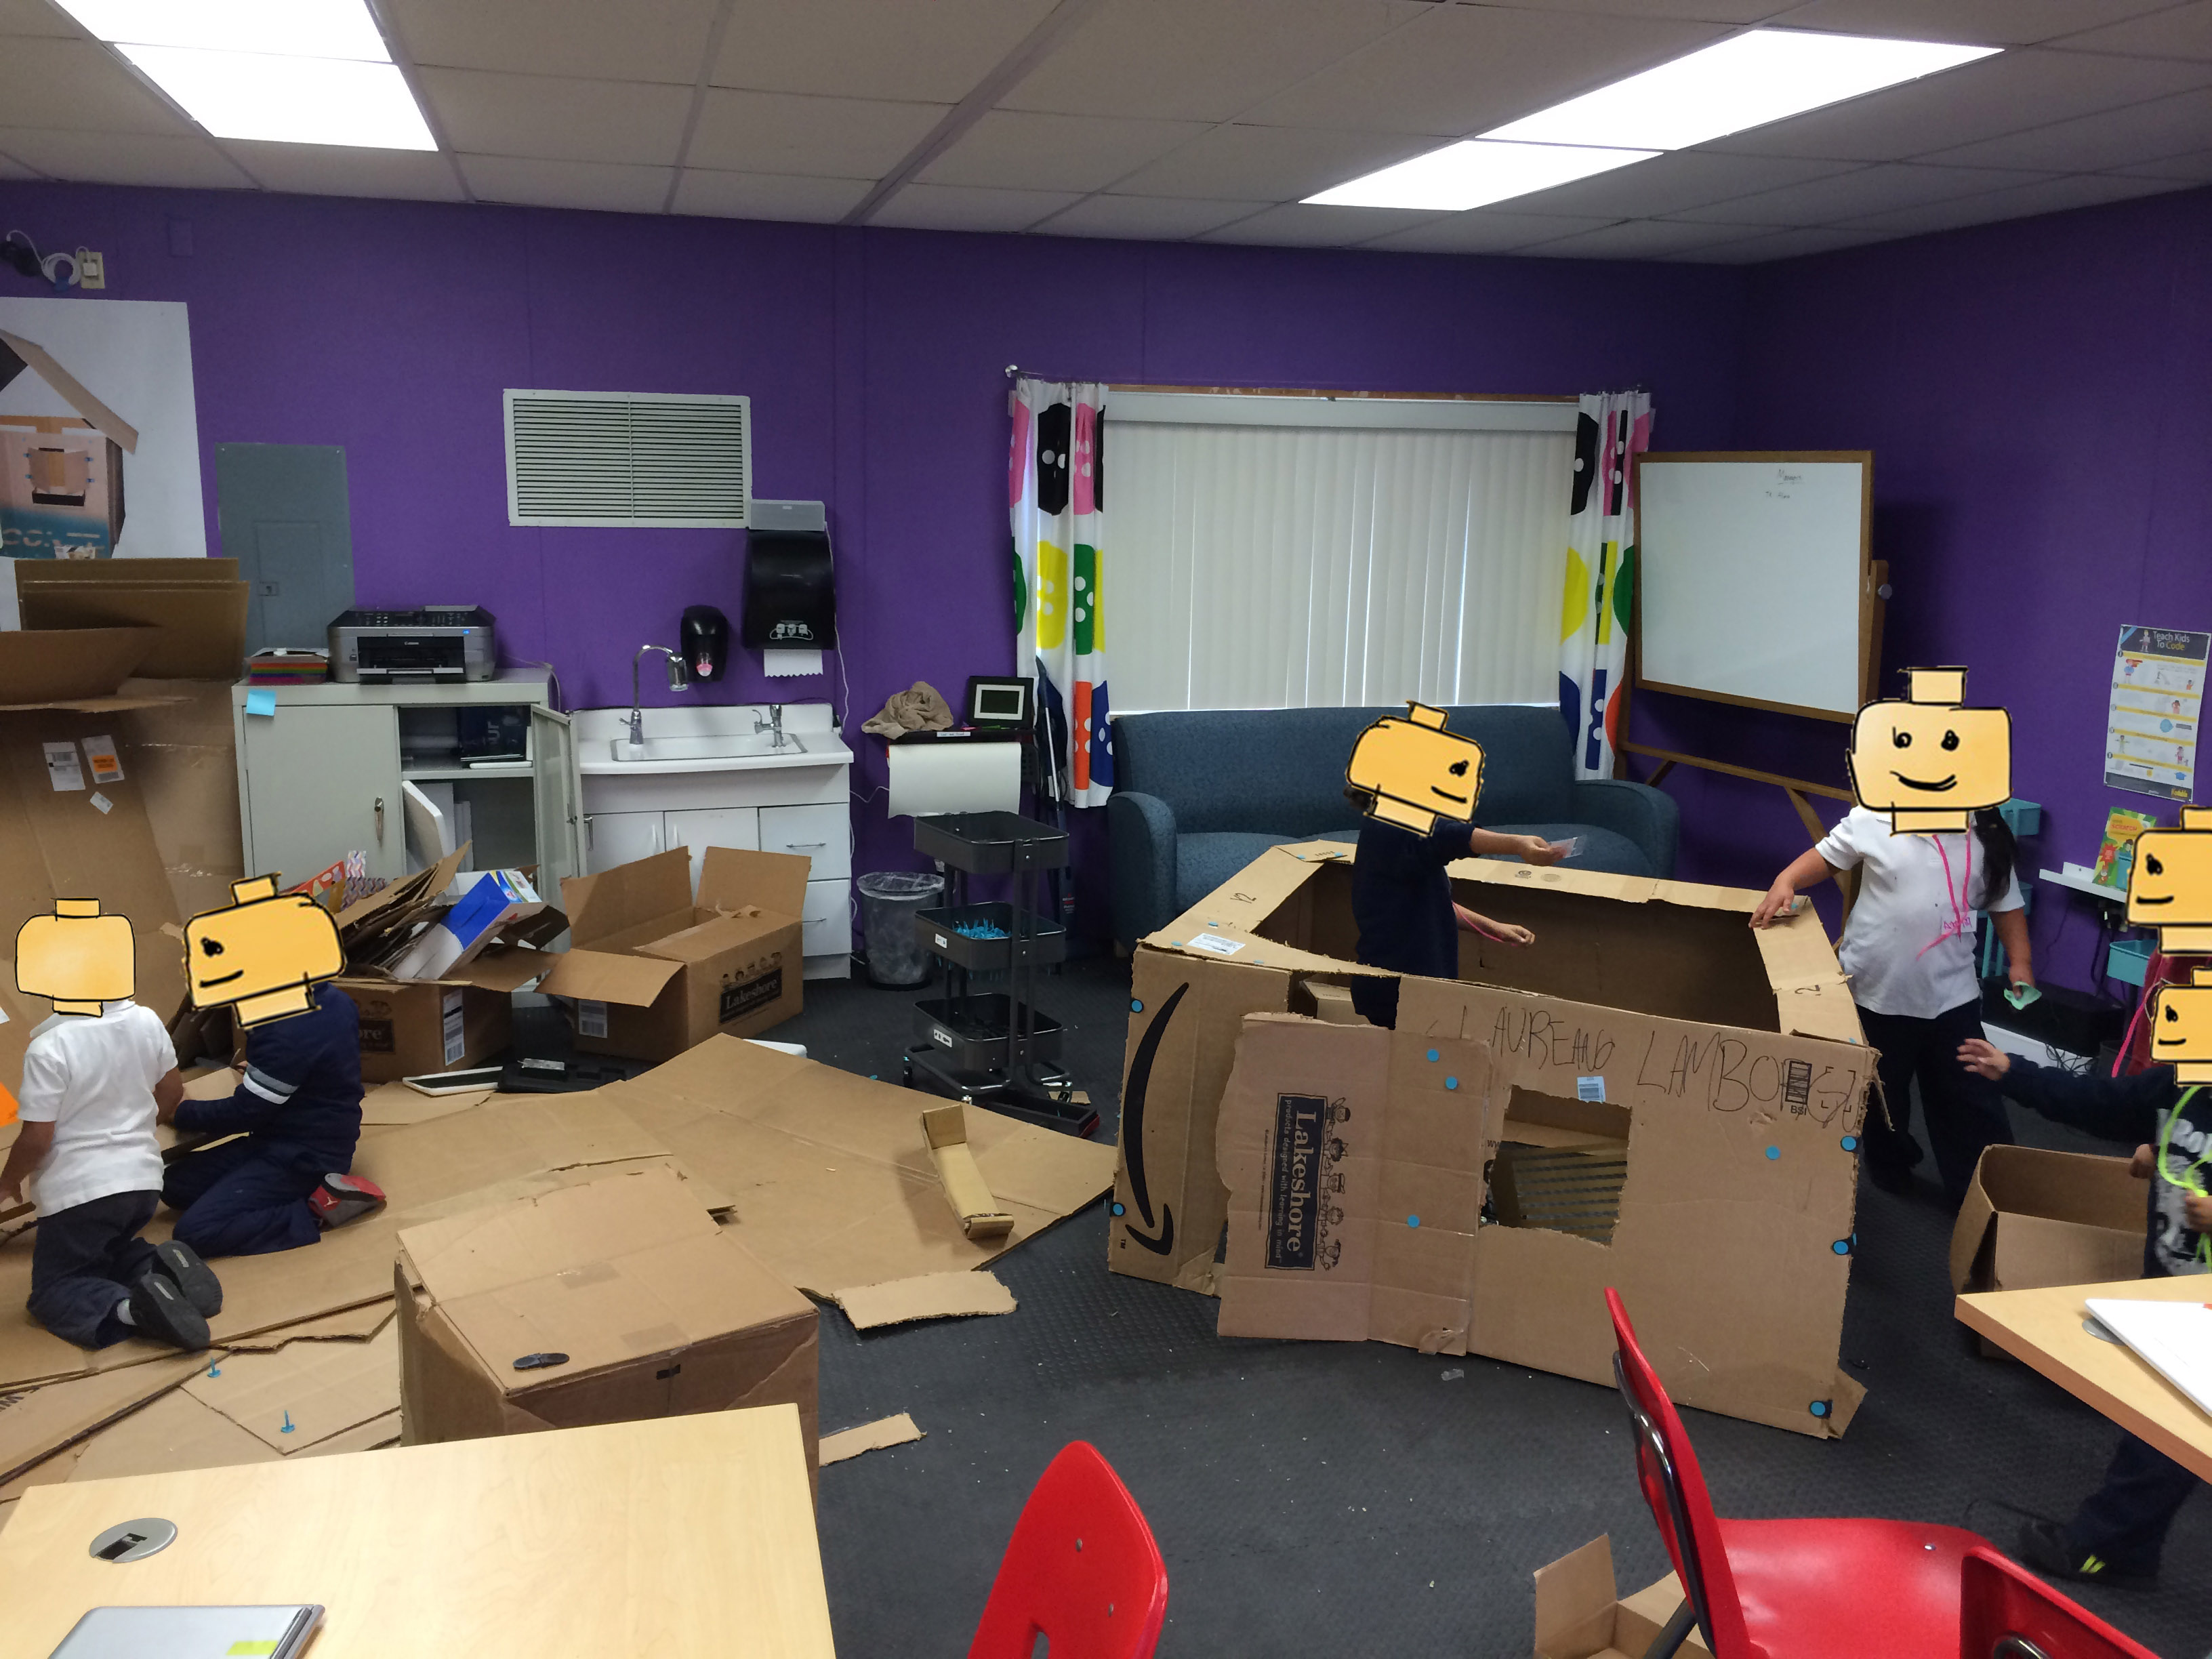
Making with Cardboard
This may look messy, but it’s actually about 200 times more clean than it was in early January. Again, another improvement to the space made by Mario. He created a pretty well organized storage area for the cardboard, made from cardboard.
Students use this material in combination with the MakeDo parts that allow students to cut and join together cardboard, even adding hinges. What do students make? Mostly awesome forts and houses, but also puppet shows and bridges.
Where We’re Heading Next Discussing where we’re heading next is exciting and difficult for me.
It’s exciting because we’re expanding. We are working on securing rooms at each school site for next year and creating carts for those who can’t spare a room. We are creating an “Introduction to STEM” course for 4th & 5th graders that combines design thinking and coding. We are also nearing the announcement of a partnership with a larger collaborative of similar spaces, which will allow our students to partner with students outside of East Palo Alto more easily.
It’s difficult because I have to give up some day-to-day control. I passed the Makerspace calendar over to my wonderful colleague, Mario, last week, along with the design of the “Introduction to STEM” course. I know it’s necessary, as we can do much more together than I can by myself, and the Maker movement within the district is only going to grow larger over the next few weeks and months. As we pick up speed, I need to make sure we are moving in the right direction and that all the pieces fit together well for our teachers and students.
The primary goal of the Makerspace in the first two months of existence has been to allow students to pursue their own individual and group projects with as little support necessary from any adults. For the first month, I was testing out new ways to manage materials while setting the computers up with the necessary websites/apps and supporting individual students with their projects.
It was fun, as I was very rapidly iterating, learning how to use new tools (including how to run Linux on a Chromebook), and working with some amazing students. Needless to say though, I was trying to do too much and not getting very far each day with the primary goal.
Then, on Valentine’s Day, I was fortunate enough to have two new visitors to our space, Quim Sabriá of EdPuzzle, and our new After-School STEM Coordinator, Mario Cuellar. The two of them said what I knew but hadn’t been able to articulate: The space was too stimulating and I also was spread too thin in the construction of the space. I shared my primary goal of the recess/lunch-time visits with the two of them, which led to a create lesson from Quim in starting anything successfully.
He helped me break the goal down into mini-goals and an order to follow in achieving them. Basically, I needed to ensure students entered the room successfully, knew wherein the room to go, and knew what to do in each part of the room.
That next week, I broke down each step that came before students could actually engage in their projects and ensured student success in each step.
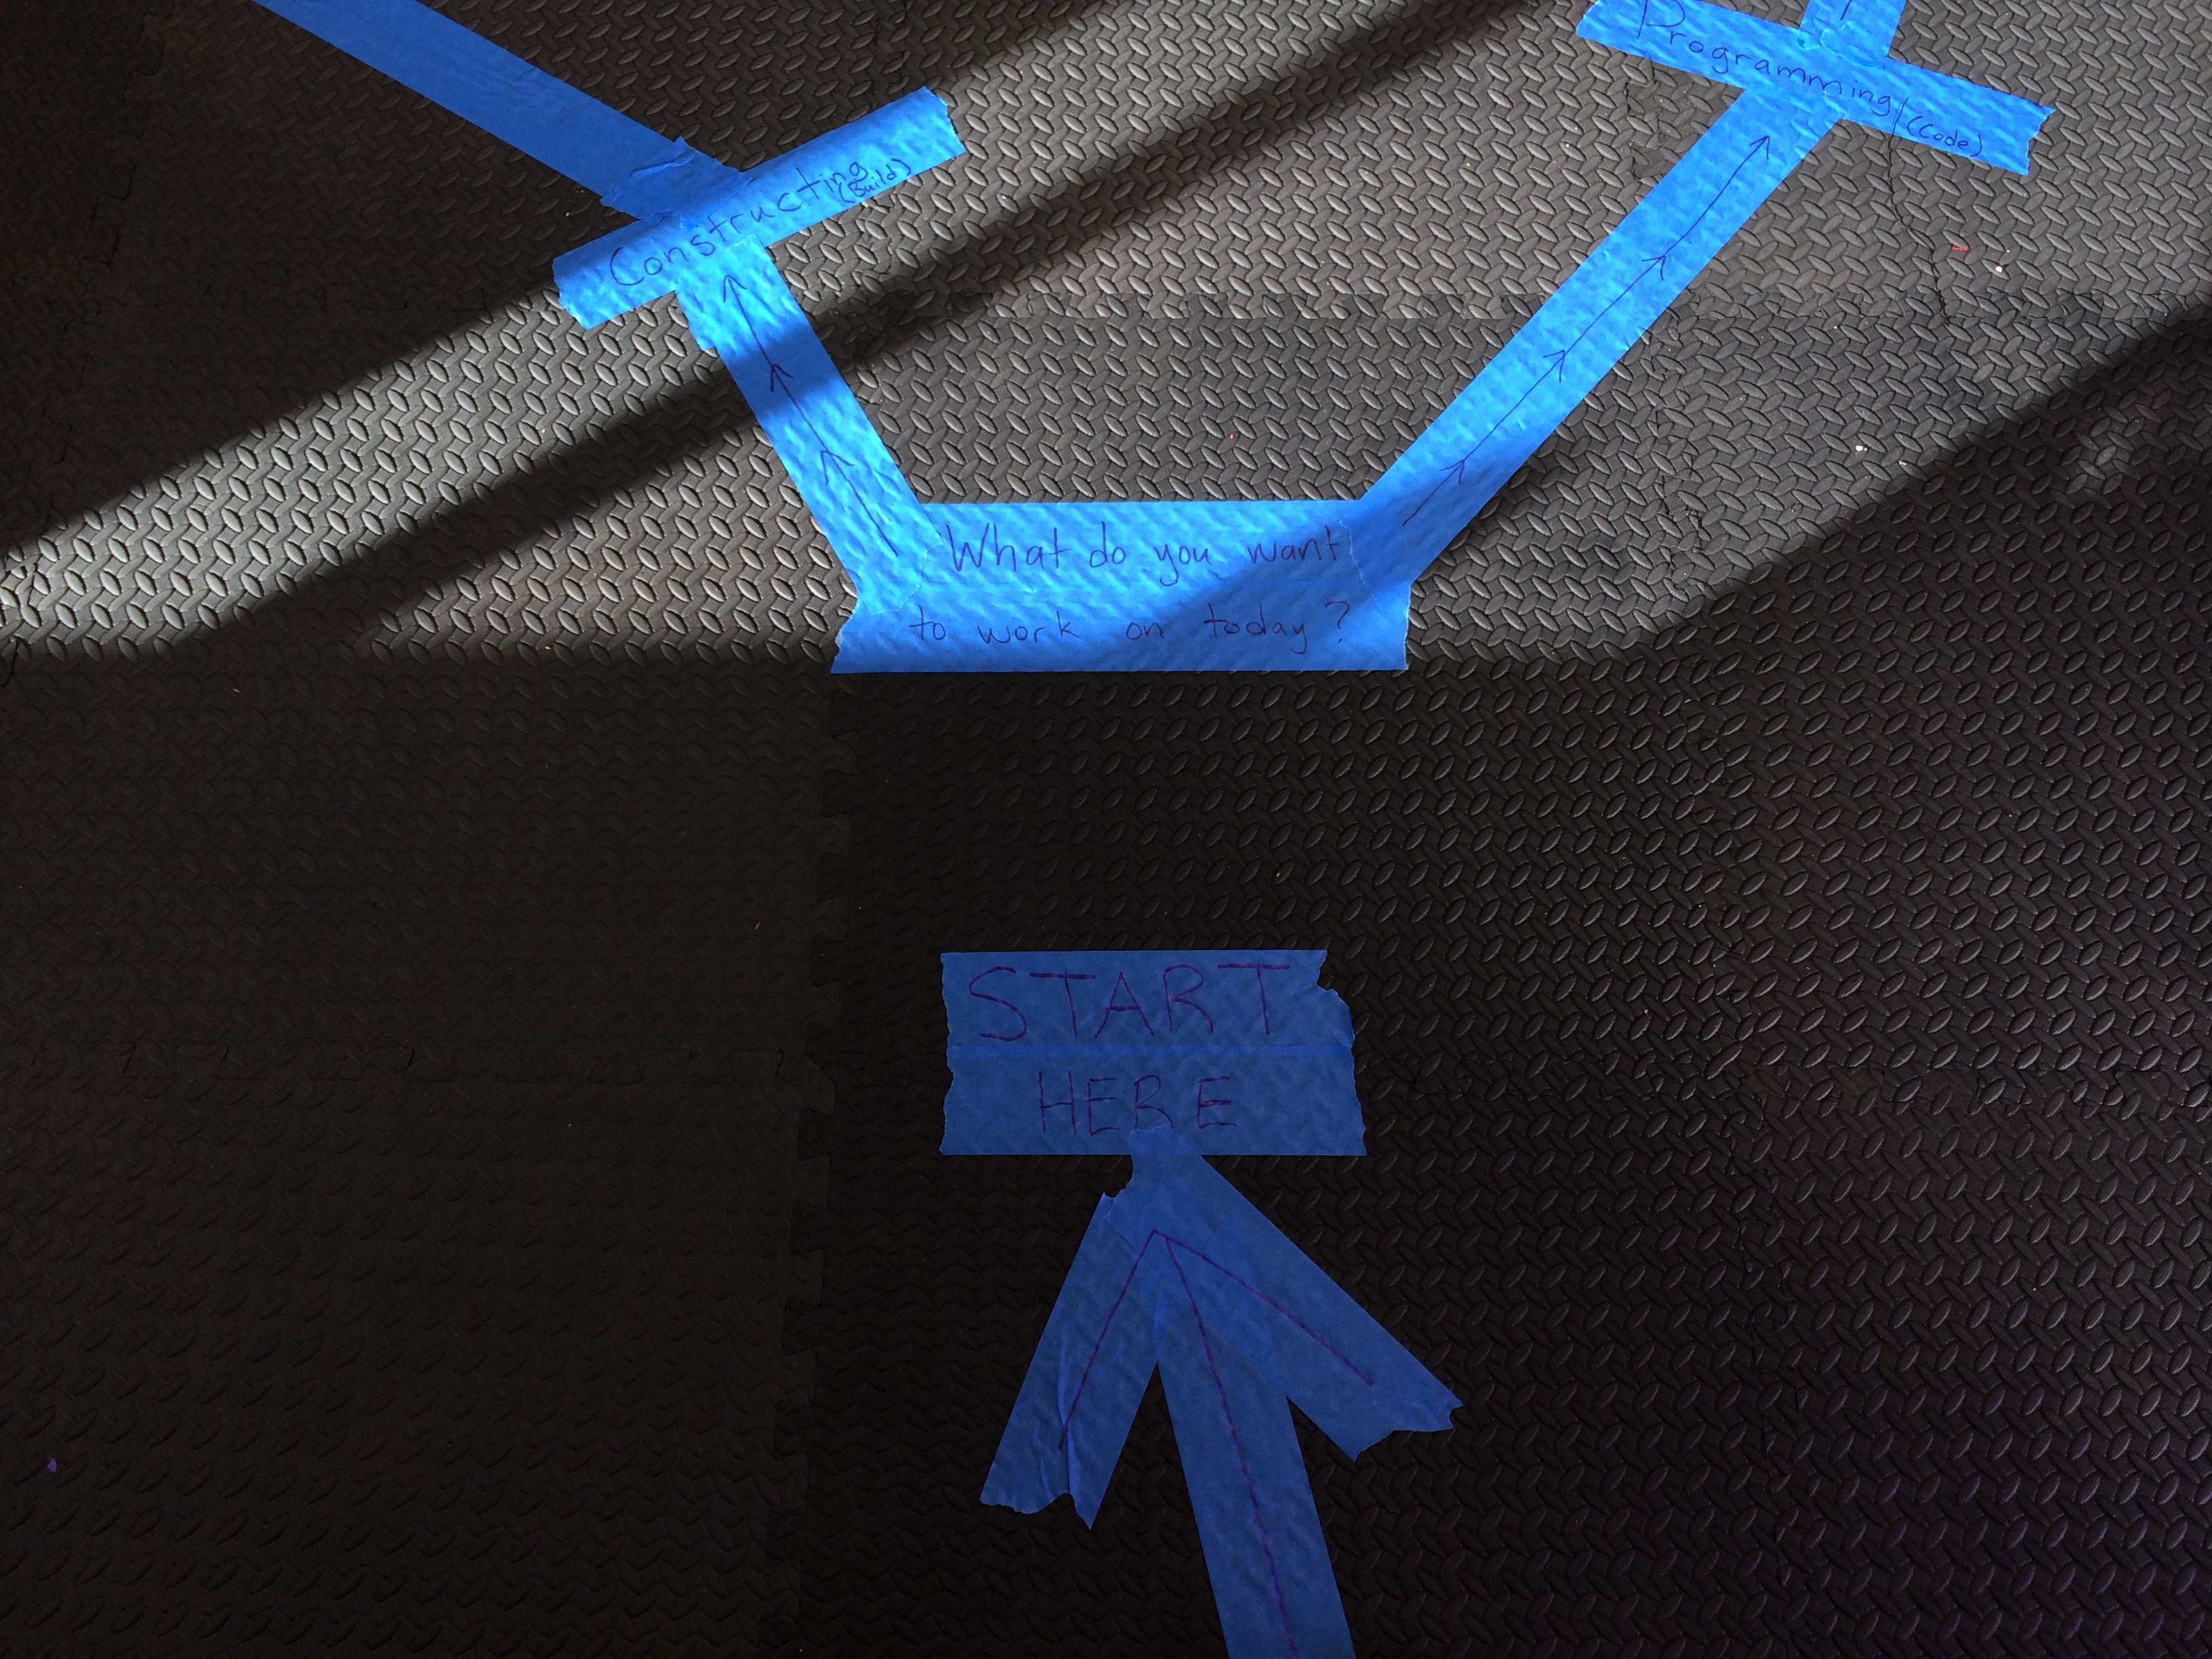
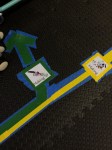
Where new students had come in before with no sense of what to do, I had arrows on the floor pointing them to the computers, which were now much closer to the door. When students approached, they could see the instructions written on the wall and sit down to follow them.
Students who had visited before were directed to get their name badge, check in on the computer, and follow the arrows on the floor to what they’d like to do. Laying down the tape for the arrows also helped me arrange the room in a more easy-to-follow way. Coding and Robotics were to the right of the room, while Making took of the left half of the room.
Now entering the room went better, but students still were not using the arrows on the floor much without my prompting. Even then, it was my oral prompts, not the ones on the floor, that led to students making their decisions and knowing where to go.
Enter Quim again to help us think through the problem. Quim emphasized visuals and more simple and clear language. I got back at it the next week, adding the visuals, simple language, and colors that now adorn the Makerspace floor. And it worked! Students were able to use the arrows to direct them to their desired destination.
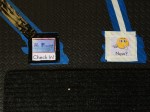
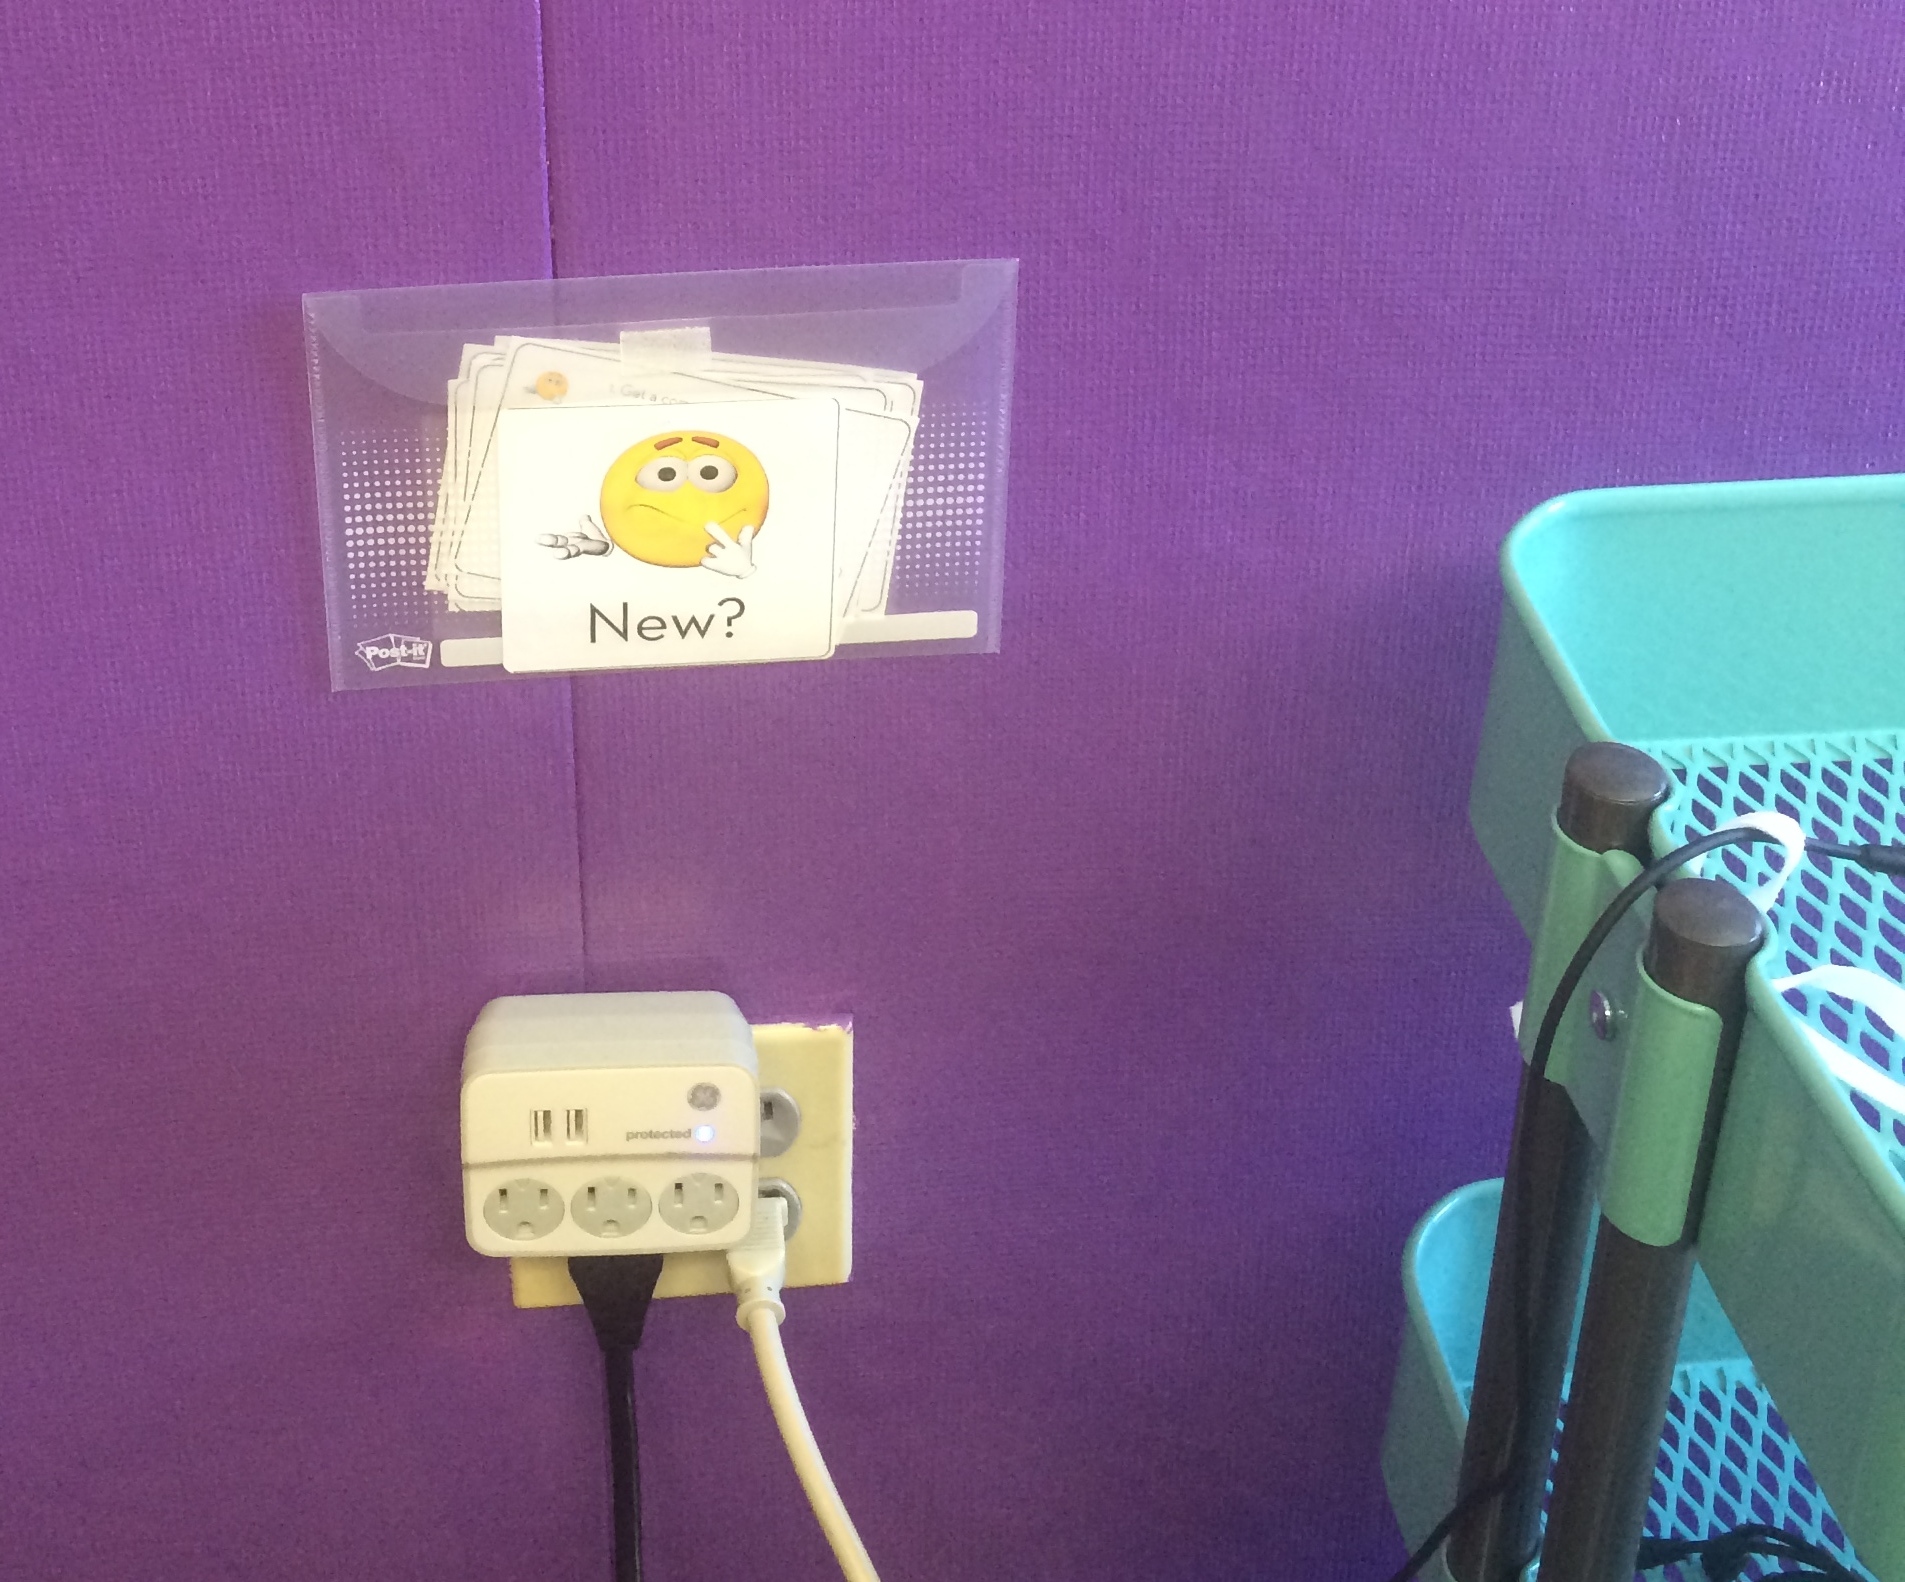
I was still supporting students with the how-to within each area of the room, especially around 3D printing, so while it was self-directed, it was definitely still a lot of hand holding. With students working on such a wide range of topics, individual support was still overwhelming. I want to build the ability for students to rely on one another, but even then we don’t have students in every grade level who are experts at everything. Which led to the support cards for each subject and the 3D printing support videos at a booth near the printer.
I don’t know how helpful the support cards will be, as they’ve only been in place for a week, but it has decreased the number of questions from students. Next step to our process? Badges (through ClassBadges). That way, all the teachers and students know who has already built the expertise around any particular topic/tool and we will have a small system to encourage students to build their own expertise.
This is a collection of resources for the attendees at the New Teacher Center Symposium session entitled “Peek Inside a 21st Century/Blended Learning Primary Classroom”.
The Makerspace has now been open for two weeks. Two exhausting but exciting weeks. Two weeks of learning, for the students and for me.
When I put together the concept of the Makerspace, I planned for three types of sessions: class time, lunch time, and after-school time. I also thought that the first phase to launch would be after-school time. However, when it came time to open, I realized lunch time activities would have the greatest impact on the students. Opening the space at lunch would also provide me with a lot of research that I needed in order to make the after-school piece be effective.
We opened up on January 7th. I put up a few posters around the campuses and sent an email to all the teachers with a spreadsheet to sign up for times to visit. Two classes came by for an introduction that Tuesday and by the last recess of the first day, the Makerspace was packed. How to handle such a large number of students? I’m still working out the kinks, but here is what I have done so far:
The first day a student enters the Makerspace during his/her free time (generally recess or lunch recess), he/she must complete the “Makerspace Entrance Survey”. This survey is based on the research of Dr. Paulo Blikstein at Stanford’s Graduate School of Education. It is how I will measure the success of the Makerspace at impacting students’ lives beyond the time they spend in the Makerspace itself. For students in third grade and below, the survey is a series of Yes/No/I Don’t Know questions about their perceived capabilities in traditional school subjects and their interest in making. Students in fourth grade and above are asked to share how familiar they are with certain technologies and how much they agree with certain statements about mindset.
Given that everyone entering the first couple days was new, I had computers lining the walls already directed to the survey. Students completed the survey and then made a name badge (a name badge I now ask them to wear every time they enter the Makerspace). The name badge enabled me to get to know the students and ensured they had completed the survey.
While I wish I could say the instructions on the wall were enough to help the students with the construction of their name badges, it was actually the badge I made and I wore which gave students the most guidance.
At this point, I knew students’ names, all kids had completed the entrance survey, and they were beginning to explore. Then recess came to an end. The room was nowhere near clean, even though I’d played the “Clean Up” song I played for my second graders and had asked them to clean up. Nearly all the students did make an effort to clean up, but there was still a lot I had to do after they left. Yet the next group of students was banging at the door, waiting to come in.
I’m getting closer to solving the clean up conundrum each day. Since I can not change the fact that other students will come into the space next regardless of cleanliness or that we are working in a shared space, I am trying to change the amount of responsibility each individual student has for their space.
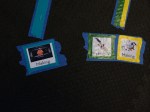
First, I created “Today I am responsible for…” cards, which each listed a certain tool or area of the room that students may choose to use. After picking up their name badge, the students told me where they wanted to work and took a card. I planned for the students to turn the card back into me as they left and I would verify that they had cleaned their area. It turned out that it’s hard to verify each area’s cleanliness and individual accountability while standing at the door ushering students in and out.
Fun fact: I designed this little card holder in Sketchup!
New strategy? I printed out two tiny cards that fit into the student’s name badge and also has his/her name and grade on it. When each student decides what to work on for the day, he/she drops his/her name into the appropriate envelope, labelled with the area of the room or tool the student might wish to use. Once students leave, I can verify cleanliness of each area and make a quick note if there is a group of students I need to talk to the next time. It’s working better than the first strategy, but I’m not sure it’s quite where I need it to be yet.
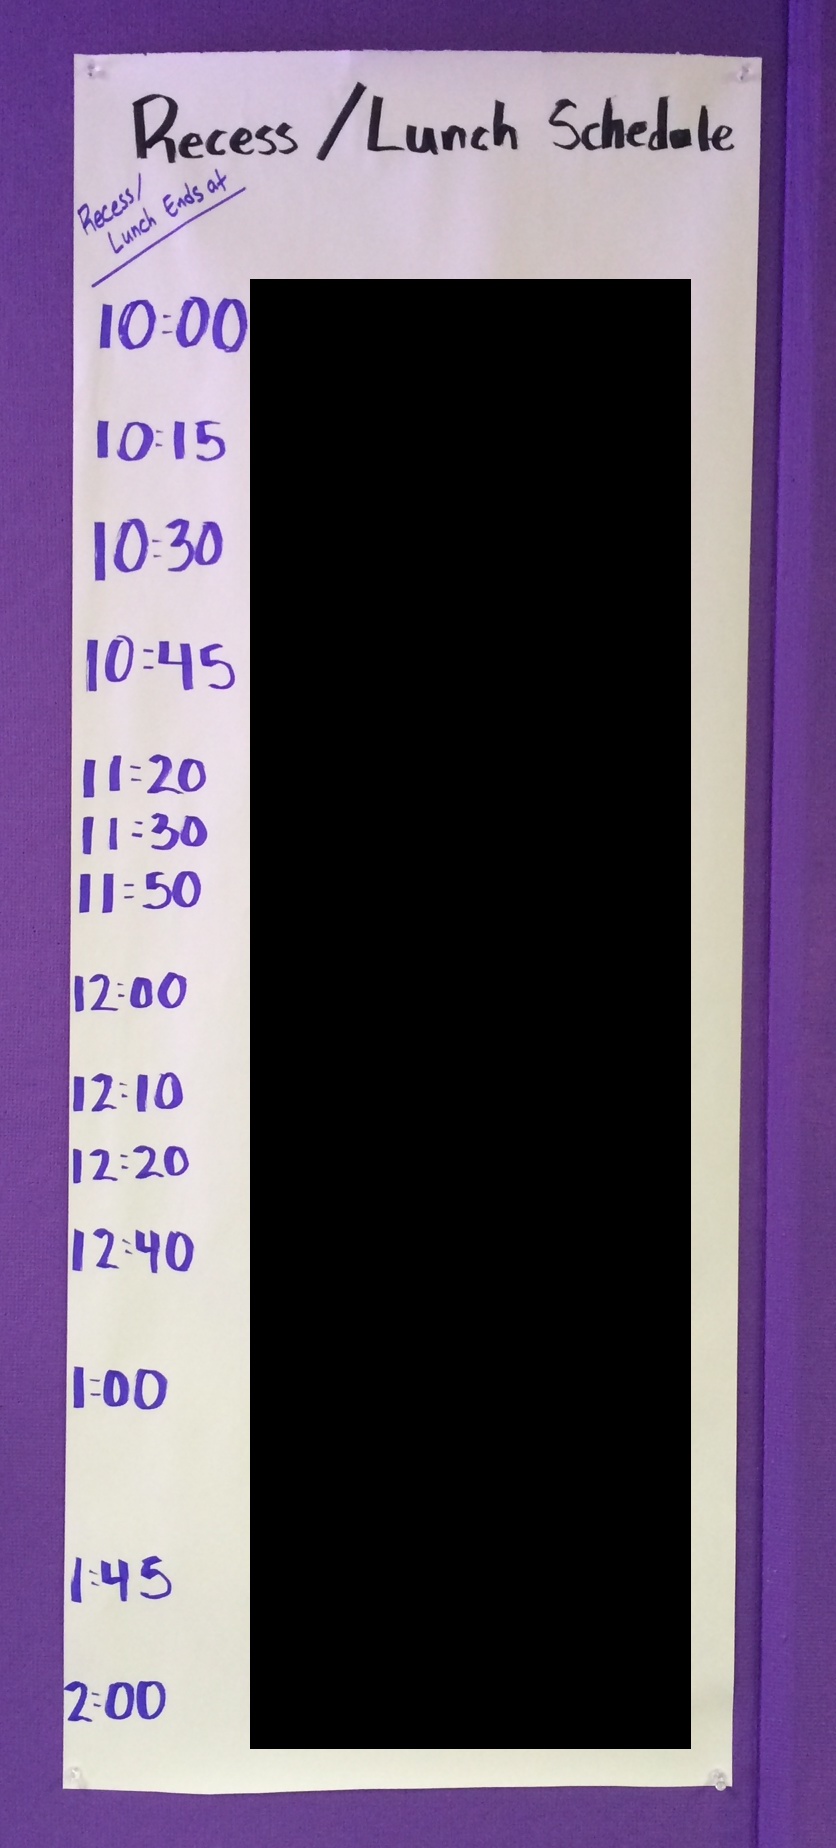
The other compounding issue is the transition between groups. The way recess and lunch time is set up at the schools, I am usually saying goodbye to one grade level as another grade level is entering. I tried to let the transition happen naturally, but everyone bottlenecked at the door. As we only have one door into/out of the Makerspace, that didn’t work. I also realized quickly that I can’t have students come in during a special recess that happens to be during another grade level’s lunch or recess. If it doesn’t follow exactly on schedule, it can’t happen.
This is not to say that I don’t believe in being flexible. In order to allow the flexibility within the space though, I have to set certain guidelines and boundaries. So even if your class gets out for recess early, you’re going to have to wait at the door until the current students have cleaned up and cleared out.
I’ll be back with another entry this week about the tools students are using and not using. For now, I wanted to make sure I reflected on what has/hasn’t worked as grade levels transition through the Makerspace each day.
I’m excited to get back in there this week and see if I can move onto the next big challenge: Increasing students’ ability to learn from each other rather than rely on me.
My last post on the Makerspace detailed the building of the space. Okay, it didn’t detail it – detailing it would have included the double coat of paint I had to do on the green wall, that the IdeaPaint didn’t give me the 400 square feet it promised, that Facebook also donated a lamp and seven trash cans, and that I ruined a pair of shoes thanks to the pouring rain as I carried the tiles from my car to the Makerspace and the speed at which I tried to paint the walls – but I gave you the basic specs.
This post will share many of the new tools for Coding & Robotics that we acquired for our Makerspace. Tools for Making will be shared in a later post. Before I share any tools though, I want to make it clear that this is all before students have used the space. I don’t actually know yet which of the tools will be most utilized by students, which ones we’ll need to order more of, nor what will prove to be the most durable. This is a pilot, so what we learn will be applied to the rest of the Makerspaces throughout the district next year.
Tools for Coding
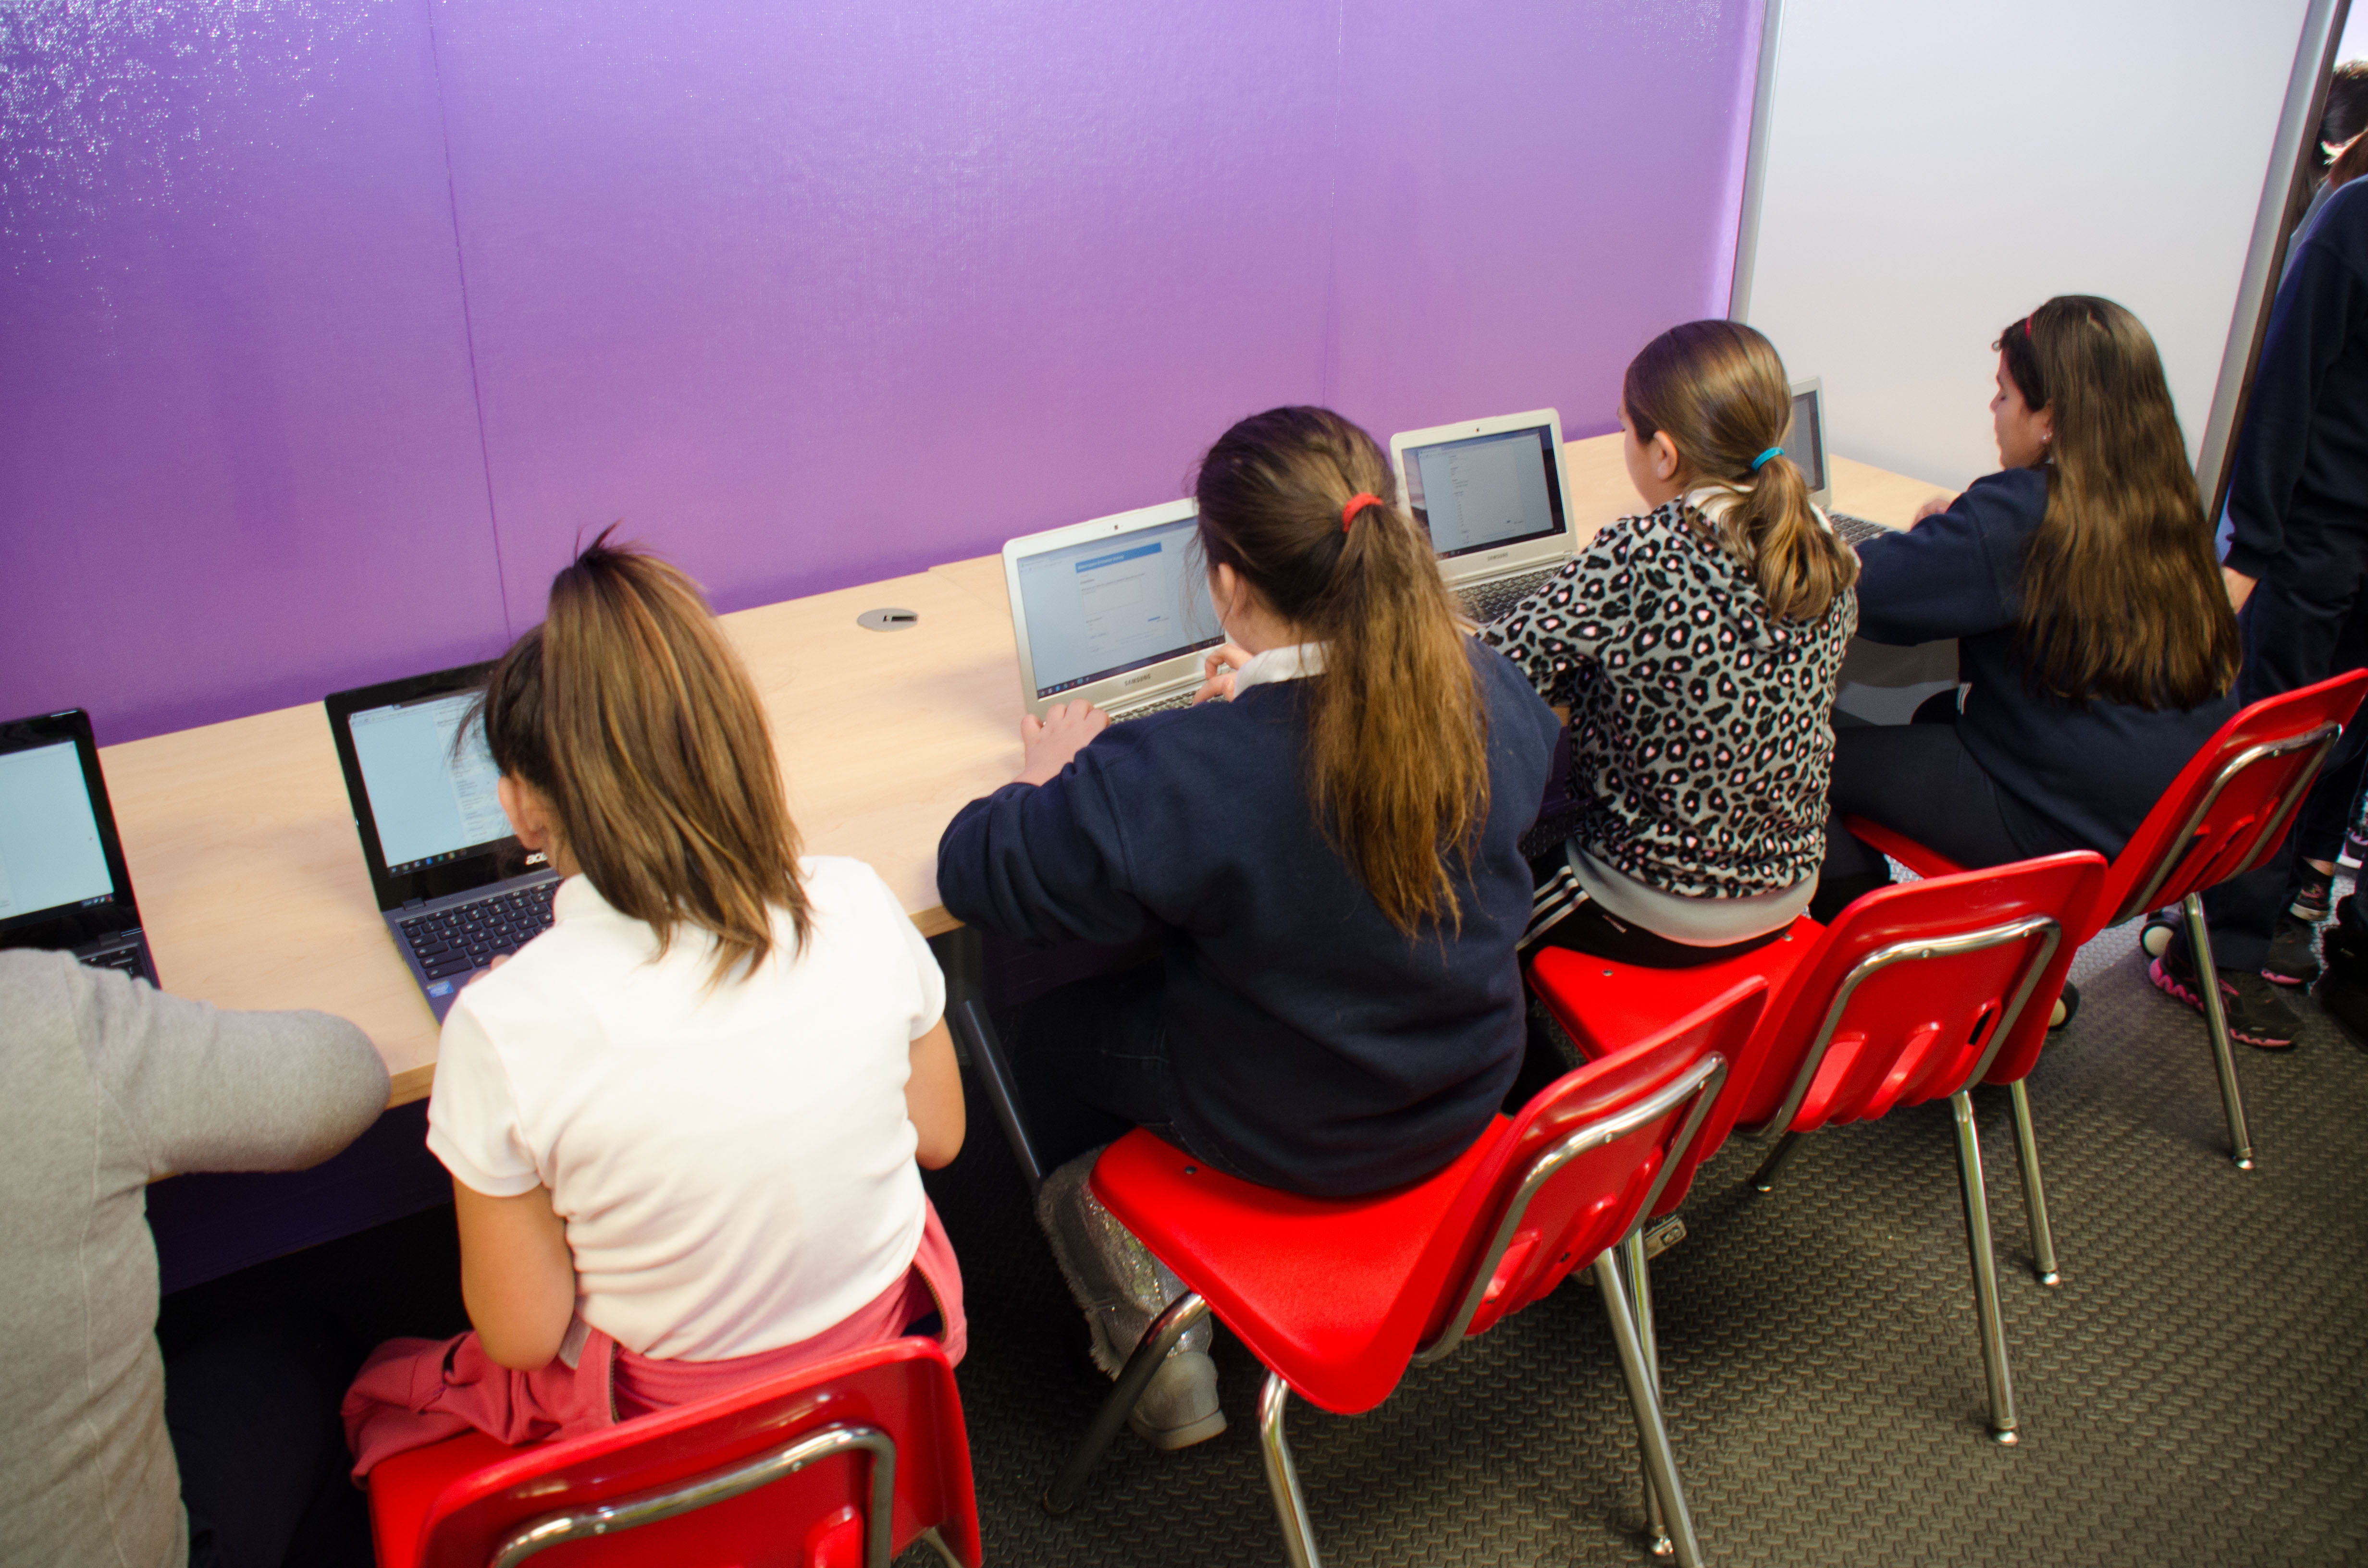
The main tool for coding we acquired was Chromebooks. We have a combination of Acer 710s, 720s, and Samsungs, as they were what I have been able to find over the last month. We will be be adding some HP Chromebook 11s as well now that the charging issue has been resolved and they are selling them again.
Oh, you want to know what we’re going to be doing on the Chromebooks for coding? Well, that’s what we’re going to be figuring out with the students! Currently, we’re leaning toward the code.orgComputer Science course. Of course, the original plan was Tynker followed by Scratch, so nothing is set in stone and we are all about revising.
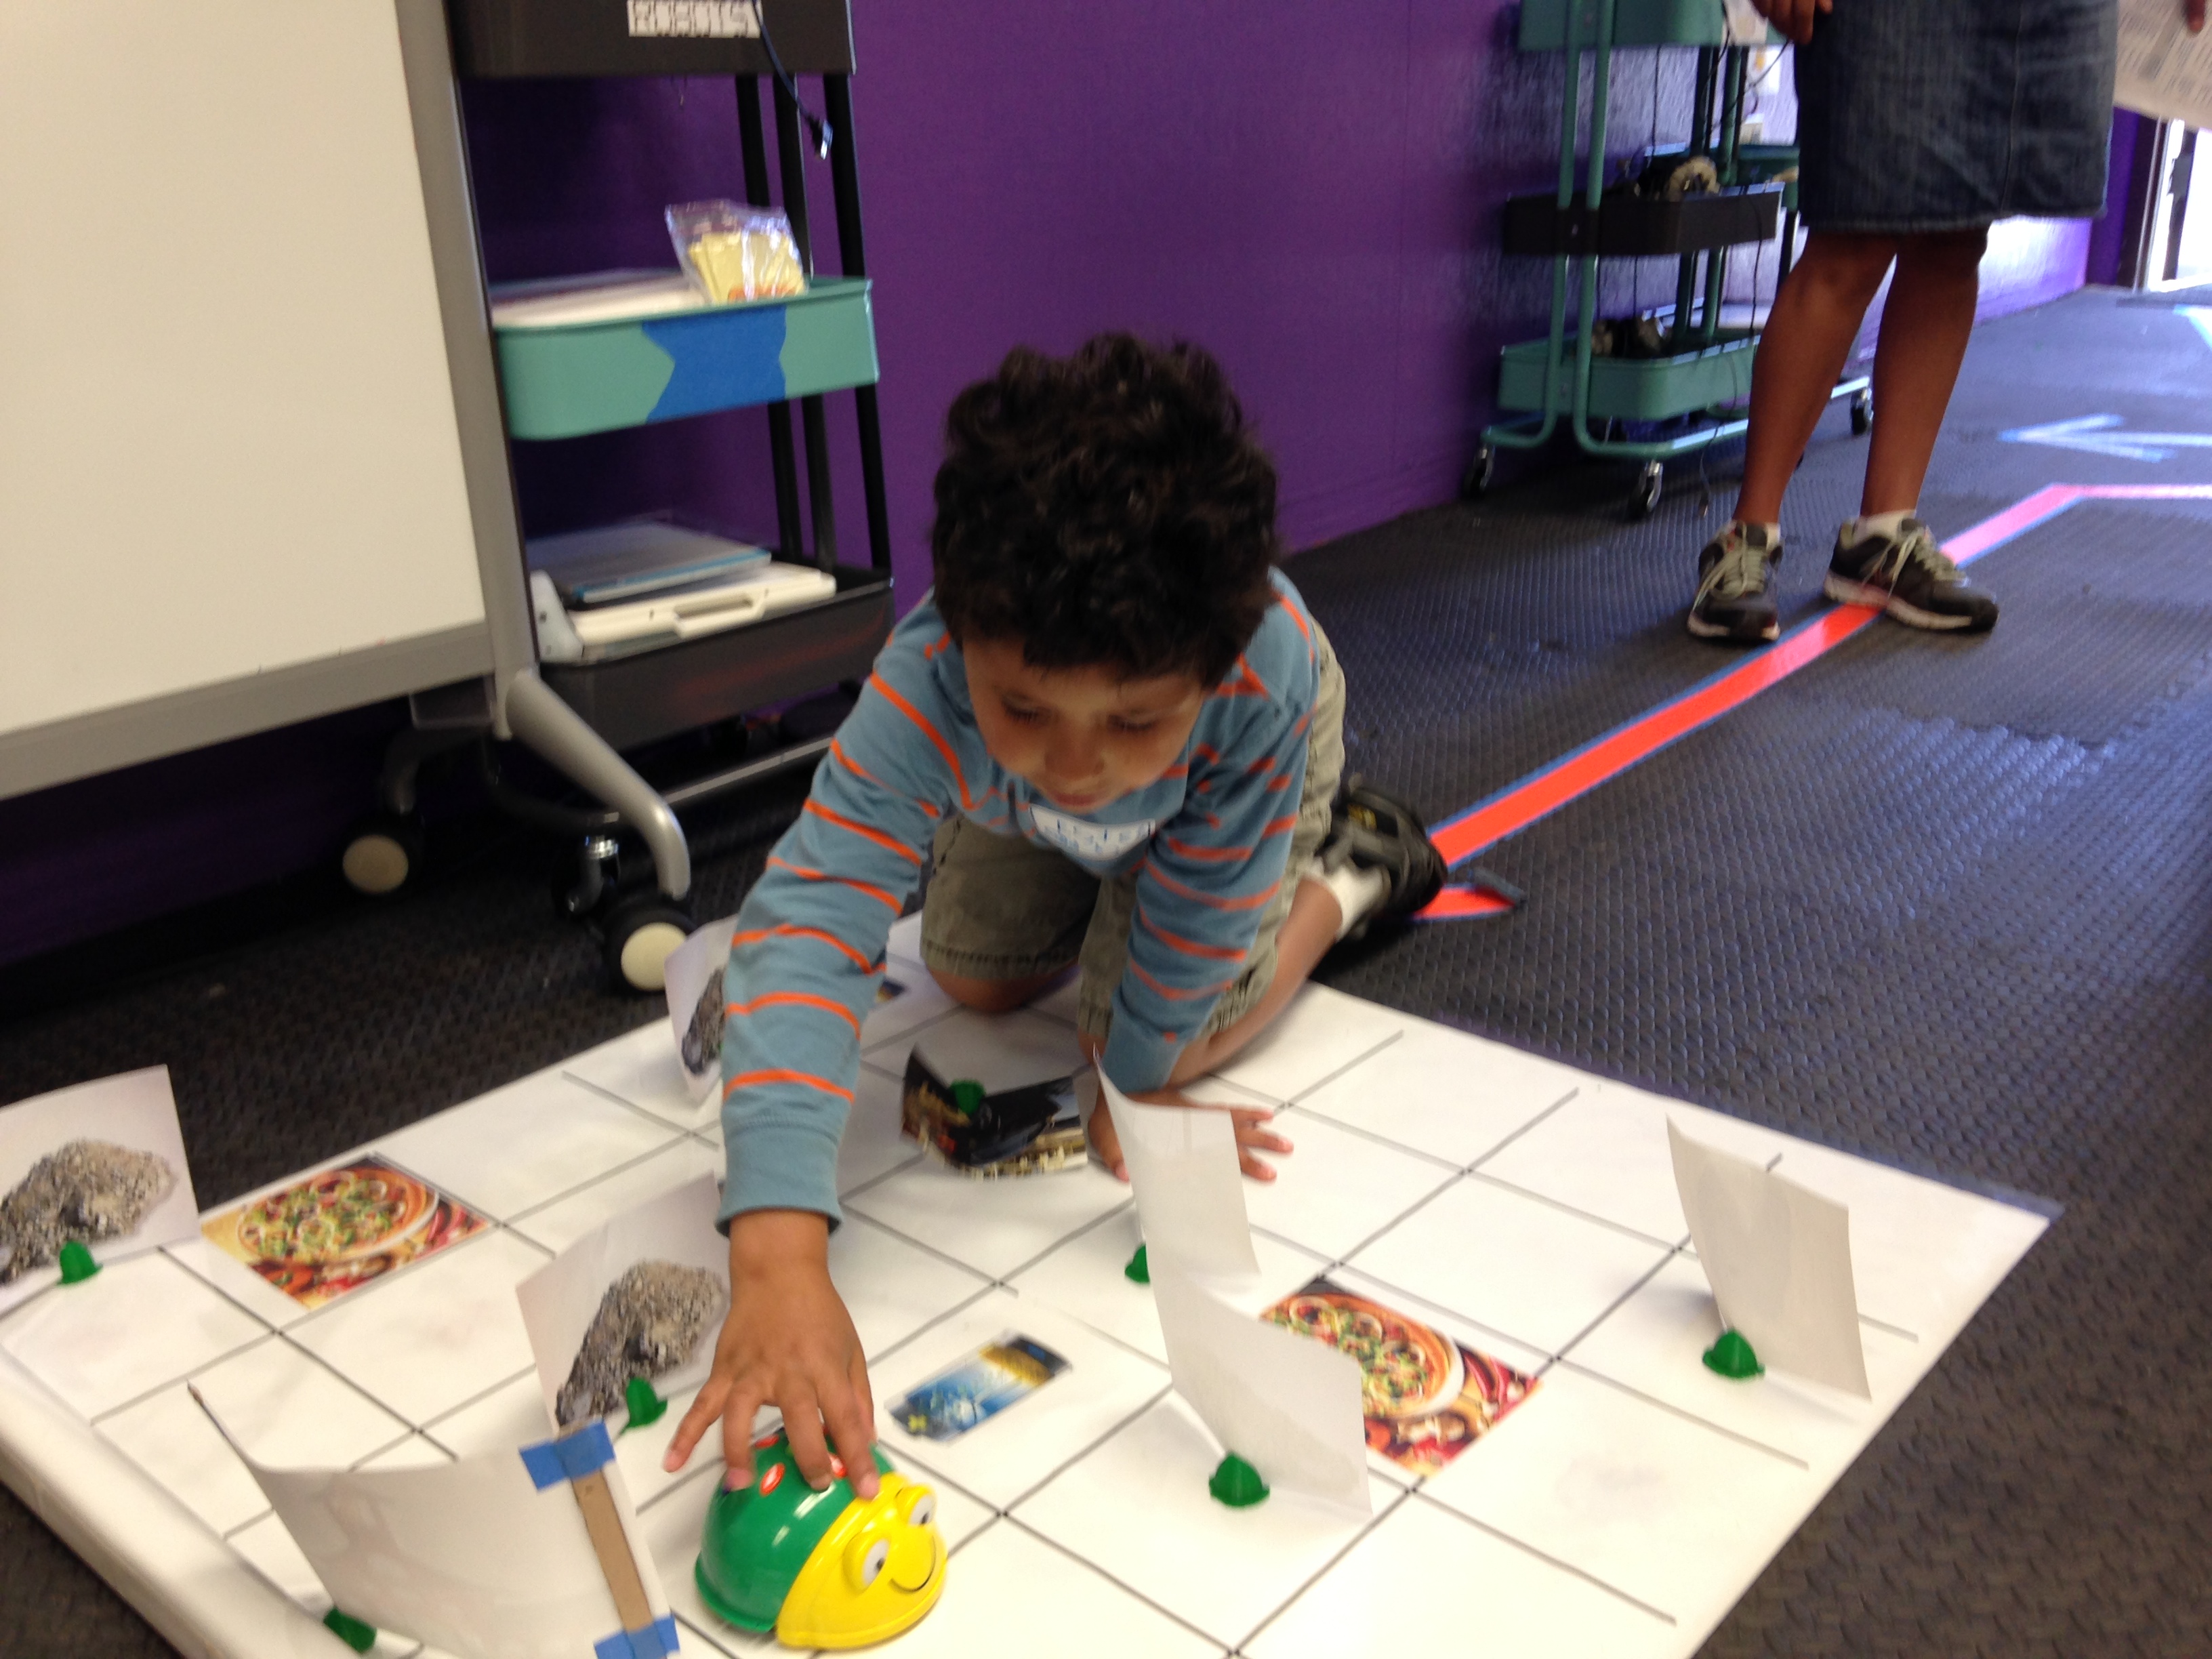
The current plan is to use the Thymio and/or Bee-Bot with grades K-3, LEGO WeDo with grades 4-6, and LEGO Mindstorms with grades 7-8. But, I must admit that this is the area where I have the least expertise. All of the plans so far including the current purchases have come from recommendations by other educators running their versions of a makerspace.
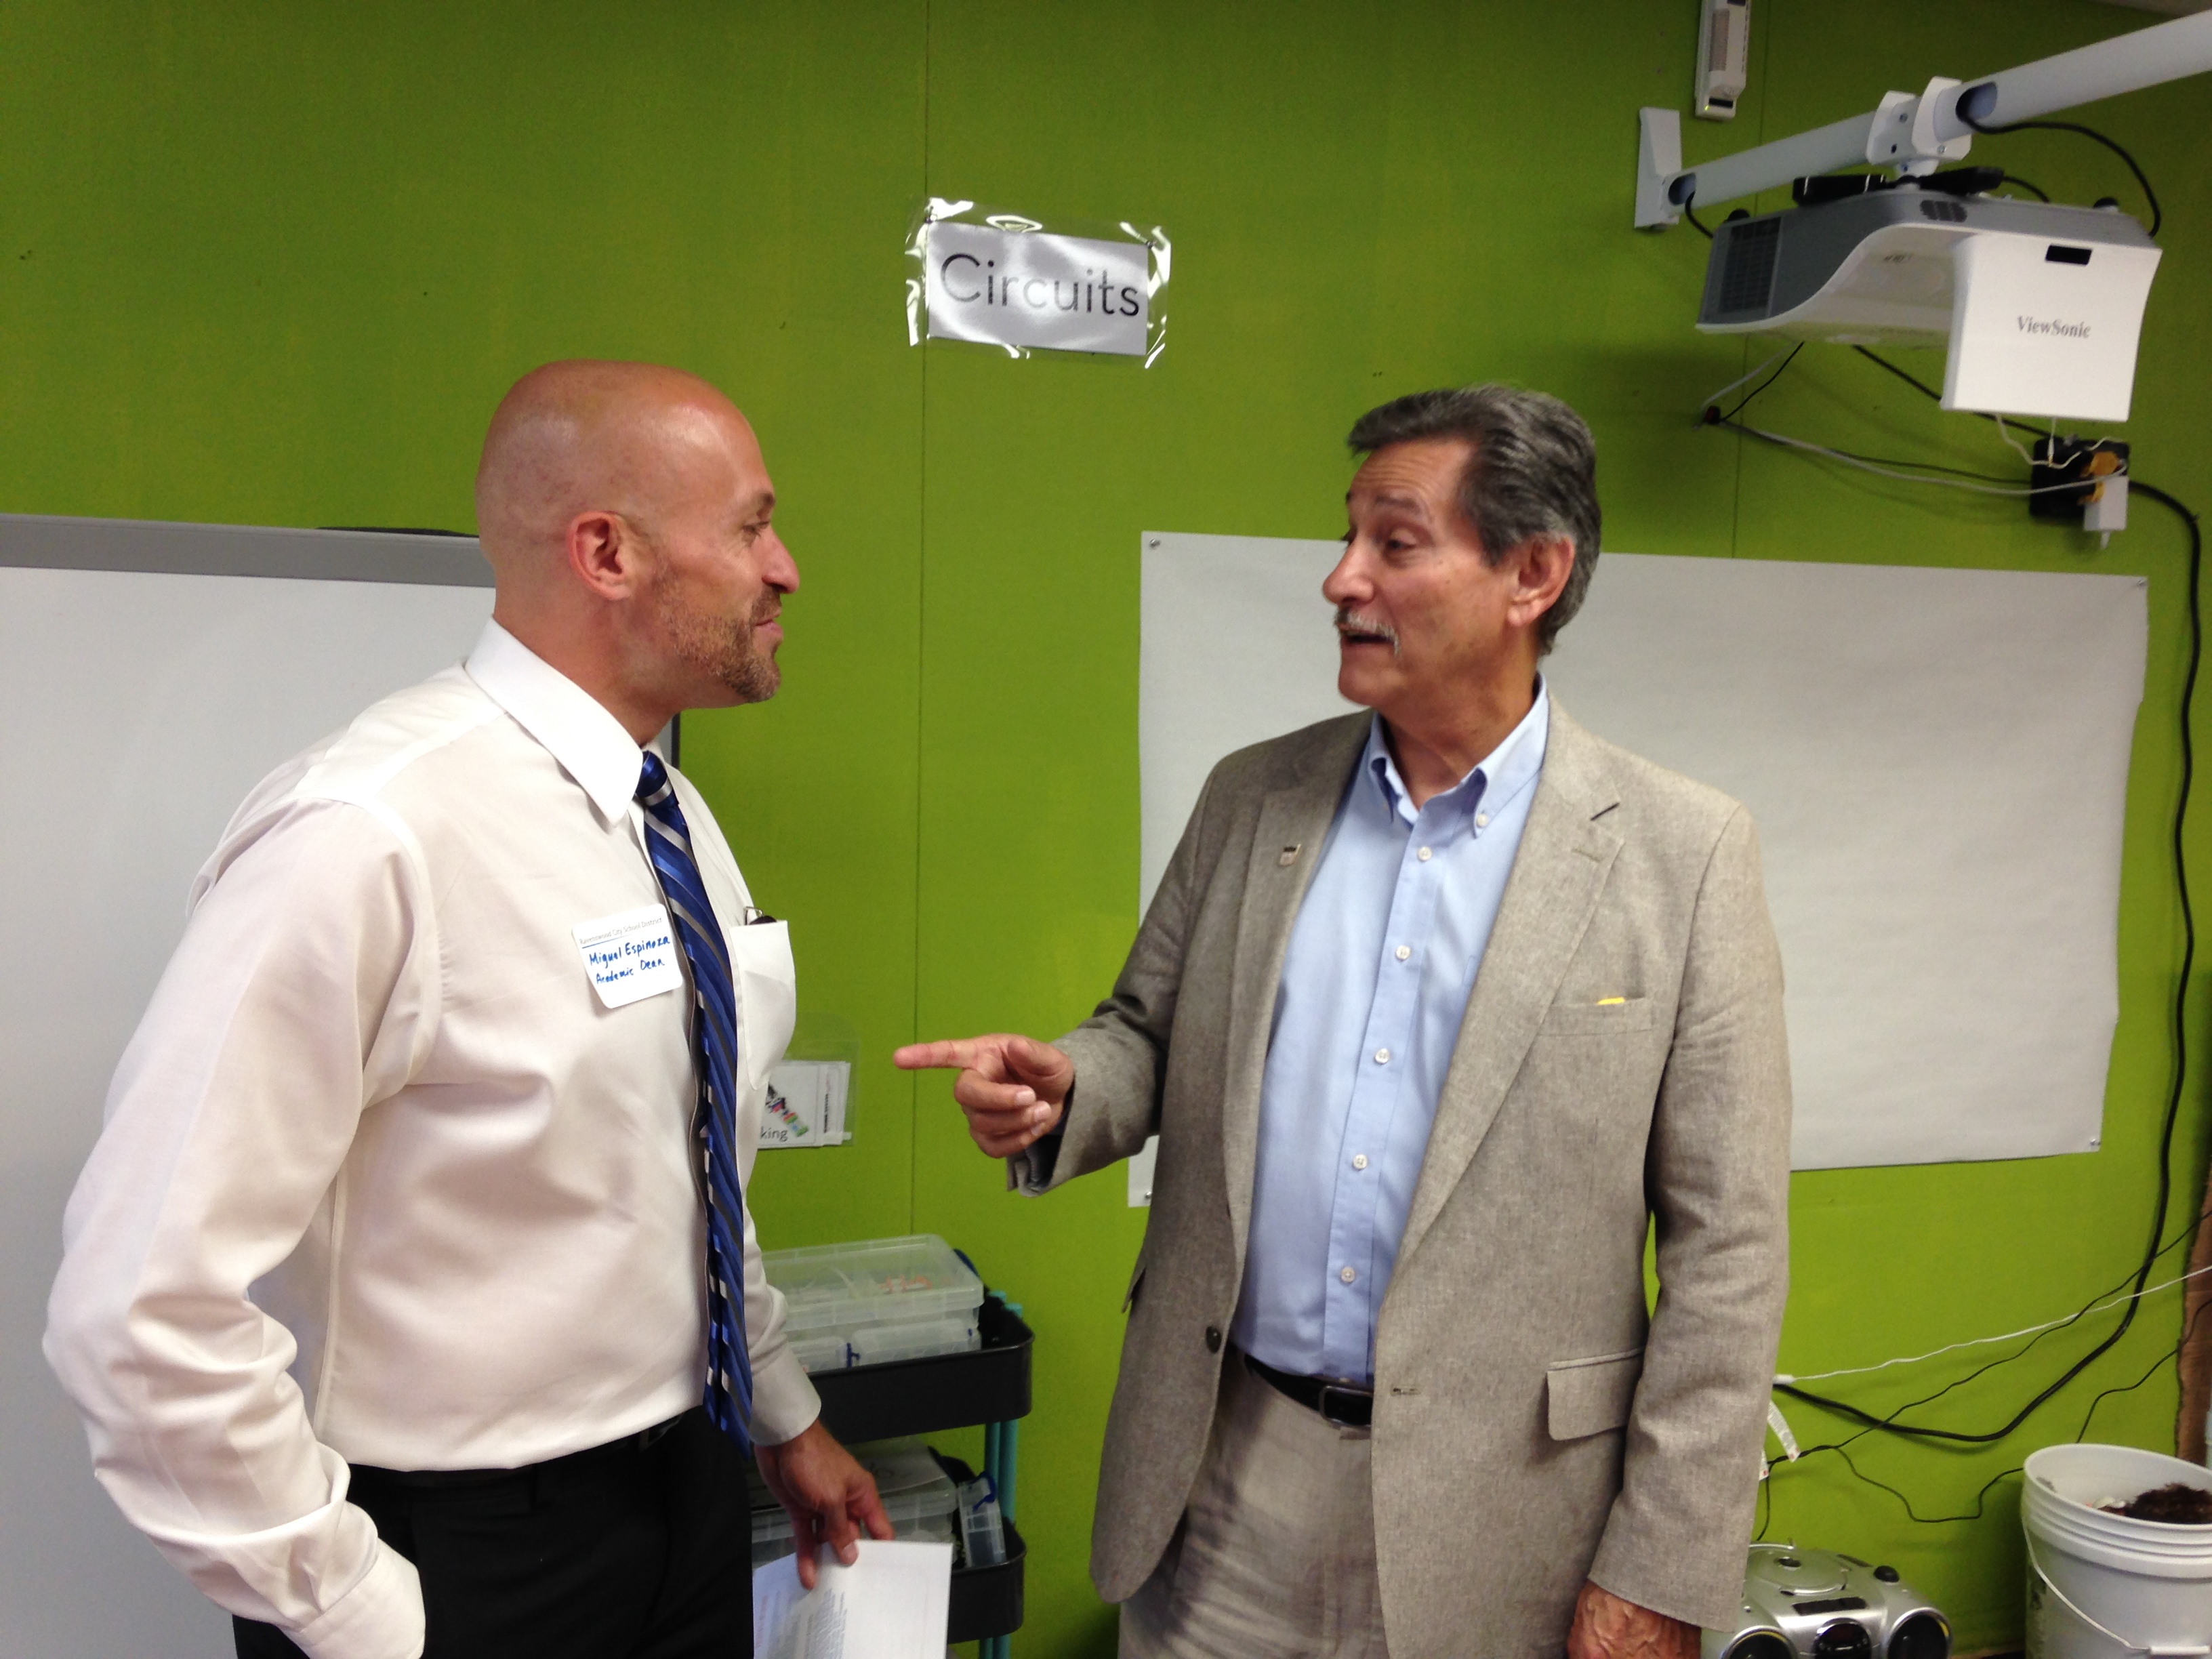
In that fuzzy area between all of these fields is where you’ll find our electronics kits, including Squishy Circuits, the Lilypad, LittleBits, and our Arduino kit. I’ve also brought my own Makey Makey and Raspberry Pi into the Makerspace. This is perhaps the most exciting area for me, as there is so much potential for engaging in the Internet of Things with these tools.
Again, we’ve only purchased one of each tool because we won’t know what is most successful and engaging for our students before actually getting the tools in their hands. If it turns out I need to get online and rush order a class set of LittleBits or Bee-Bots, that’s exactly what I’ll do. This pilot is about getting the tools that engage students in creating and learning, not the tools that I think students should use for whatever reason.
What will be that “must-have” tool in electronics and robotics? What will be that awesomely-addicting programming course? I’ll let you know once the kids tell me.