
The last time I posted about our Makerspace, I had finished my first month of research and planning. I was just beginning to put together my “pitch” and share it with those who might be interested in supporting the effort. I spent most of November dedicated to that task. After a couple of amazing people chose to donate to the project, I was able to move forward with building the space.
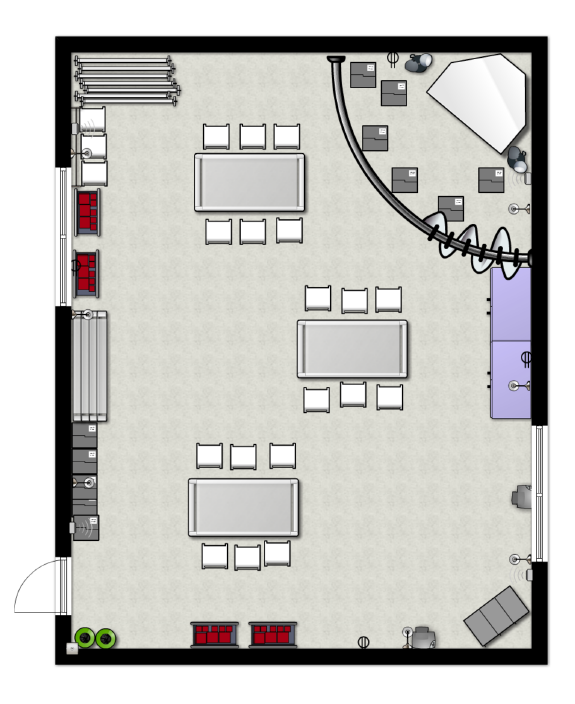
For those of you who may not have read my first post, the space needed a bit of work to look like I imagined:

 I started by painting the walls. Yes, I did the research that said primer & paint all-in-one is not the best, but I didn’t want to spend any extra time on painting. I went forward with a matte primer/paint in two colors: purple and green. Why? No, it wasn’t a subtle way to get the students to think positive thoughts about Yahoo!. I wanted the space to be accommodating to all students, especially those who wouldn’t normally venture into the room. I also want students to enter without any pre-existing feelings, which is pretty likely if the room looks like the classroom they are in most of the day where they may or may not feel successful. Oh, I also chose green to allow for some easy chromakeying if students ever get interested in video production.

Painting the walls
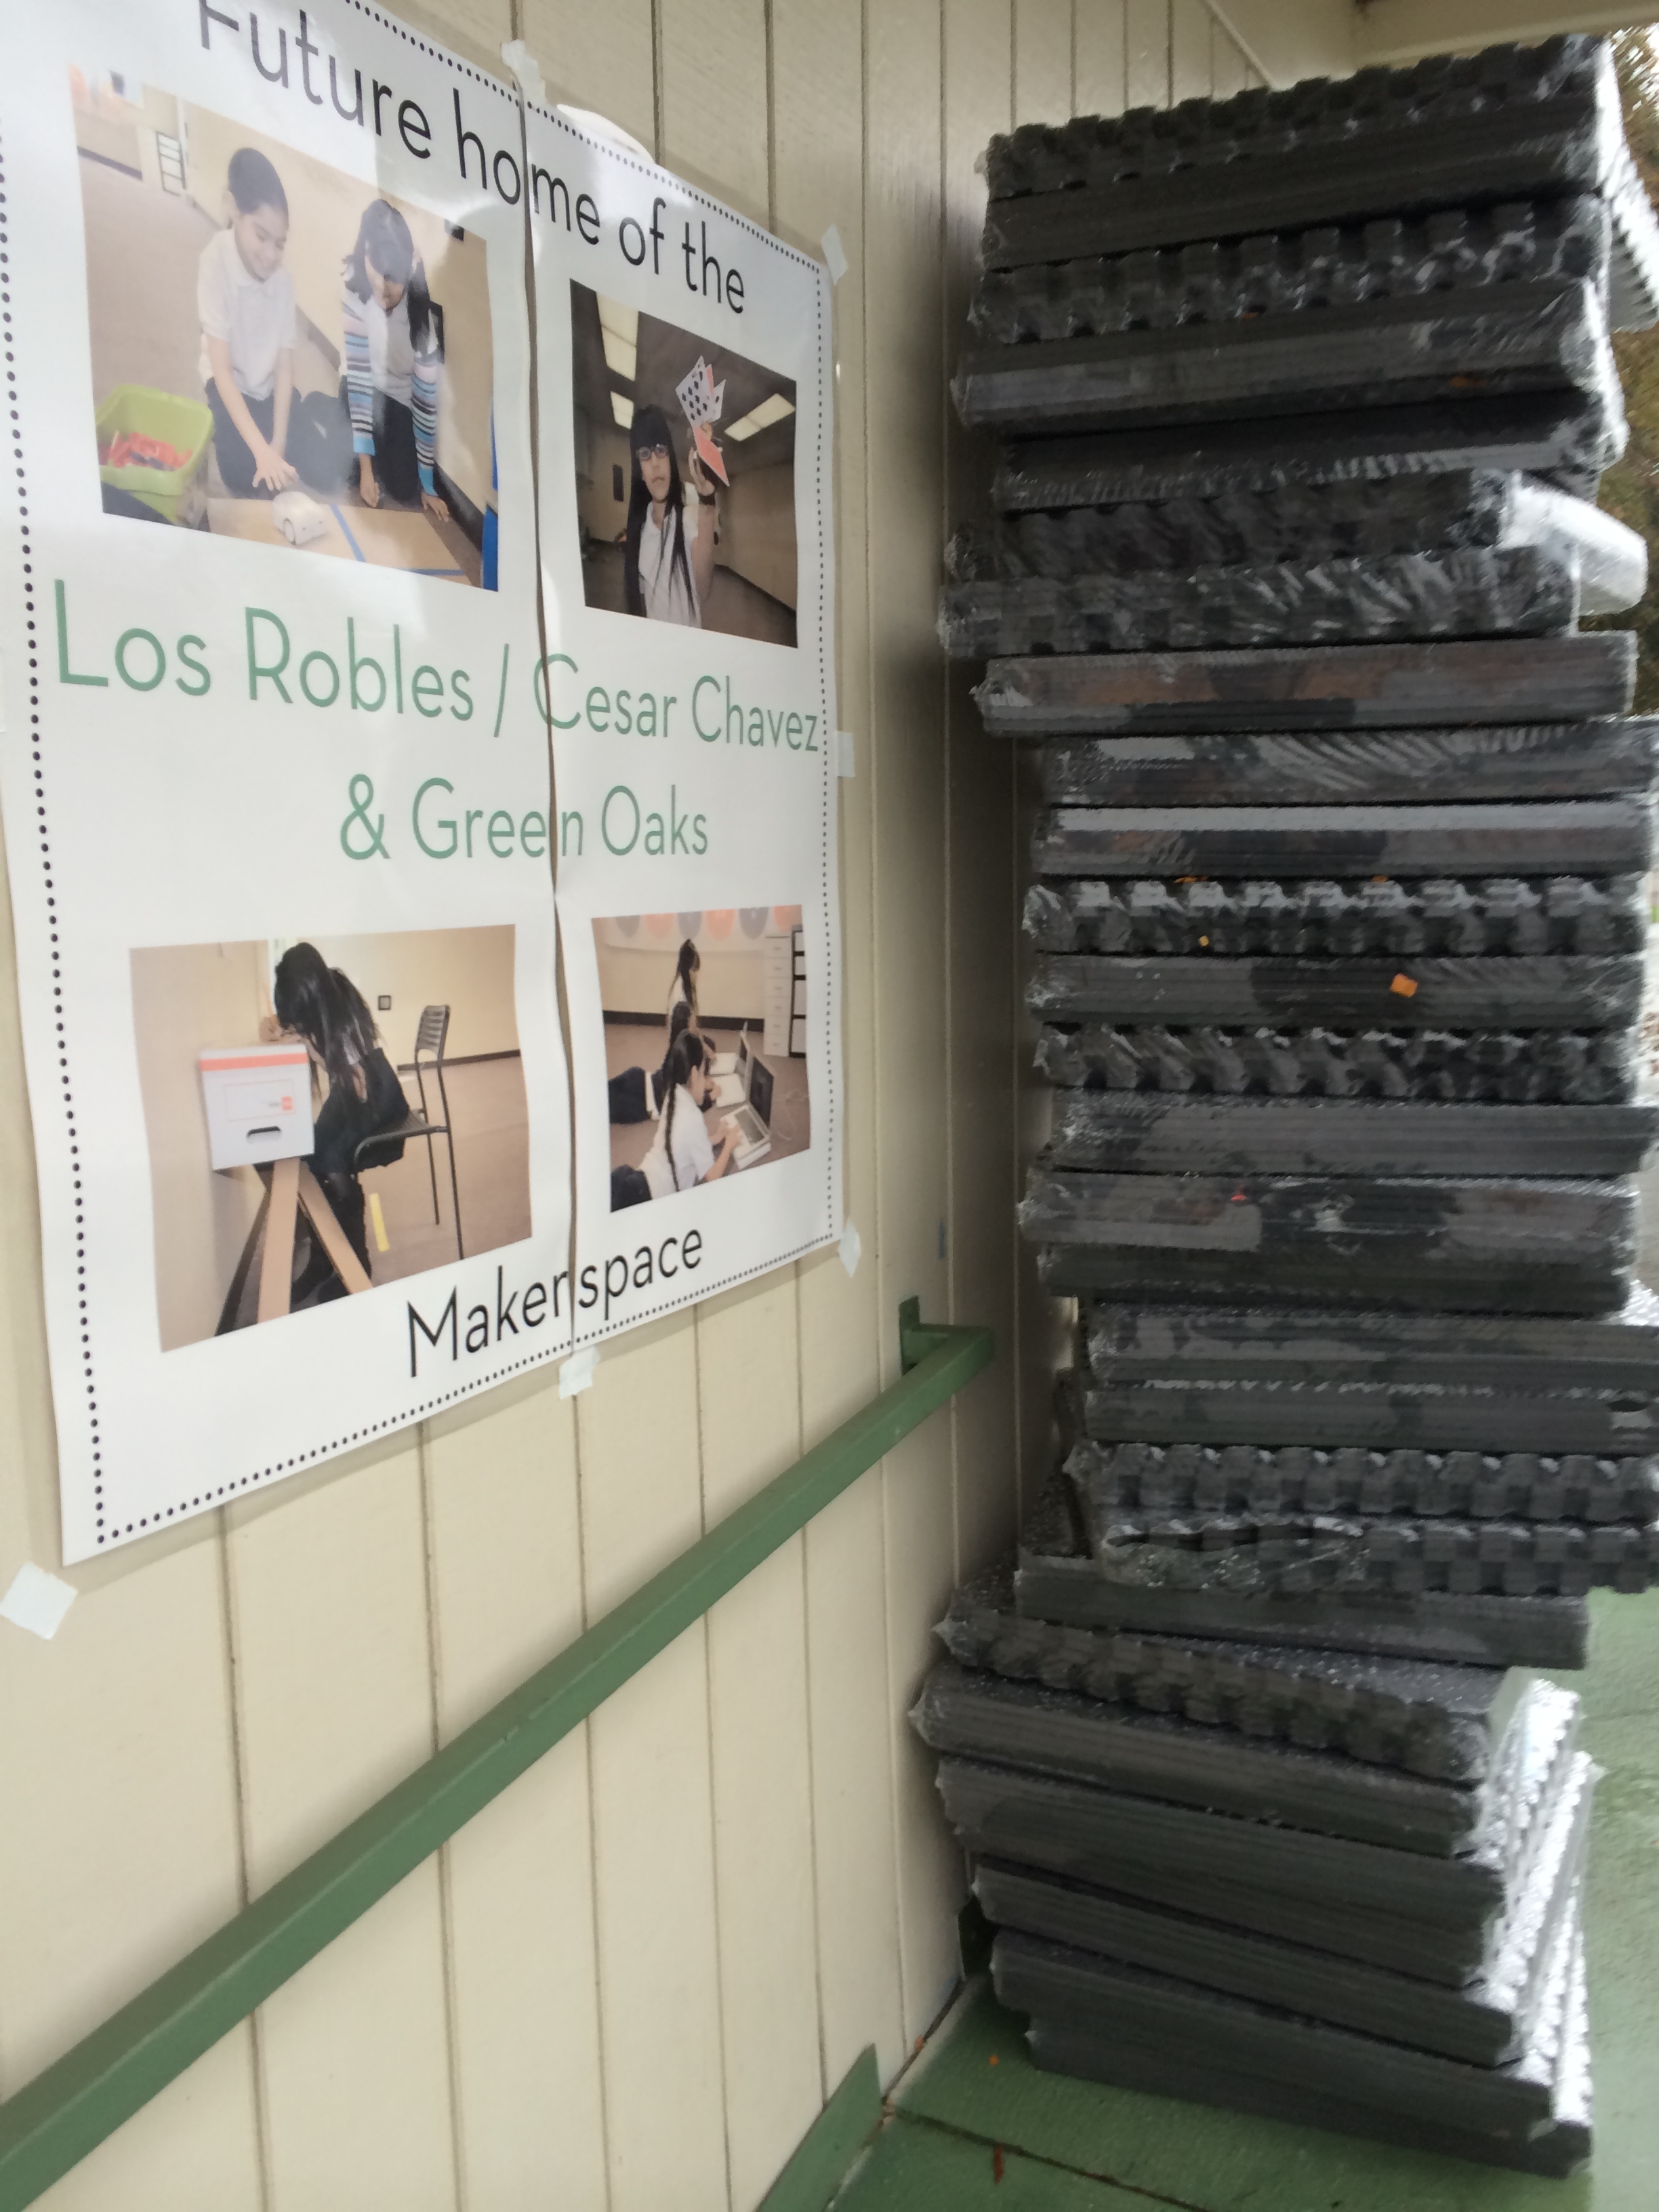
Next, I pulled out the carpet and replaced it with foam interlocking tiles, like those you might find in a gym or a preschool. I chose foam tiles because they are easier to install than any other flooring and didn’t require me to strip the floor as I would have had I chosen a different material. Also, it turns out they are easy to wipe off, easy to replace, and feel quite nice. They may lead to the production of additional static electricity, which could be an issue if it continues.
Tiles to the Ceiling

Laying the tiles
And yes, you’ll see I added my own curtains, which is just a fabric I cut at IKEA and put up with their wire curtain hanger. Actually relatively cheap.
Now, if you’re here to see what tools I put into the space, you’ll have to wait until the next post for me to go into detail. I will share about the storage of some of the materials, so you’ll get a sneak peek at some of the tools in the photos.
I wanted to make all of the tools easily accessible to students, so I took some IKEA shelves and mounted them to the wall with the tools placed on them. Above that, are IKEA photo displays which showcase books that are relevant to the tools sitting below.

Electronics tools and books
I got most of the storage for the Makerspace from IKEA, as they offer these rolling carts with three open spaces. Yes, they only come in two colors, grey and light blue, but, with some creative building, I was able to design four different carts. The plastic and wire cart came from Office Depot and is not as portable as the IKEA carts.

Mobile Chromebook cart
I also painted the purple wall behind the carts with Ideapaint, to allow students to write on the wall. It’s only one of the four walls, but it gives the students the opportunity to make the space a little more their own. The lights are Philips Hue lights, which will allow me to control the lighting and change the mood (via the color of the lights) from my phone. Students will eventually have this control too.
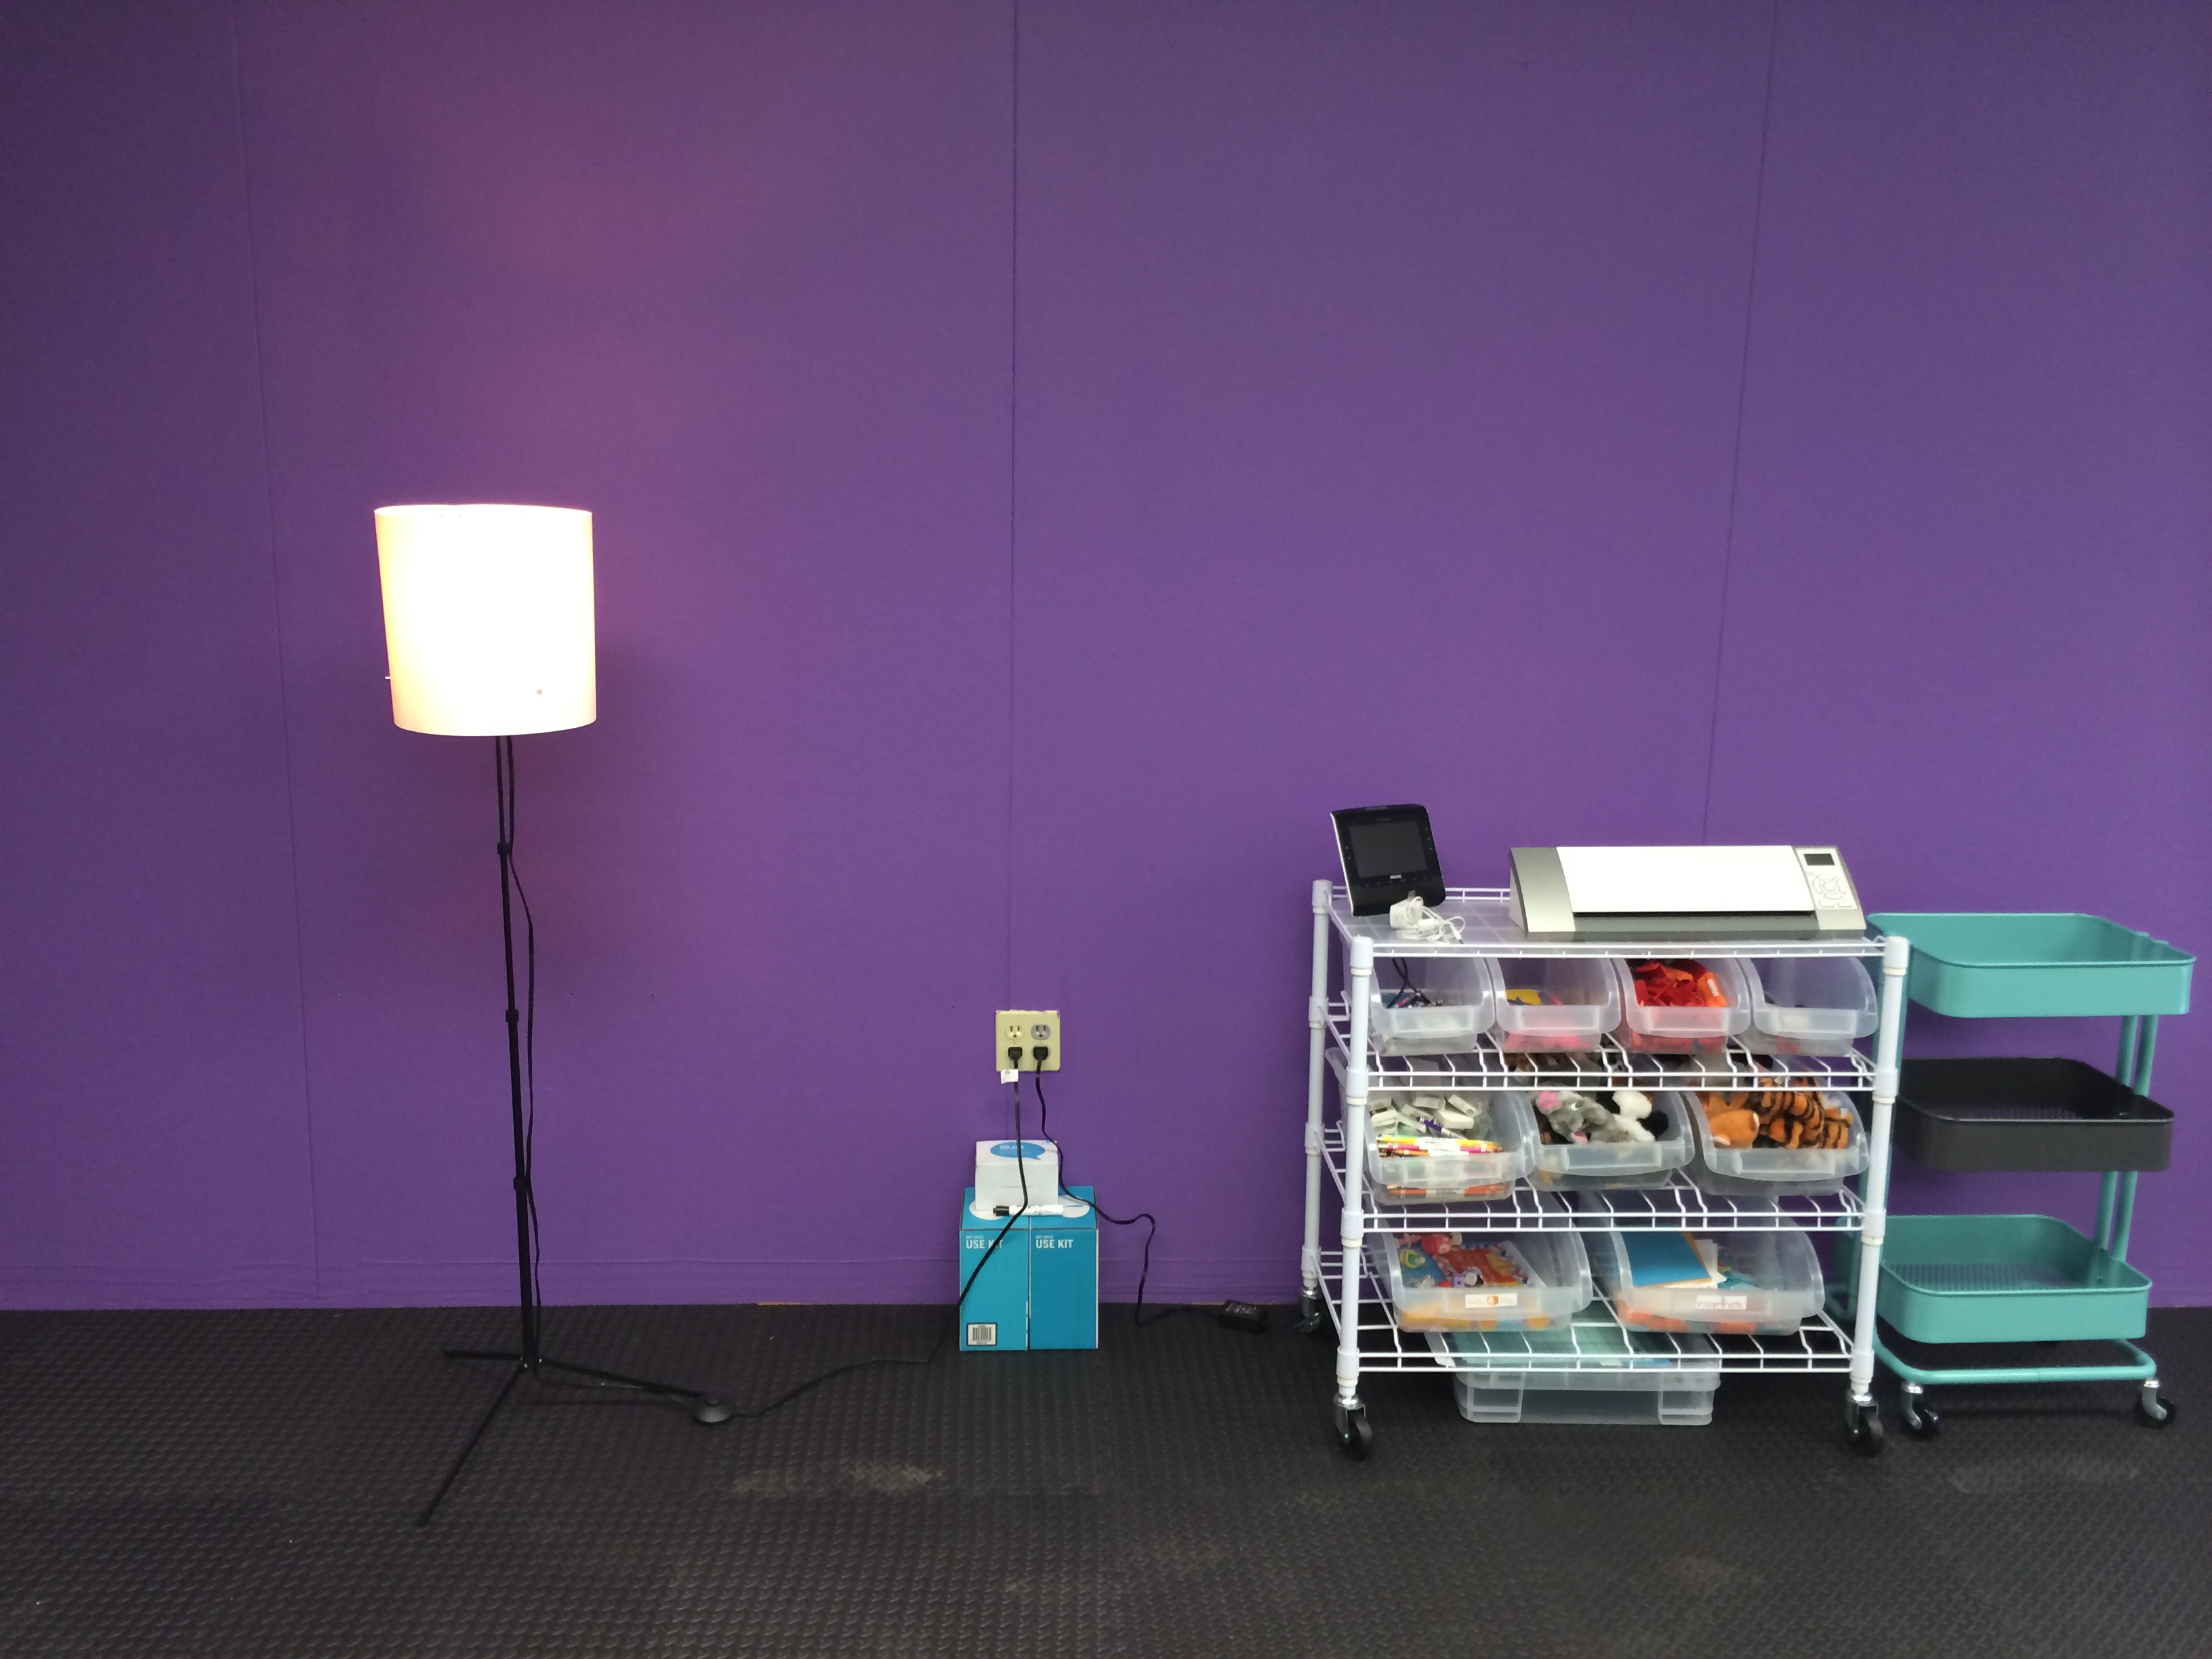
Even more storage carts
In addition to controlling the lights via mobile device, I also have a Belkin WeMo installed and connected to the Makerbot. This enables me to turn off the Makerbot when it’s done printing, even if I’m not in the room. How will I know the printer is finished? I installed a Dropcam to monitor the Makerspace. That’s not the main purpose of the camera – security is a much higher priority – but it is an added benefit.
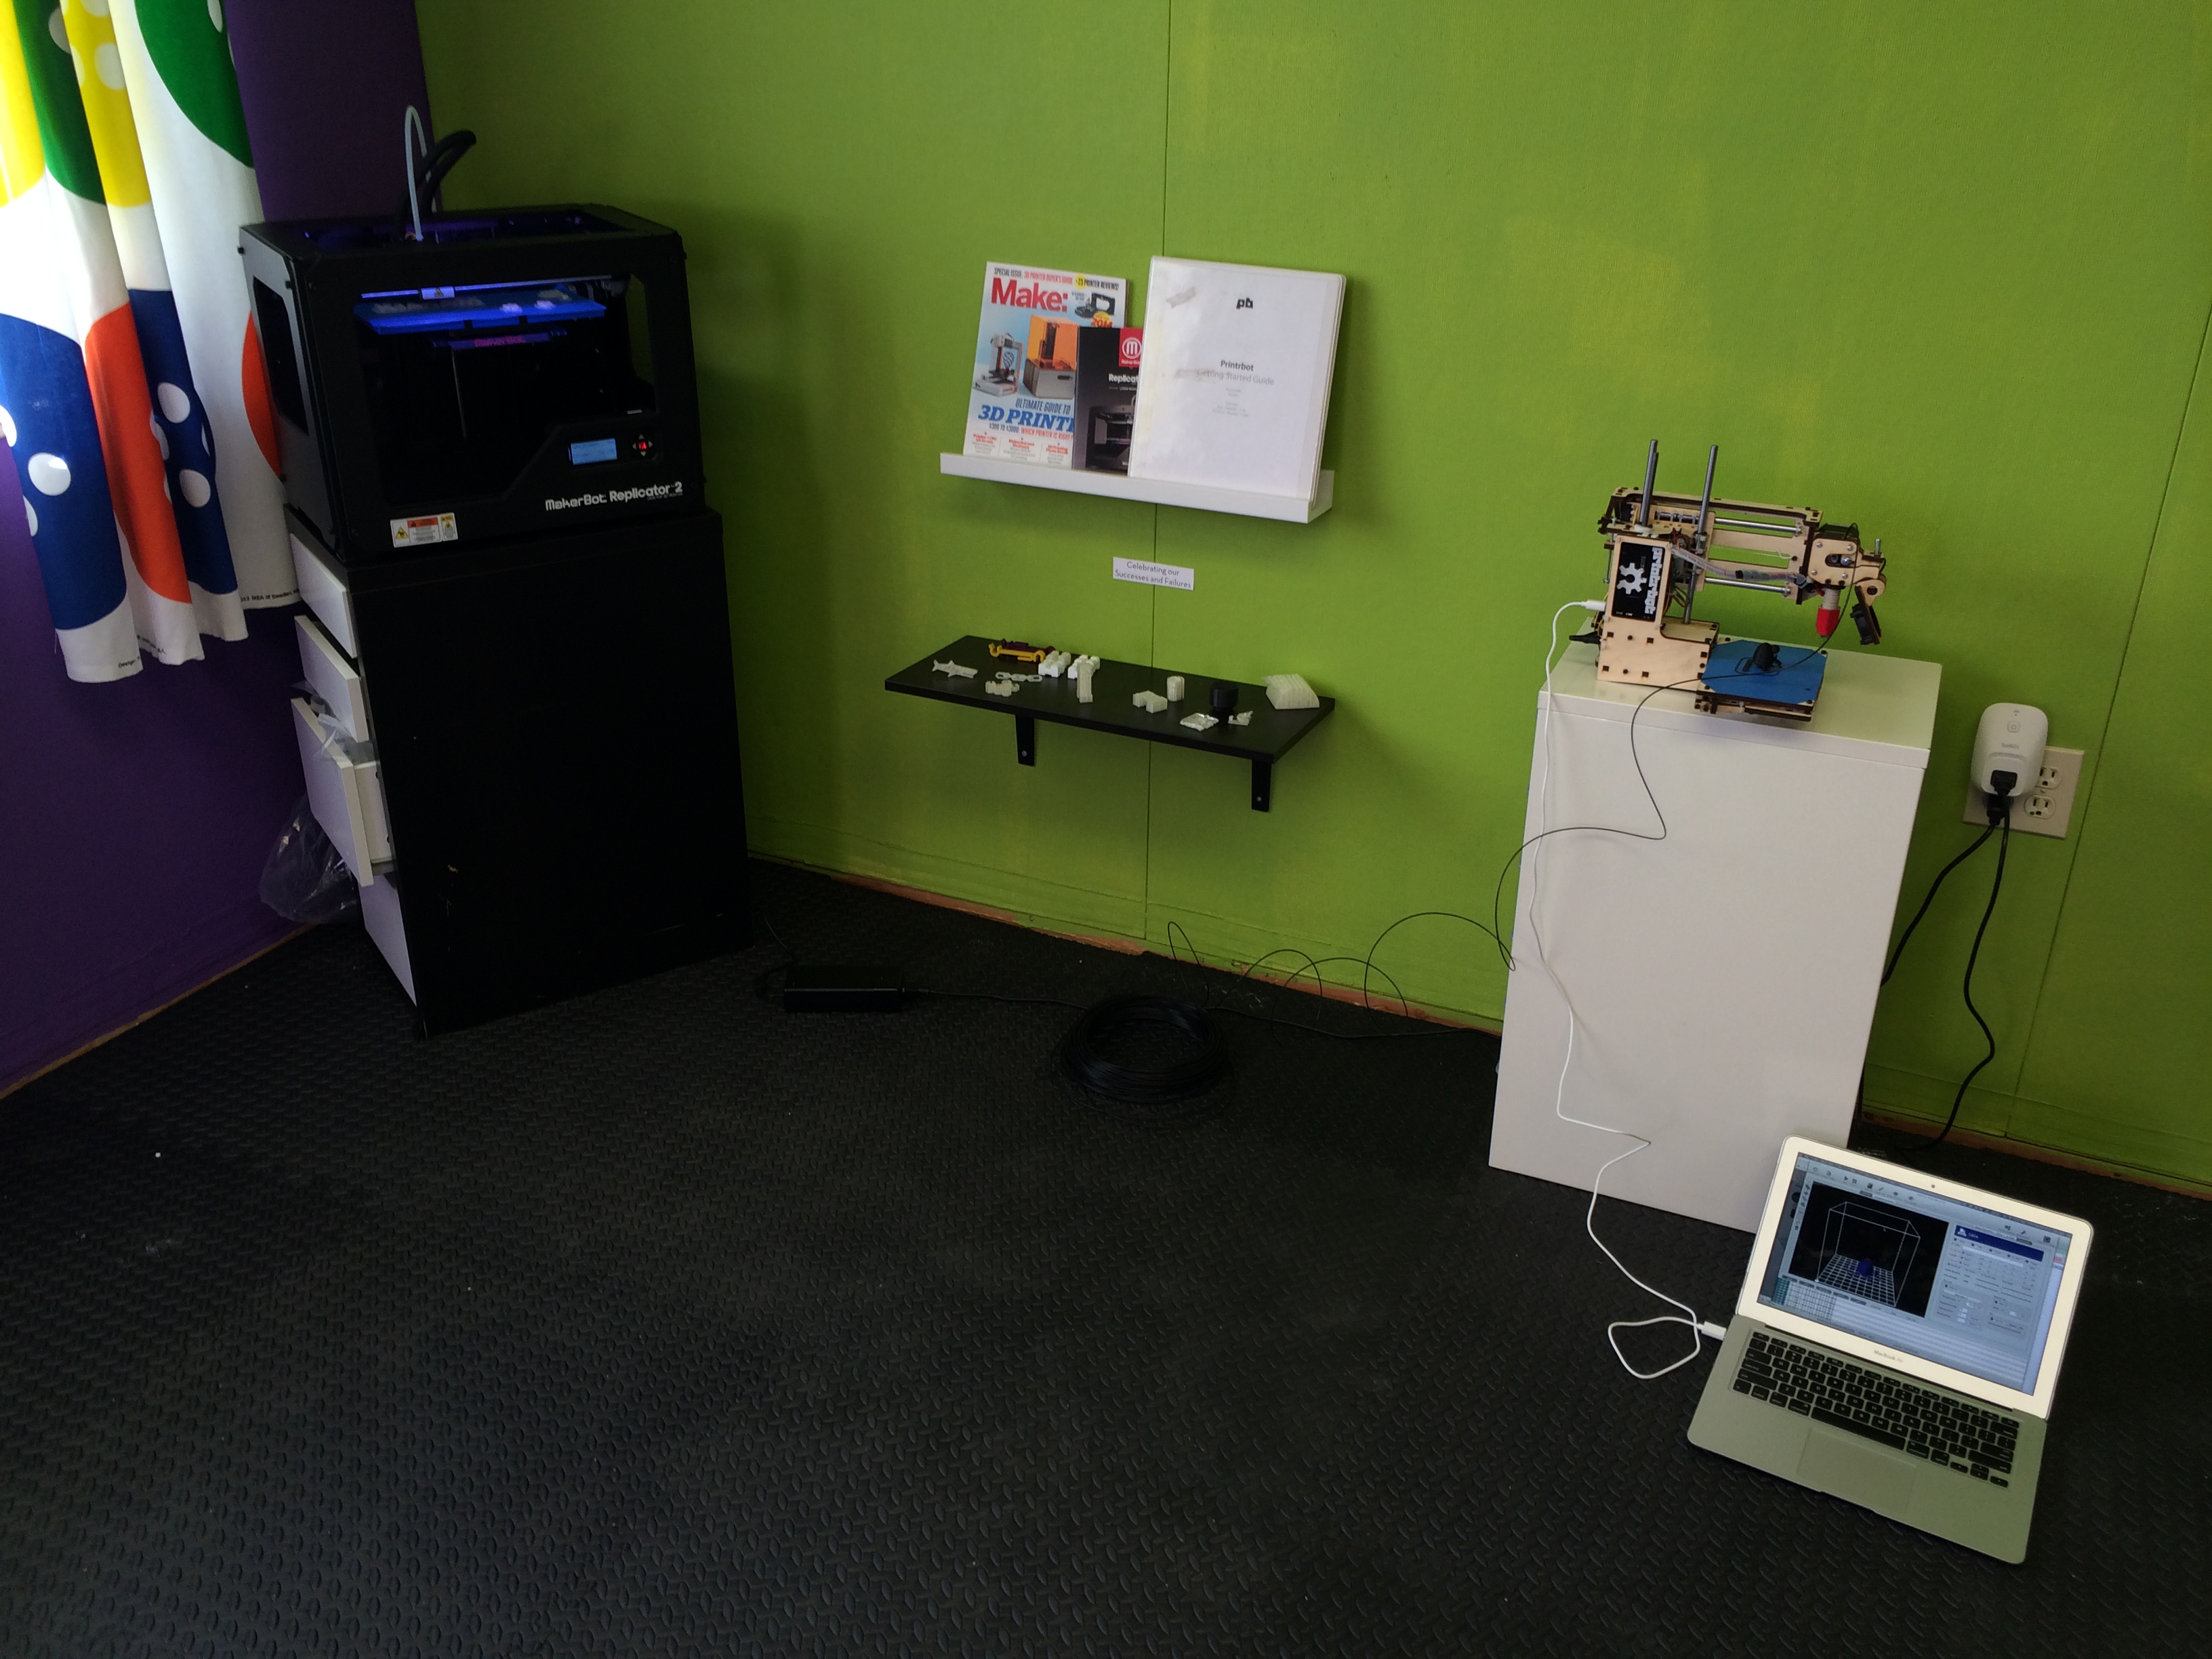
Belkin WeMo on the right side
You might be thinking I just bought everything I wanted to have at home but can’t. While I won’t say you’re wrong (this job feels like a dream come true), I will say that I did a lot of research before purchasing any of these objects. I ensured that if I was purchasing an object that was more expensive than the others in its field, it was because of the benefit it provided to the Makerspace. Nowhere is that more relevant than when discussing the Dropcam.
The Dropcam is $50-$130 more than other webcams, but Dropcam offers the best HD & night cam images, a wide visual field, a microphone for capturing sound, video stored in the cloud for the past 7 to 30 days, and even the ability to speak through the webcam to someone in the space. Most importantly, the Dropcam notifications are fantastic. If there is movement or an unrecognized sound, Dropcam will send an email or iOS notification and I can view it immediately. If someone were to theoretically break in, I could let them know I was calling the cops, turn on the lights via the Hue app, and download the video for the authorities. I hope I never have to do that, but given the investment made for our students to have this space, I definitely want to be prepared.
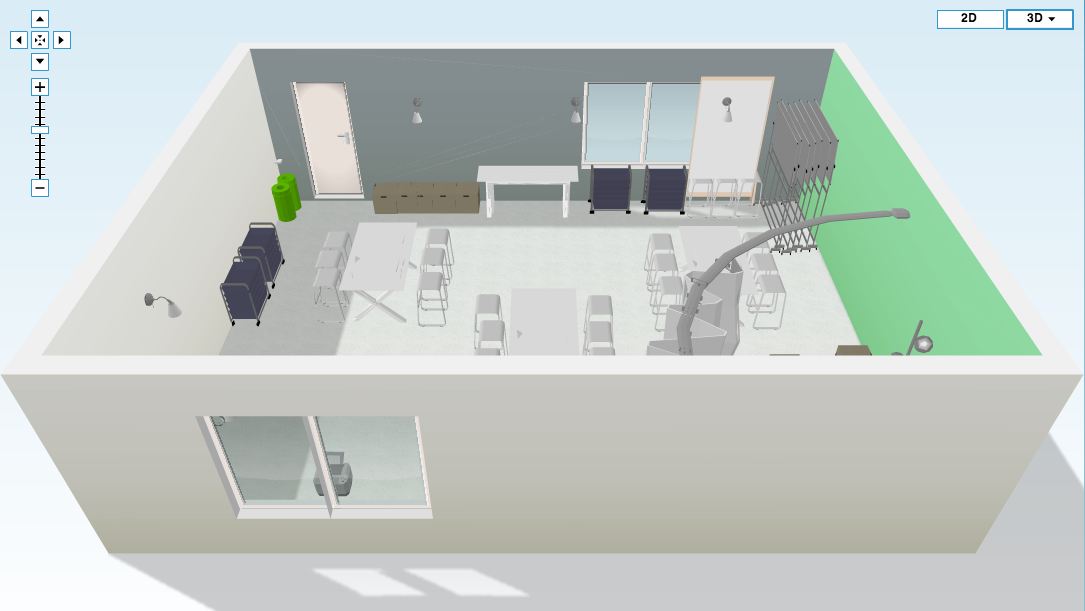
Where’s the furniture from the plans?
But, you might say, where is the furniture? Where will students sit? Are you going to do all your work on the floor? Well, I asked that question too. And wouldn’t you know, our neighbor Facebook answered in a huge way. They brought us some of their lightly-used furniture, enough furniture to make all of our wishes for the room come true. We have stacking chairs (key for making the room more spacious), rolling tables and whiteboards (allowing many configurations of the room), and even a storage cart and a couch.

Ready for students!
While students might be more excited about the tools than any of the things I’ve shared in this post (and perhaps you are too), I know that building the right inviting atmosphere is important to allow students to be their most creative. And don’t worry, we’ll get to the tools soon too.

Nice!
I only wish my school had the space for something like this. It looks like a place kids will want to be and where they will learn.
Pingback: OTR Links 01/06/2014 | doug --- off the record
Nice work Robert….the kids are going to LOVE it!
I’m interested in knowing what kind of paint you used for your green walls and whether they work well as a “green screen “for filming video.
Pingback: Weekly reads: 3-2-14 | Intarsia for Technicals
Pingback: My (@pronovost’s) Top 5 Viewed Posts in 2014 #endofyearreview | attempts at using tech effectively in our classrooms
Pingback: Classroom Redesign with Sketch Up | Ginger Abroad
I Love the about how they decorated the classroom.
I love how you thought about making a welcoming space that encourages creativity.