
The Makerspace has now been open for two weeks. Two exhausting but exciting weeks. Two weeks of learning, for the students and for me.
When I put together the concept of the Makerspace, I planned for three types of sessions: class time, lunch time, and after-school time. I also thought that the first phase to launch would be after-school time. However, when it came time to open, I realized lunch time activities would have the greatest impact on the students. Opening the space at lunch would also provide me with a lot of research that I needed in order to make the after-school piece be effective.
We opened up on January 7th. I put up a few posters around the campuses and sent an email to all the teachers with a spreadsheet to sign up for times to visit. Two classes came by for an introduction that Tuesday and by the last recess of the first day, the Makerspace was packed. How to handle such a large number of students? I’m still working out the kinks, but here is what I have done so far:
The first day a student enters the Makerspace during his/her free time (generally recess or lunch recess), he/she must complete the “Makerspace Entrance Survey”. This survey is based on the research of Dr. Paulo Blikstein at Stanford’s Graduate School of Education. It is how I will measure the success of the Makerspace at impacting students’ lives beyond the time they spend in the Makerspace itself. For students in third grade and below, the survey is a series of Yes/No/I Don’t Know questions about their perceived capabilities in traditional school subjects and their interest in making. Students in fourth grade and above are asked to share how familiar they are with certain technologies and how much they agree with certain statements about mindset.
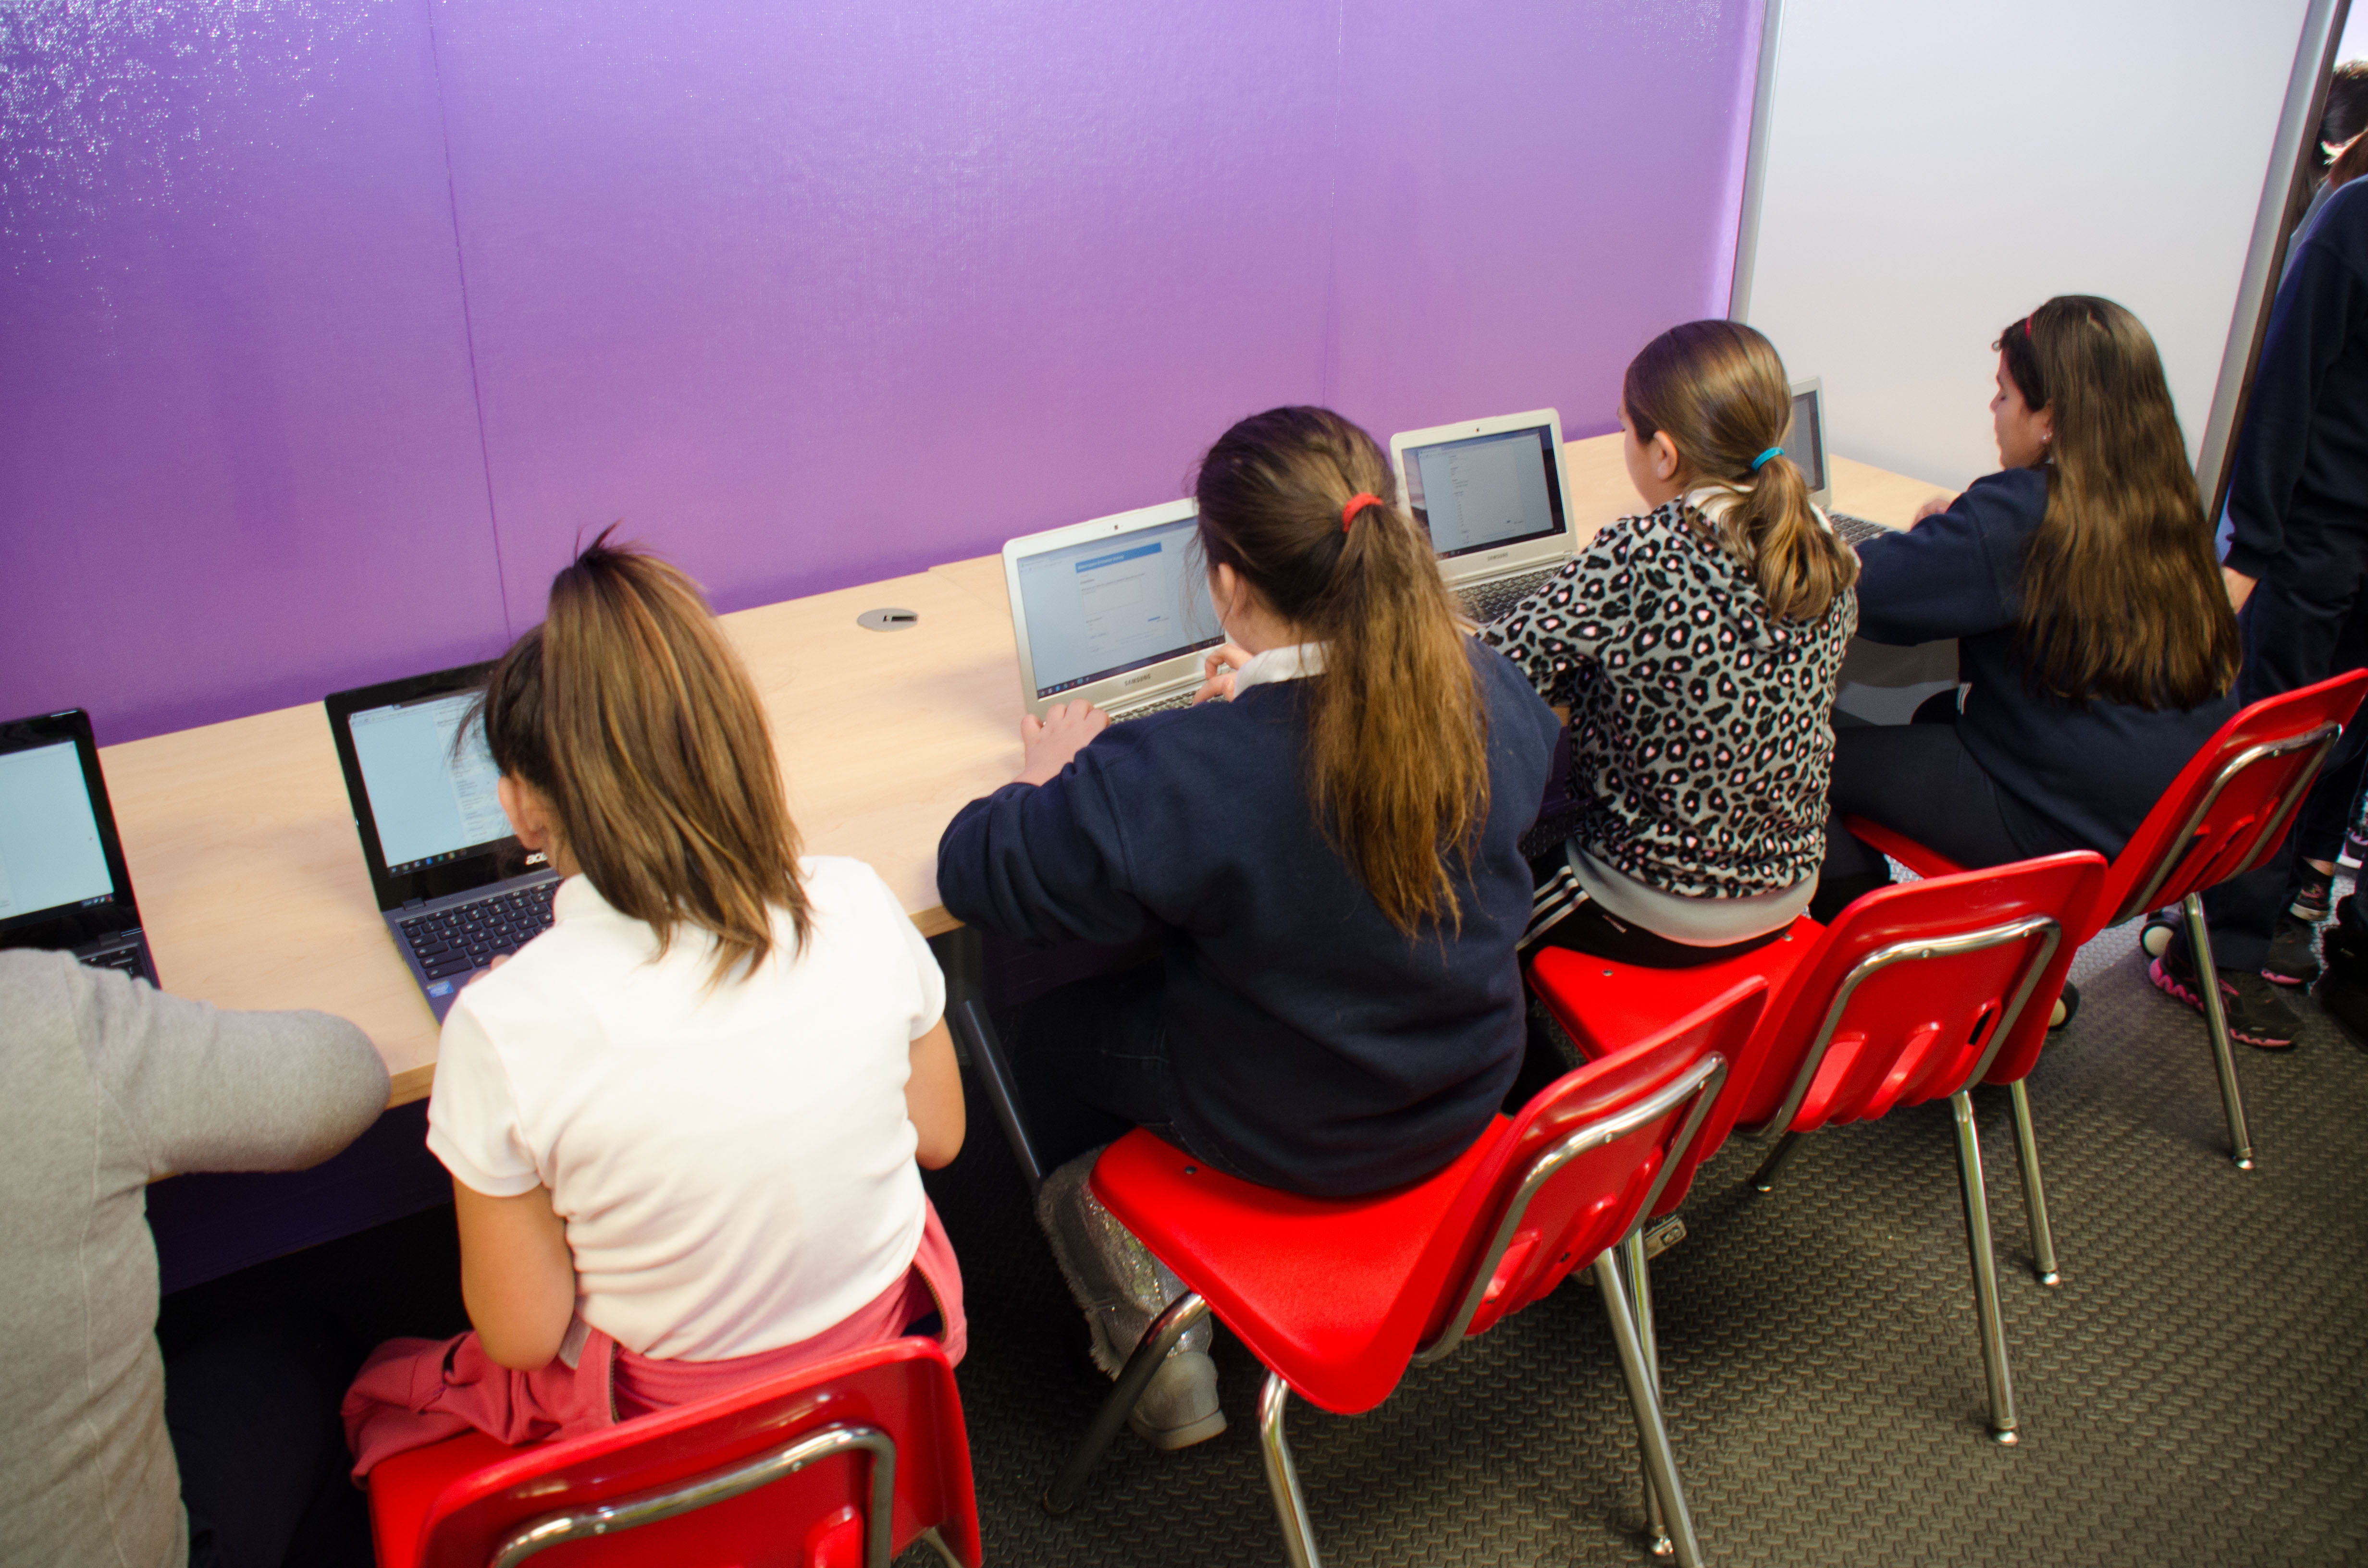
Given that everyone entering the first couple days was new, I had computers lining the walls already directed to the survey. Students completed the survey and then made a name badge (a name badge I now ask them to wear every time they enter the Makerspace). The name badge enabled me to get to know the students and ensured they had completed the survey.

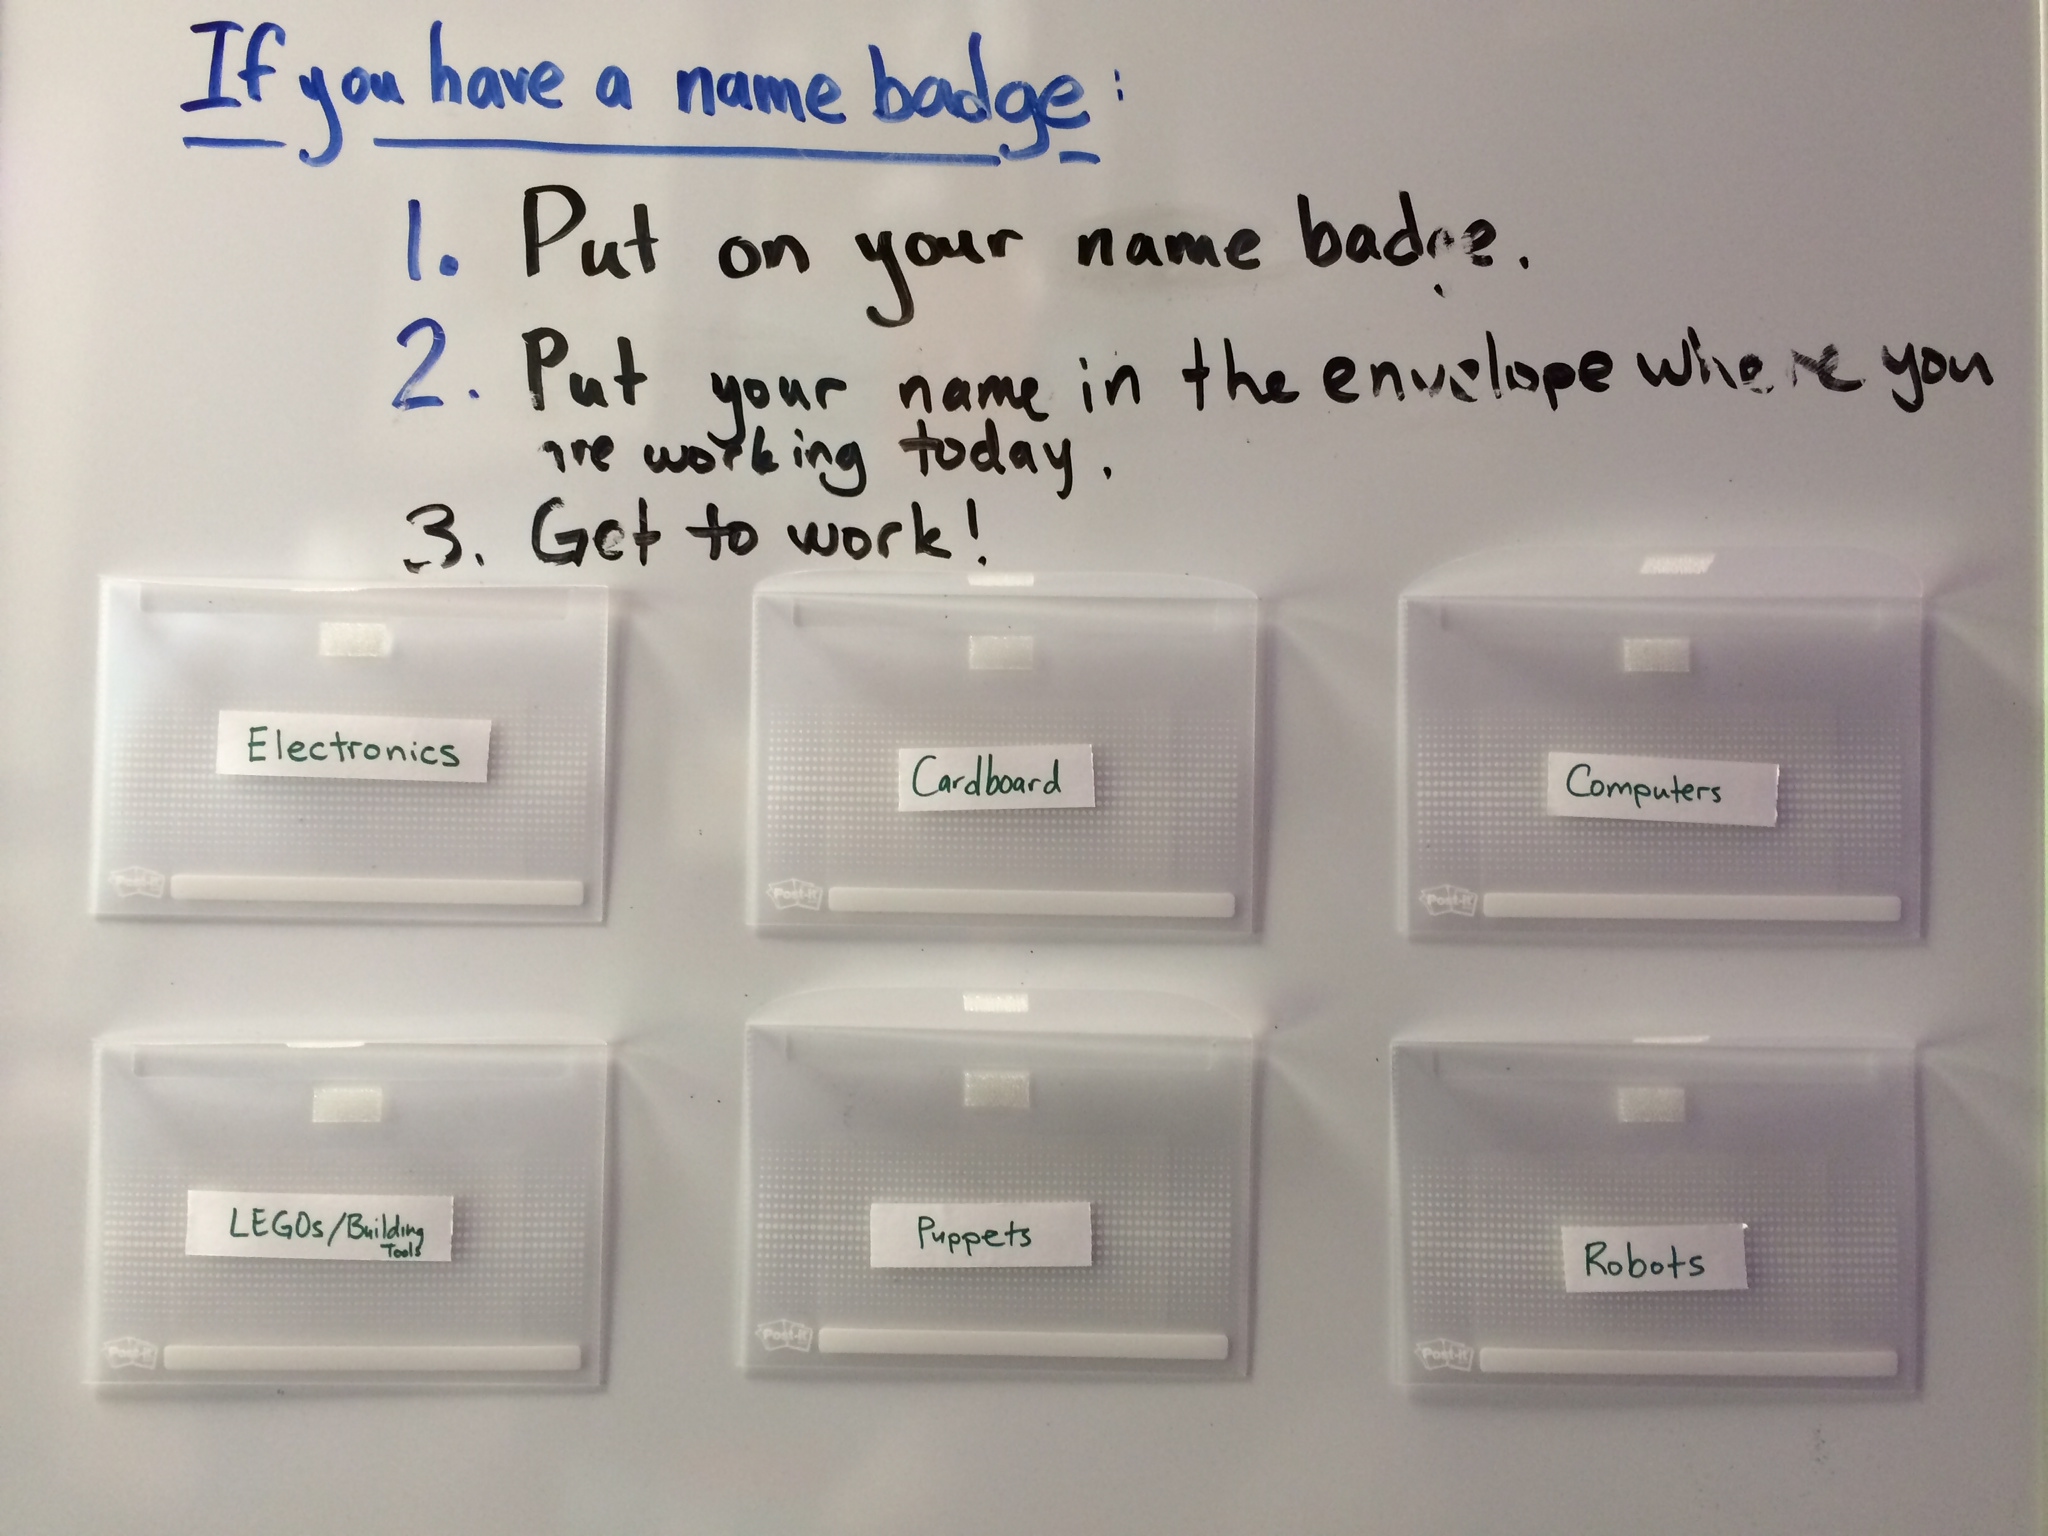
While I wish I could say the instructions on the wall were enough to help the students with the construction of their name badges, it was actually the badge I made and I wore which gave students the most guidance.


At this point, I knew students’ names, all kids had completed the entrance survey, and they were beginning to explore. Then recess came to an end. The room was nowhere near clean, even though I’d played the “Clean Up” song I played for my second graders and had asked them to clean up. Nearly all the students did make an effort to clean up, but there was still a lot I had to do after they left. Yet the next group of students was banging at the door, waiting to come in.
I’m getting closer to solving the clean up conundrum each day. Since I can not change the fact that other students will come into the space next regardless of cleanliness or that we are working in a shared space, I am trying to change the amount of responsibility each individual student has for their space.
First, I created “Today I am responsible for…” cards, which each listed a certain tool or area of the room that students may choose to use. After picking up their name badge, the students told me where they wanted to work and took a card. I planned for the students to turn the card back into me as they left and I would verify that they had cleaned their area. It turned out that it’s hard to verify each area’s cleanliness and individual accountability while standing at the door ushering students in and out.


Fun fact: I designed this little card holder in Sketchup!
New strategy? I printed out two tiny cards that fit into the student’s name badge and also has his/her name and grade on it. When each student decides what to work on for the day, he/she drops his/her name into the appropriate envelope, labelled with the area of the room or tool the student might wish to use. Once students leave, I can verify cleanliness of each area and make a quick note if there is a group of students I need to talk to the next time. It’s working better than the first strategy, but I’m not sure it’s quite where I need it to be yet.
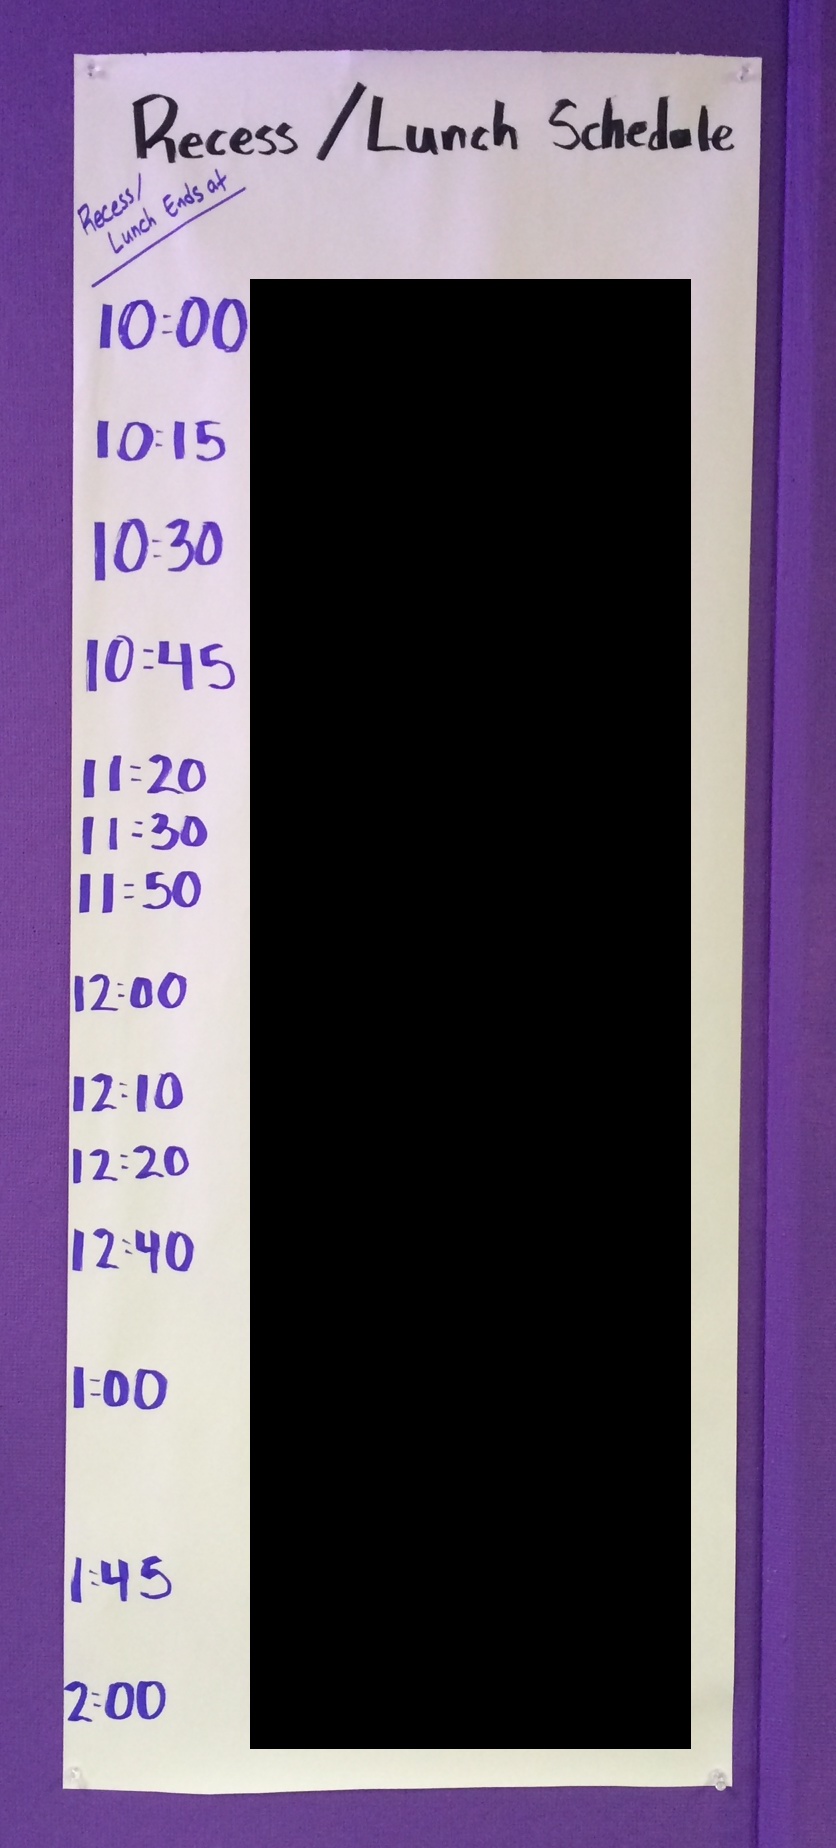
The other compounding issue is the transition between groups. The way recess and lunch time is set up at the schools, I am usually saying goodbye to one grade level as another grade level is entering. I tried to let the transition happen naturally, but everyone bottlenecked at the door. As we only have one door into/out of the Makerspace, that didn’t work. I also realized quickly that I can’t have students come in during a special recess that happens to be during another grade level’s lunch or recess. If it doesn’t follow exactly on schedule, it can’t happen.
This is not to say that I don’t believe in being flexible. In order to allow the flexibility within the space though, I have to set certain guidelines and boundaries. So even if your class gets out for recess early, you’re going to have to wait at the door until the current students have cleaned up and cleared out.
I’ll be back with another entry this week about the tools students are using and not using. For now, I wanted to make sure I reflected on what has/hasn’t worked as grade levels transition through the Makerspace each day.
I’m excited to get back in there this week and see if I can move onto the next big challenge: Increasing students’ ability to learn from each other rather than rely on me.

Pingback: Making a Makerspace: Two Weeks In | Maker Stuff...
I have gradually built the culture of “Ask 2 b4 me!” And it helps considerably! It takes time but kids soon get to know who to ask! I am extending this to ” Ask 3 b4″ me this year!
Pingback: Making a Makerspace: Two Weeks In | Makerspaces...
I love that you are recording all of this! This particular post gave me tons of ideas for our burgeoning Maker Space (B.O.S.S. HQ). I can’t wait to try some of these ideas!
One thing that I’ve found successful for cleaning in my makerspace is labeling (BIG LABELS) were everything goes, and watching where groups of students put things naturally then using THAT organization system, and grouping space/supplies/tools so you can put it away quickly. I have the same transition issues, but I can clean my room, no matter the mess, in three min flat if I have to.
But the big idea – it’s the kid’s space. Organize it for them and they can clean it up.
Pingback: Digital Leadership Challenge | Adjusting Course
Pingback: Digital Leadership Challenge UPDATE | Adjusting Course
Pingback: Leadership for Today | Adjusting Course
Pingback: My (@pronovost’s) Top 5 Viewed Posts in 2014 #endofyearreview | attempts at using tech effectively in our classrooms
Pingback: Vision | AHS Makerspace
Would you mind sharing your student survey?
Hi Kate,
Working with Stanford in the research at the moment, so I cannot share the questionnaire at the moment. So sorry!
-Robert
The key to any idea is planning, and that is exactly what I see here.