
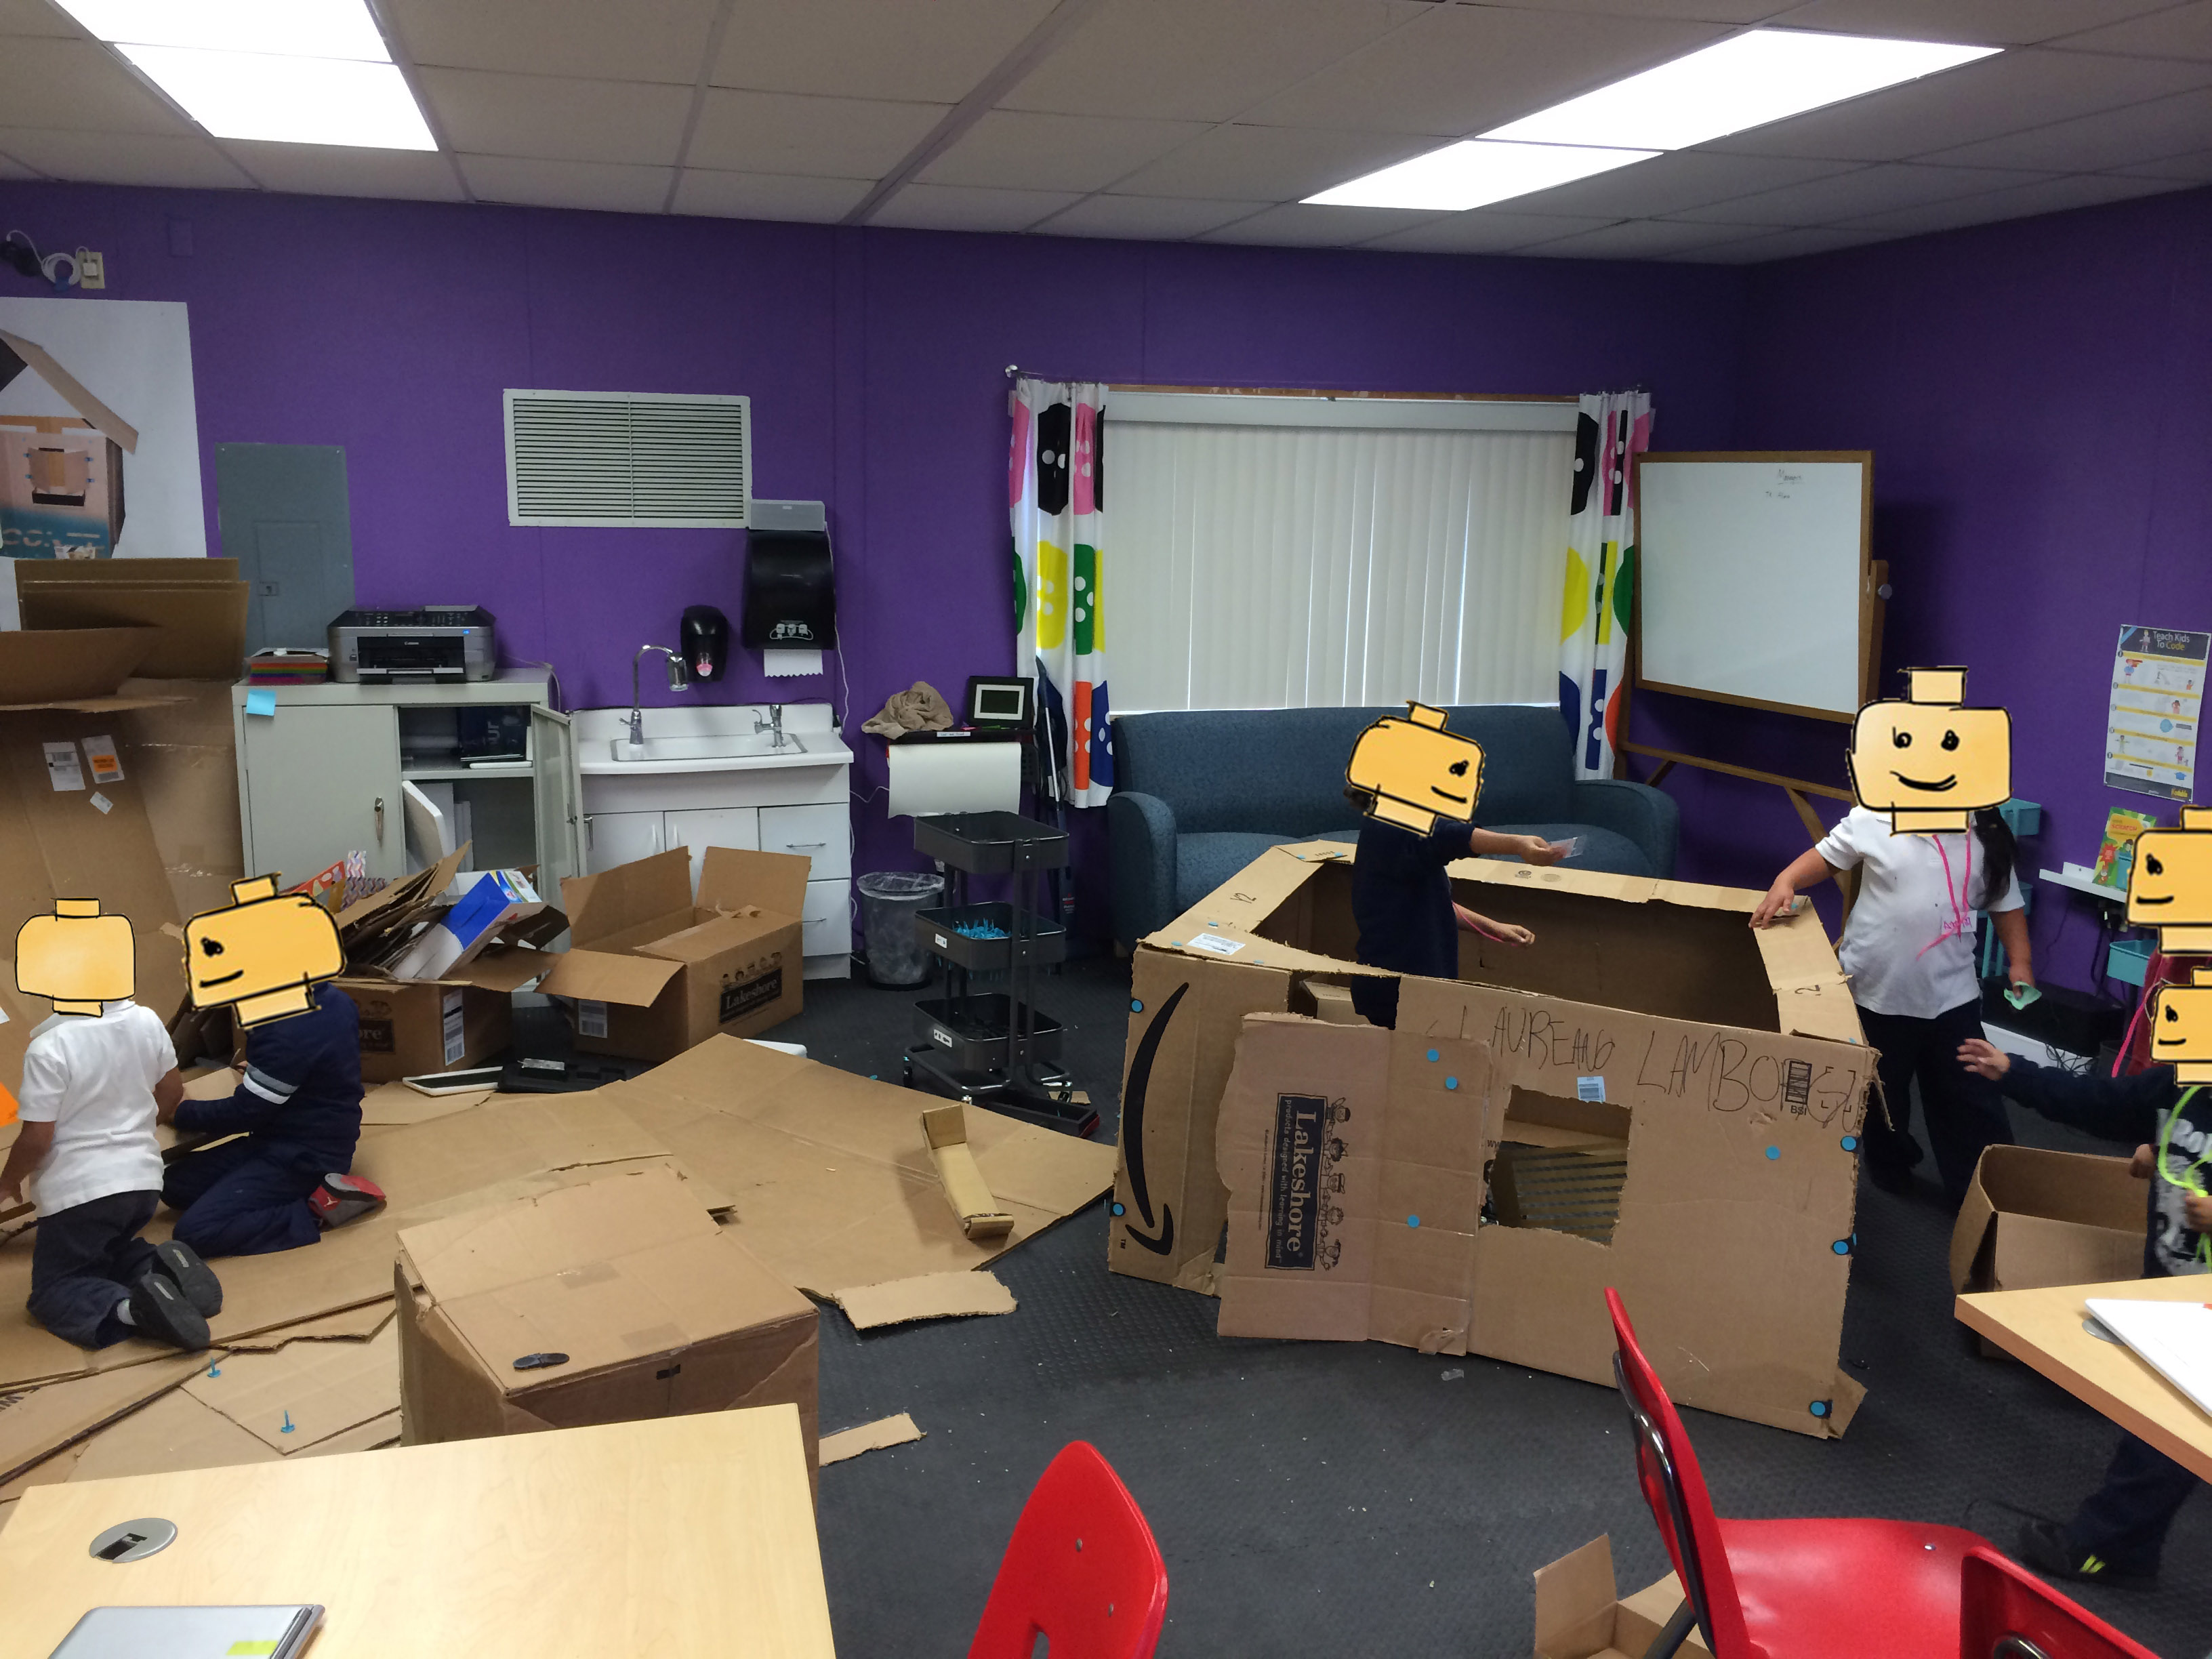
The primary goal of the Makerspace in the first two months of existence has been to allow students to pursue their own individual and group projects with as little support necessary from any adults. For the first month, I was testing out new ways to manage materials while setting the computers up with the necessary websites/apps and supporting individual students with their projects.
It was fun, as I was very rapidly iterating, learning how to use new tools (including how to run Linux on a Chromebook), and working with some amazing students. Needless to say though, I was trying to do too much and not getting very far each day with the primary goal.
Then, on Valentine’s Day, I was fortunate enough to have two new visitors to our space, Quim Sabriá of EdPuzzle, and our new After-School STEM Coordinator, Mario Cuellar. The two of them said what I knew but hadn’t been able to articulate: The space was too stimulating and I also was spread too thin in the construction of the space. I shared my primary goal of the recess/lunch-time visits with the two of them, which led to a create lesson from Quim in starting anything successfully.

He helped me break the goal down into mini-goals and an order to follow in achieving them. Basically, I needed to ensure students entered the room successfully, knew wherein the room to go, and knew what to do in each part of the room.

That next week, I broke down each step that came before students could actually engage in their projects and ensured student success in each step.
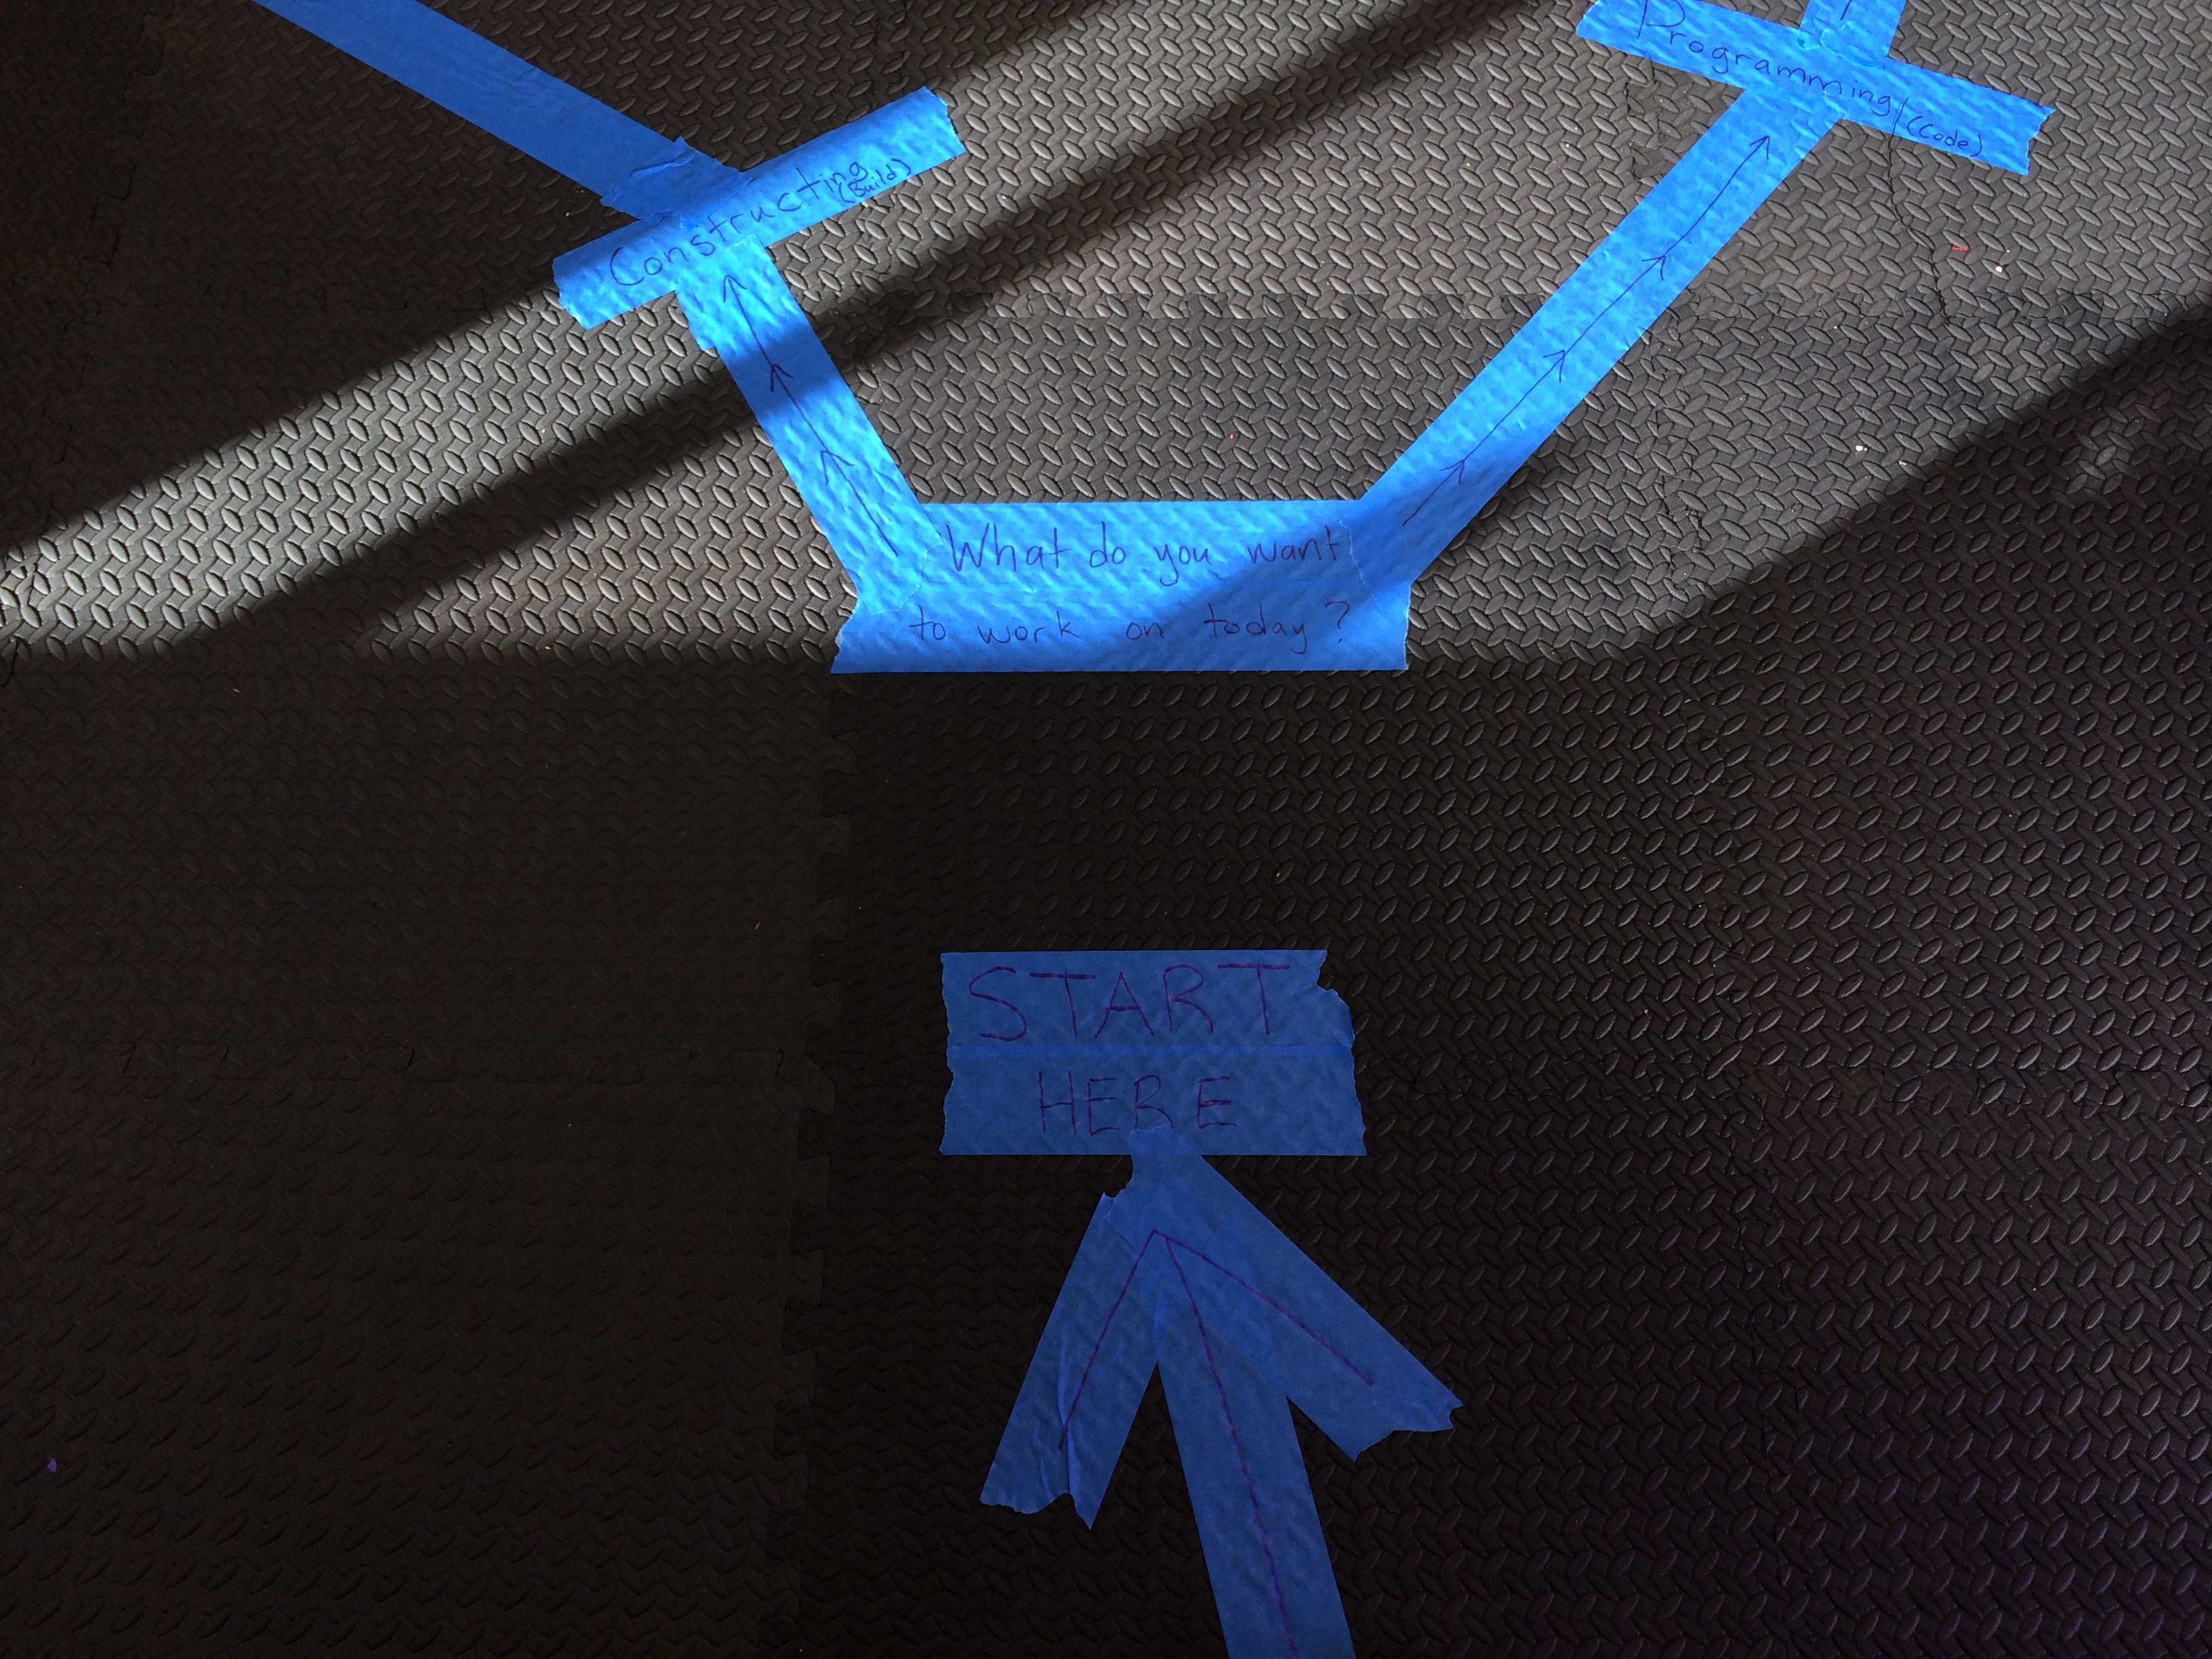
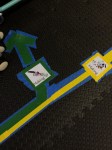
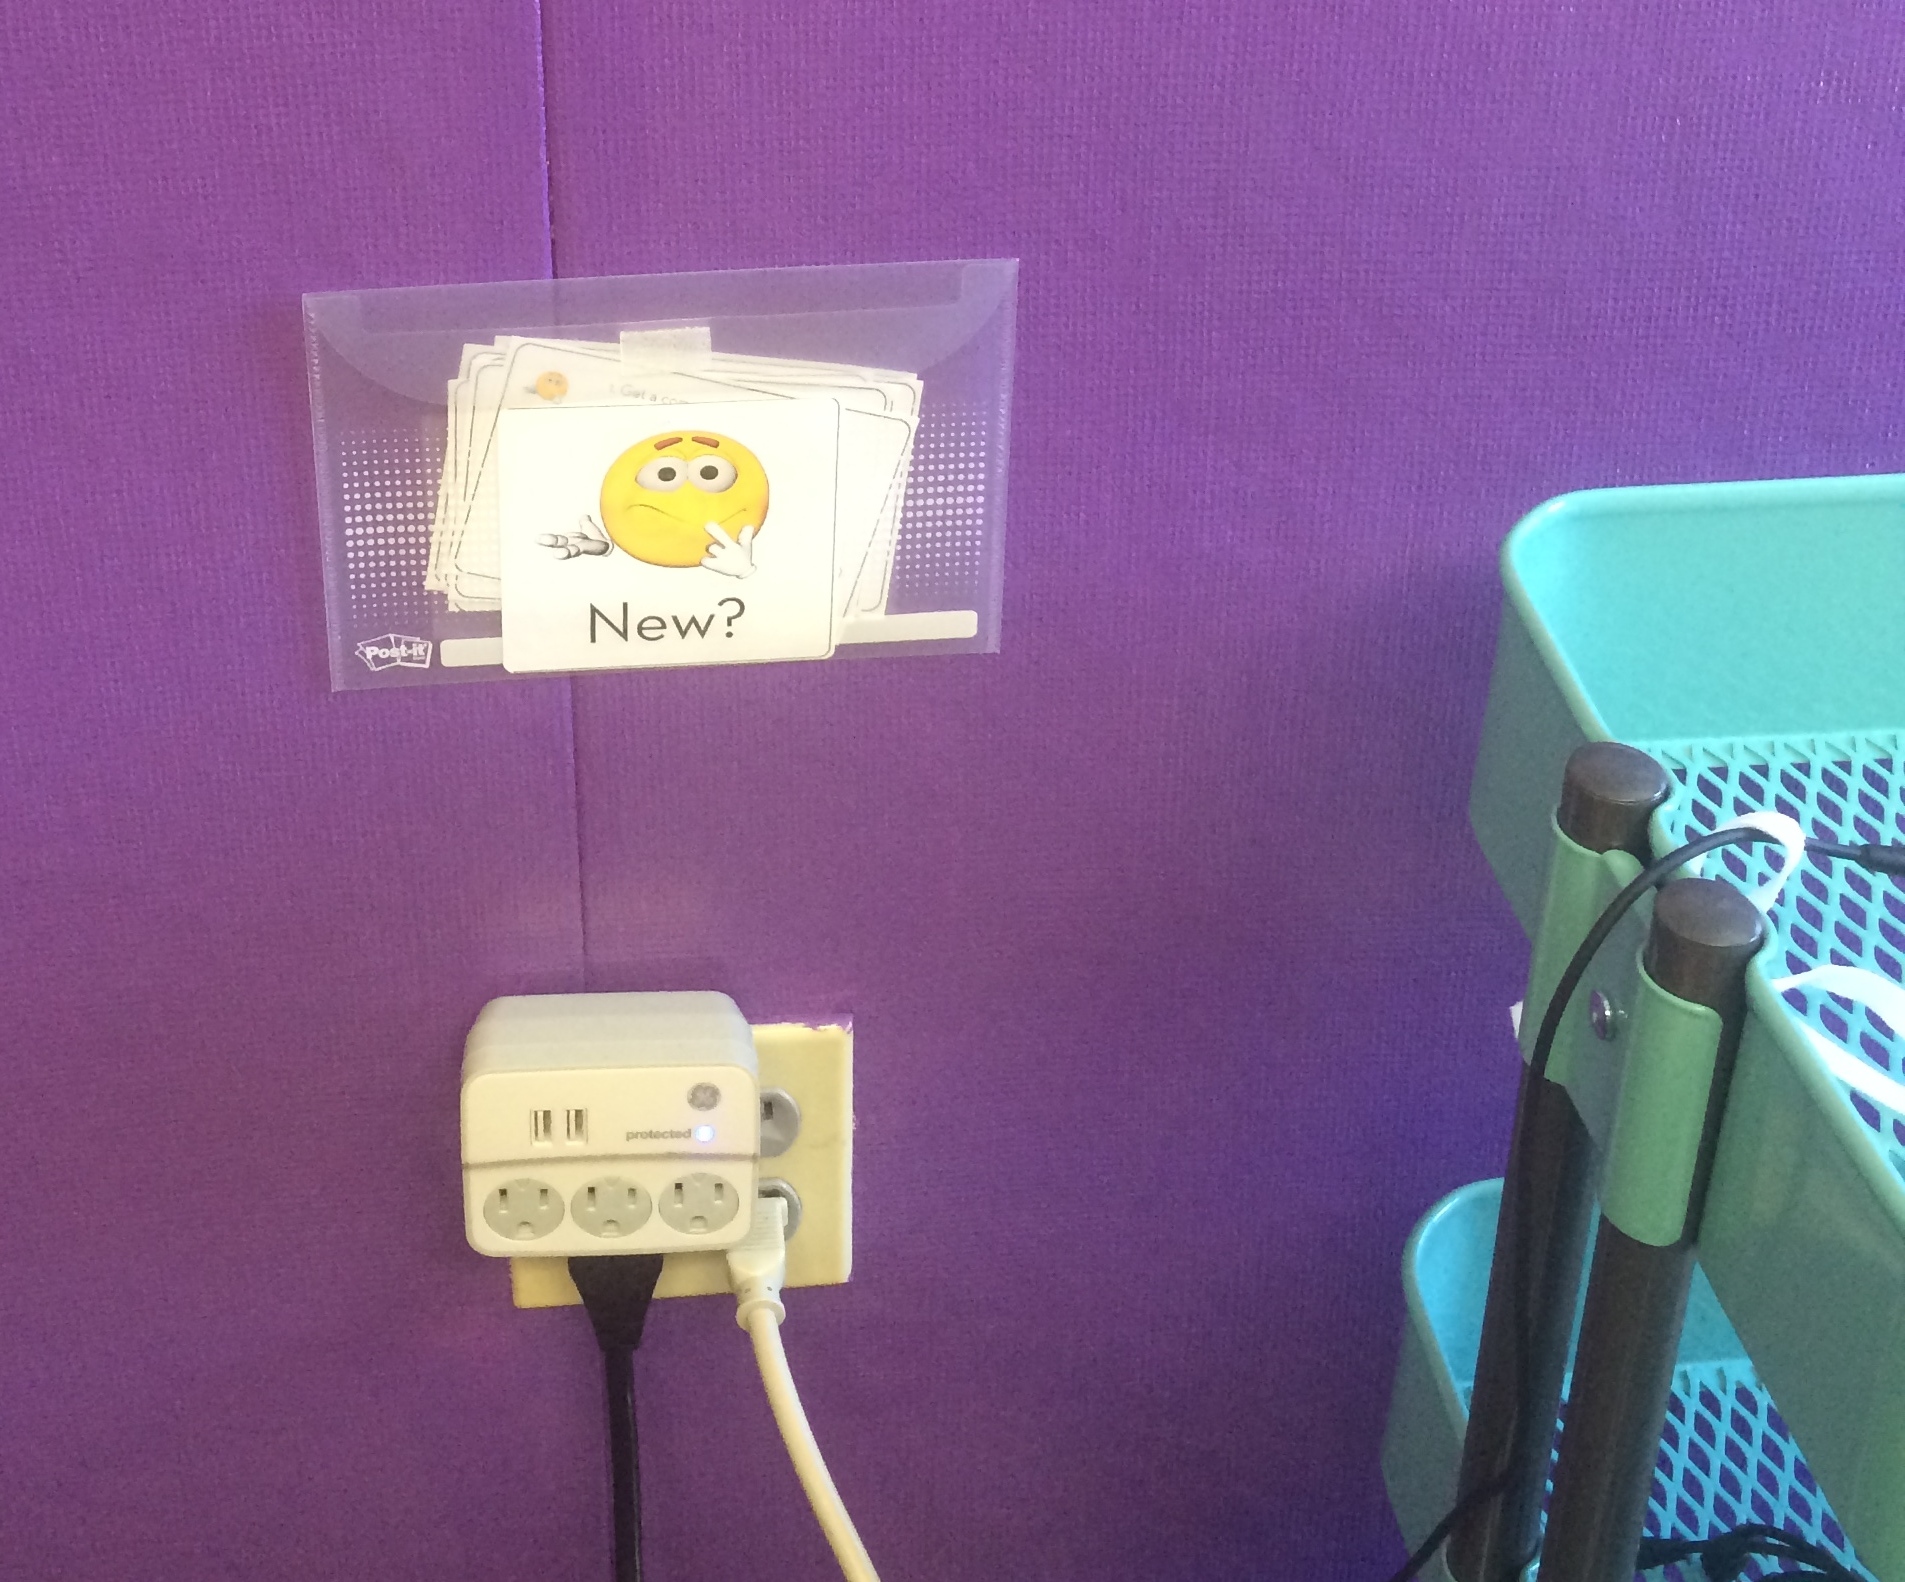
Where new students had come in before with no sense of what to do, I had arrows on the floor pointing them to the computers, which were now much closer to the door. When students approached, they could see the instructions written on the wall and sit down to follow them.


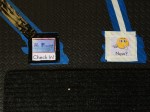
Students who had visited before were directed to get their name badge, check in on the computer, and follow the arrows on the floor to what they’d like to do. Laying down the tape for the arrows also helped me arrange the room in a more easy-to-follow way. Coding and Robotics were to the right of the room, while Making took of the left half of the room.
Now entering the room went better, but students still were not using the arrows on the floor much without my prompting. Even then, it was my oral prompts, not the ones on the floor, that led to students making their decisions and knowing where to go.
Enter Quim again to help us think through the problem. Quim emphasized visuals and more simple and clear language. I got back at it the next week, adding the visuals, simple language, and colors that now adorn the Makerspace floor. And it worked! Students were able to use the arrows to direct them to their desired destination.

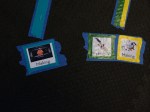


I was still supporting students with the how-to within each area of the room, especially around 3D printing, so while it was self-directed, it was definitely still a lot of hand holding. With students working on such a wide range of topics, individual support was still overwhelming. I want to build the ability for students to rely on one another, but even then we don’t have students in every grade level who are experts at everything. Which led to the support cards for each subject and the 3D printing support videos at a booth near the printer.

I don’t know how helpful the support cards will be, as they’ve only been in place for a week, but it has decreased the number of questions from students. Next step to our process? Badges (through ClassBadges). That way, all the teachers and students know who has already built the expertise around any particular topic/tool and we will have a small system to encourage students to build their own expertise.


I like the structure you’re adding to the Makerspace. It seems like it will help the kids get to the making faster. Would you be willing to share your Makerspace entrance survey? I’m thinking of doing something similar, and I’d love to see how yours is laid out.
Thank you for sharing!! I have been struggling to get started and you have helped me to move forward. I, too, would be interested in the survey as well as some of the activities you have considering the different ages of students coming in.
Pingback: Vision | AHS Makerspace
I also would like to receive a copy of the survey if you don’t mind sharing. Thanks!
Hi Amy,
Working with Stanford in the research at the moment, so I cannot share the questionnaire at the moment. So sorry!
-Robert
Pingback: 677 Robotics ~ Week 6 – josies677blog
Pingback: Cómo Crear un Makerspace en el Aula | Mimio | Boxlight