
It’s been quite a while since I’ve updated, which means that there are so many little things to update that this might feel a little fragmented. I’m writing this update on the eve of #SVGives, a fundraiser for numerous Silicon Valley non-profits, including the Ravenswood Education Foundation.
The Ravenswood Education Foundation is fundraising through SVGives, with all of the money donated going toward our Makerspace initiative. If you feel compelled to support our project, please consider a donation.
Name Badges
If you’ve been following this blog, you know all about the iteration upon iteration I’ve gone through in trying to make entering and exiting fast and easy for all involved. Our latest attempt actually looks to be the winner. For now.
My colleague, Mario, and I were talking about how to make the name badges easier to access when he said he wished we could place each set on an arm that could swing out. I thought this was a fantastic idea, so I jumped over to IKEA and found these awesome towel racks. The pocket charts we were using were a bit too large, so I cut them in half, taped up the exposed half, and clipped them in.
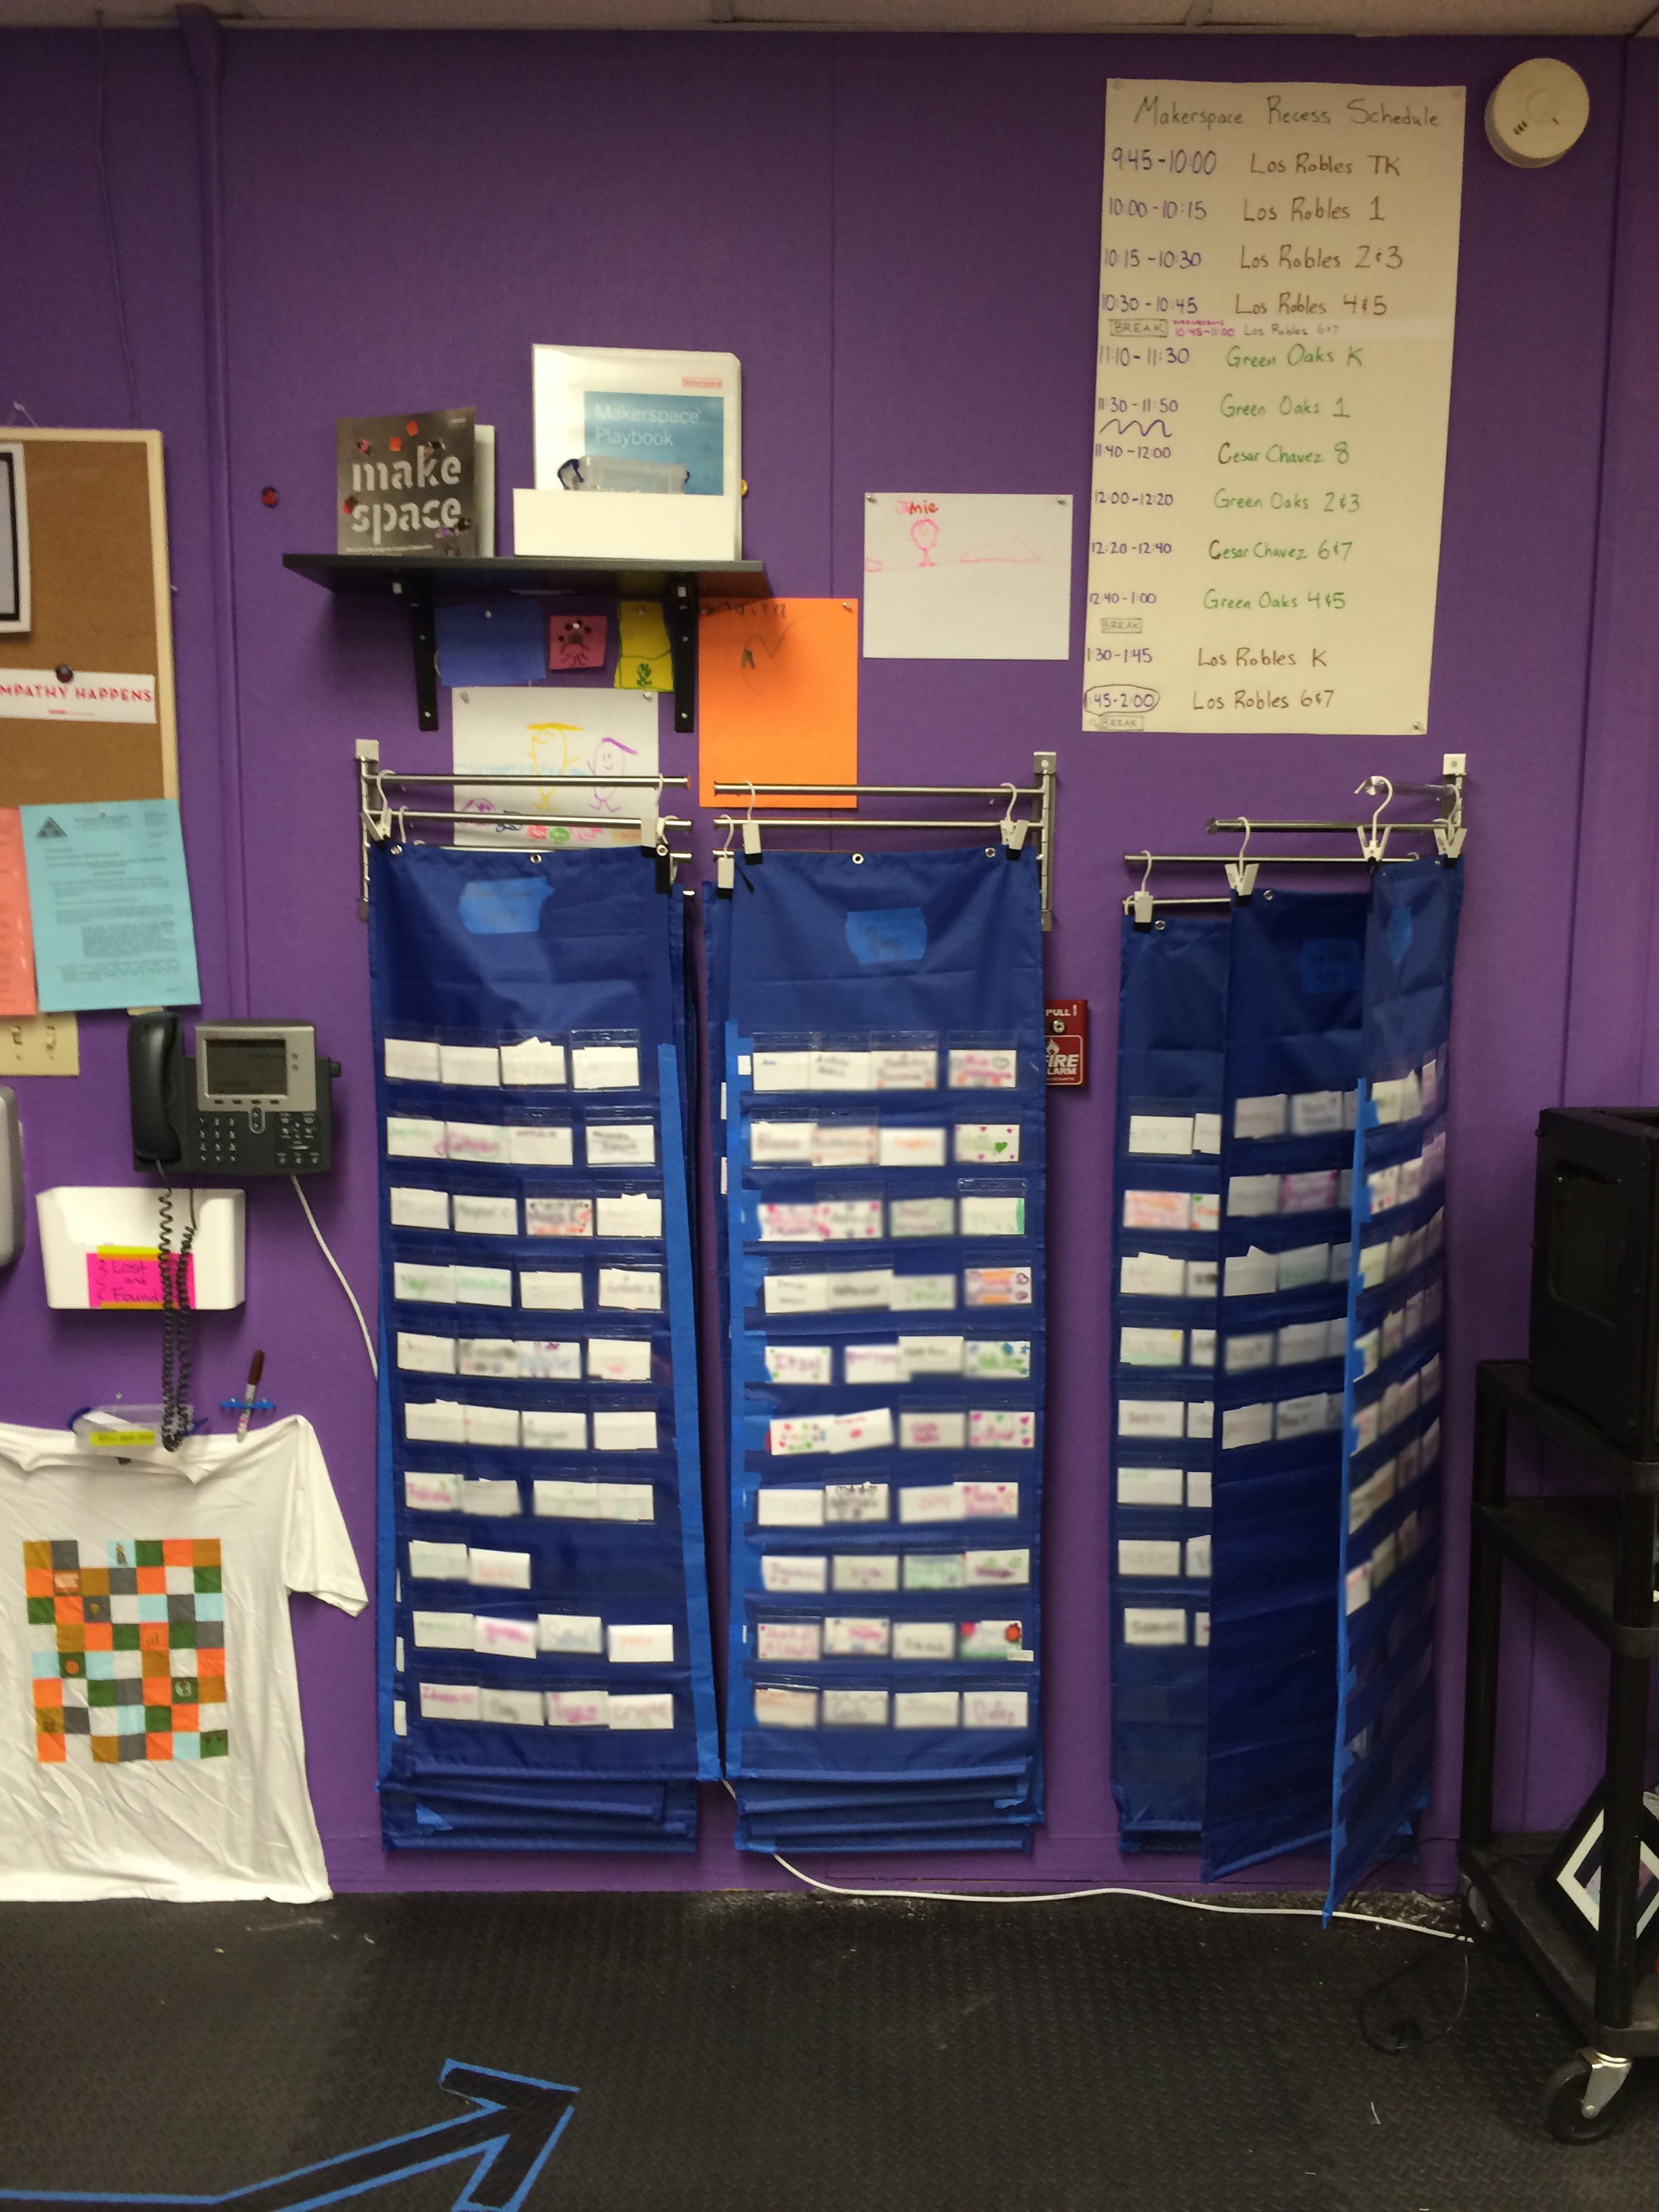
Now, students come in, find their grade level, find their name, and pick up their name badge. Still takes a moment, but will have to do until digital name badges are invented that will show a student’s name based on voice recognition or voice command.
3D Printing

Our students are very fortunate because one of our early donors is so excited about students using 3D printers that he donated 8 – one for each of next year’s Makerspaces. To highlight student work, we put together a glass display case (IKEA again) that highlights our successes and our mistakes.
To print an object on the 3D printer, our students use one of two sites (or a combination!): Tinkercad and Thingiverse.

Thingiverse is generally first, as students begin more interested in the printing process than the design process. Students pick out an object to print (the wall plate above was actually customized by a couple of Transitional Kindergarten students with a little support from me), send it to the MakerBot, and ta-da! Instant object.
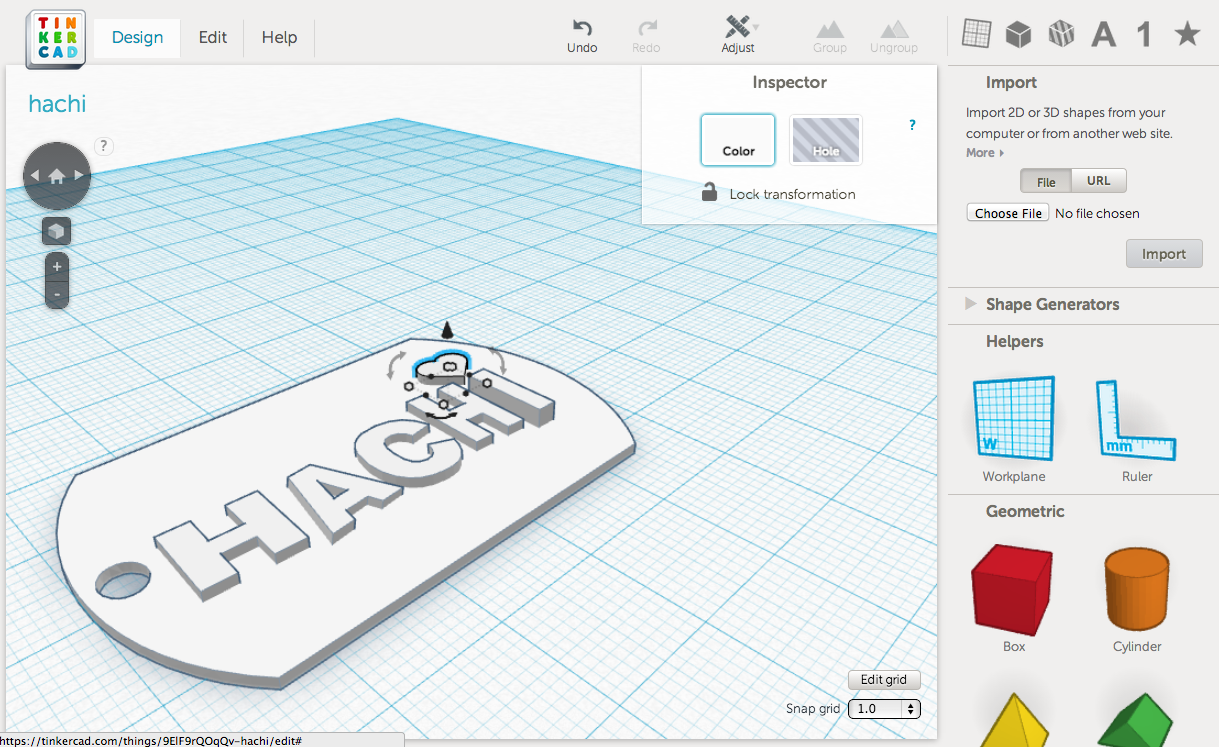
Tinkercad is where the real fun is. Students can create anything they want by dragging and dropping objects, resizing, and even turning selected objects into holes. The object above is by a student who wanted to make a nametag for her dog after the engraving machine at the store was broken.
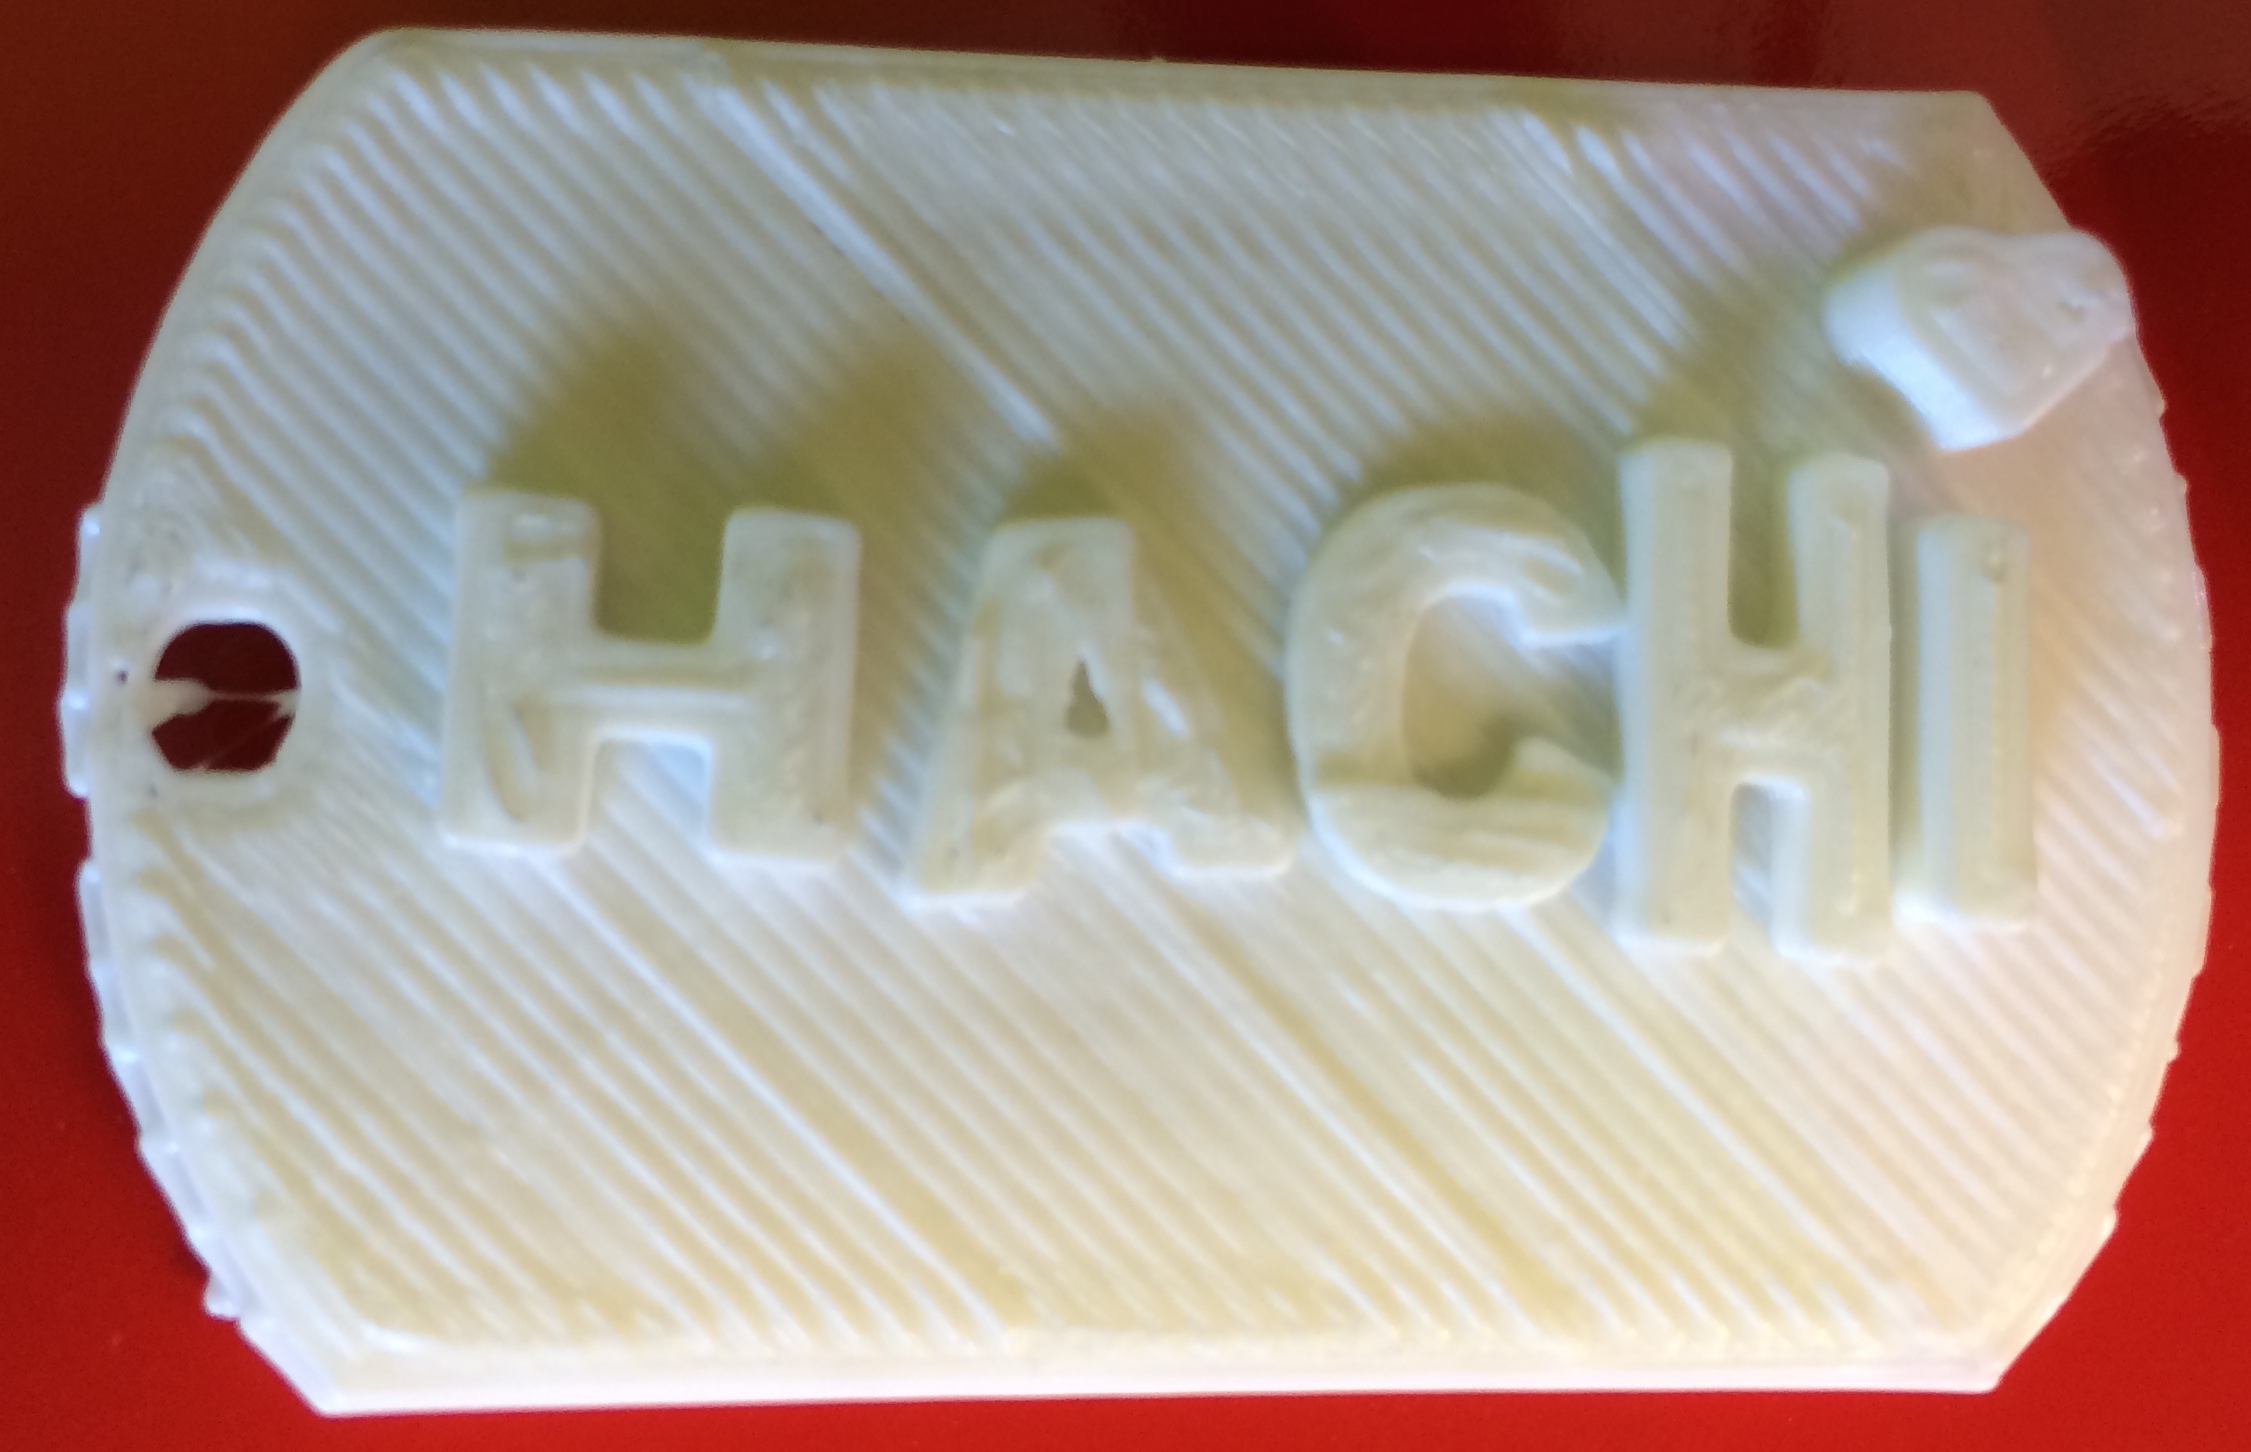
Pretty neat, huh? The machine at the pet store didn’t work, so she took matters into her own creative hands. And I doubt the machine would’ve allowed her to place a heart above the i.
Making with Cardboard

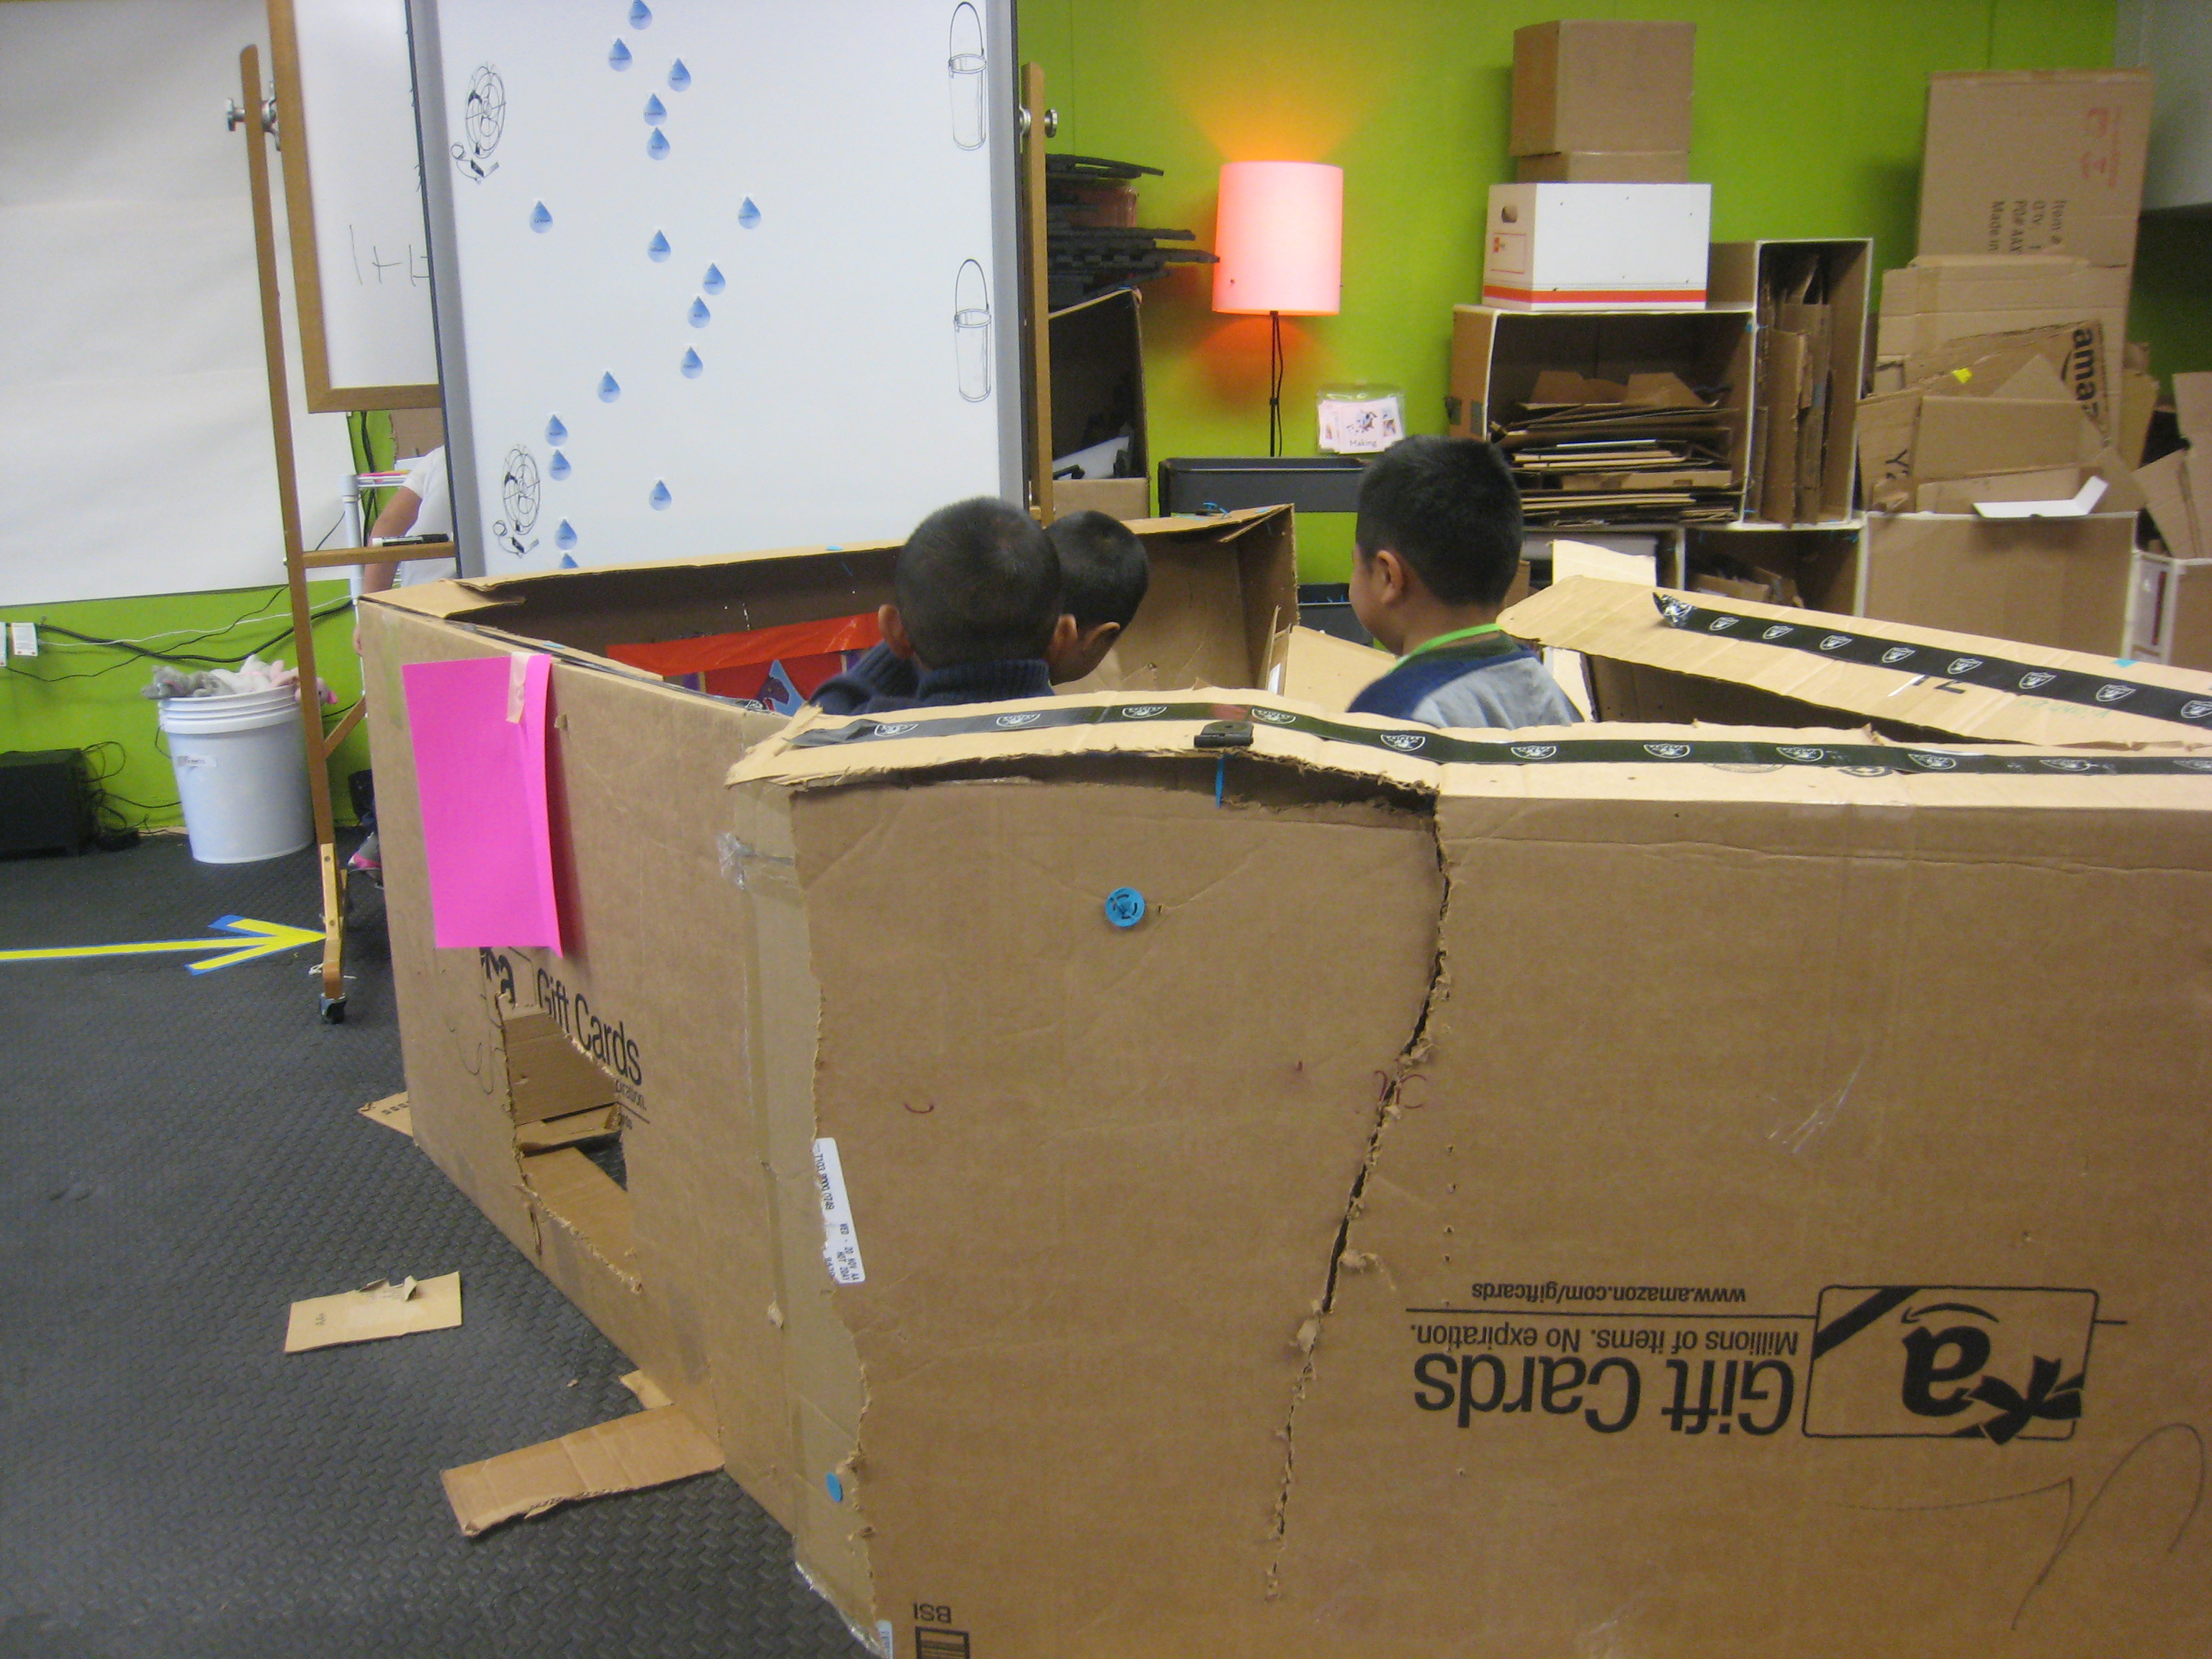
This may look messy, but it’s actually about 200 times more clean than it was in early January. Again, another improvement to the space made by Mario. He created a pretty well organized storage area for the cardboard, made from cardboard.
Students use this material in combination with the MakeDo parts that allow students to cut and join together cardboard, even adding hinges. What do students make? Mostly awesome forts and houses, but also puppet shows and bridges.
Where We’re Heading Next
Discussing where we’re heading next is exciting and difficult for me.
It’s exciting because we’re expanding. We are working on securing rooms at each school site for next year and creating carts for those who can’t spare a room. We are creating an “Introduction to STEM” course for 4th & 5th graders that combines design thinking and coding. We are also nearing the announcement of a partnership with a larger collaborative of similar spaces, which will allow our students to partner with students outside of East Palo Alto more easily.
It’s difficult because I have to give up some day-to-day control. I passed the Makerspace calendar over to my wonderful colleague, Mario, last week, along with the design of the “Introduction to STEM” course. I know it’s necessary, as we can do much more together than I can by myself, and the Maker movement within the district is only going to grow larger over the next few weeks and months. As we pick up speed, I need to make sure we are moving in the right direction and that all the pieces fit together well for our teachers and students.

Reblogged this on Tinkercad Blog.
What size is your pocket chart before you cut them?
Hi Paula,
The pocket chart was just the traditional blue pocket chart like this one on Amazon: http://goo.gl/bUQjkM
Hope that helps!
Robert
Pingback: Vision | AHS Makerspace
Nice!!!